In this tutorial, we’ll show you how to improve email deliverability with the Mandrill mailer in Easy WP SMTP.
Before you begin, you’ll need to ensure Easy WP SMTP is installed and activated on your WordPress site.
1. Setting Up Your Mandrill Account
To start using Mandrill, visit Mailchimp’s Transactional Email page. If you already have a Mailchimp account, simply log in to your account with your existing account details.
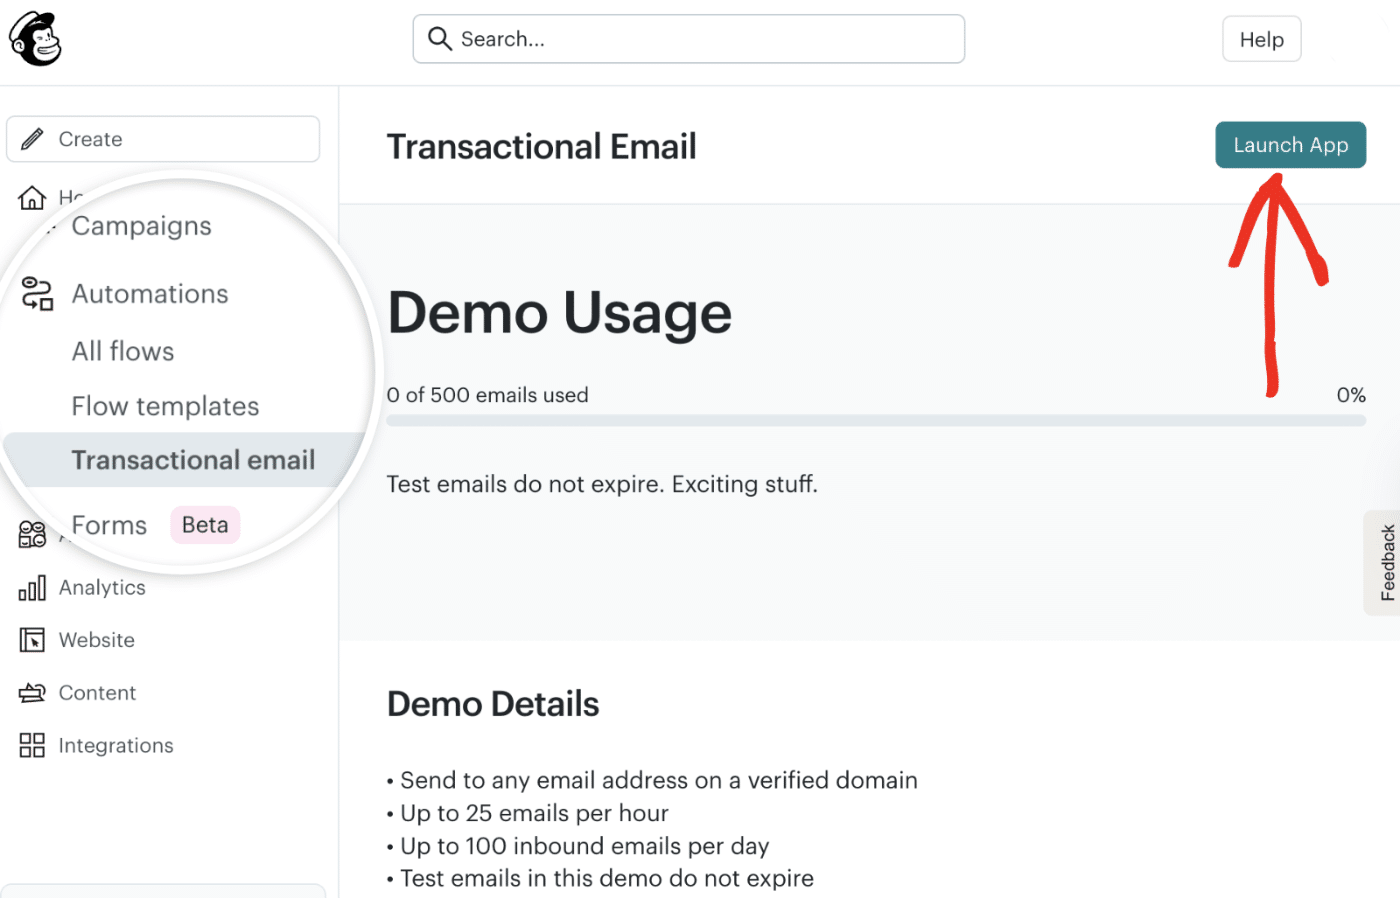
After logging in, you’ll be able to access Mandrill by navigating to Automations » Transactional email. Then click the Launch App button to proceed.
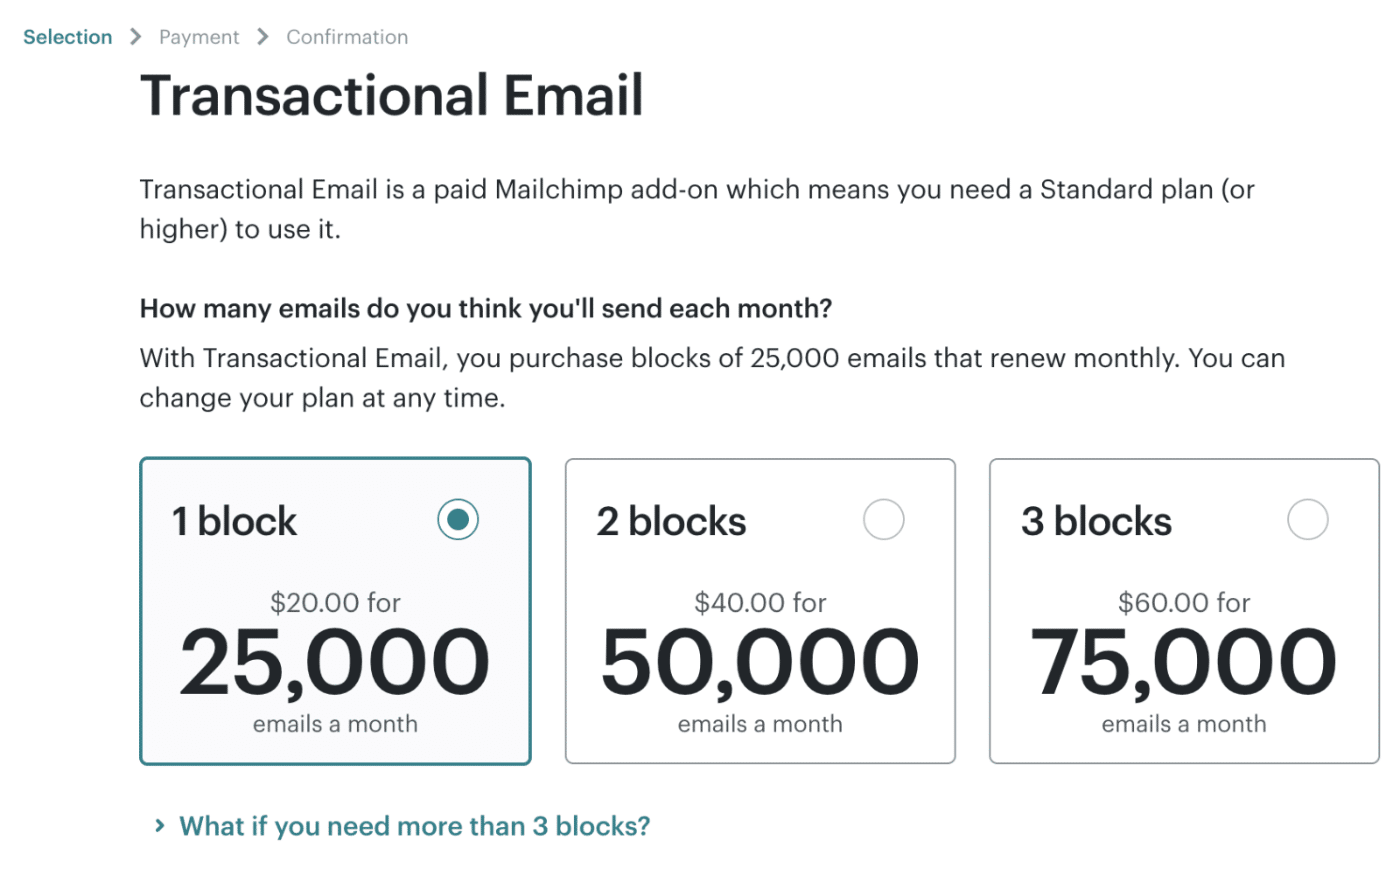
You’ll be redirected to the Mandrill account area. If you haven’t already, you’ll need to sign up for Mandrill’s paid service to send emails beyond the demo limitations.
After creating your account, you’ll be directed to your Mandrill dashboard, where you can configure your email settings.
2. Authorizing Your Domain
Mandrill requires users to add and verify ownership of their sending domain. This process involves adding DNS records to your domain settings and helps improve email deliverability.
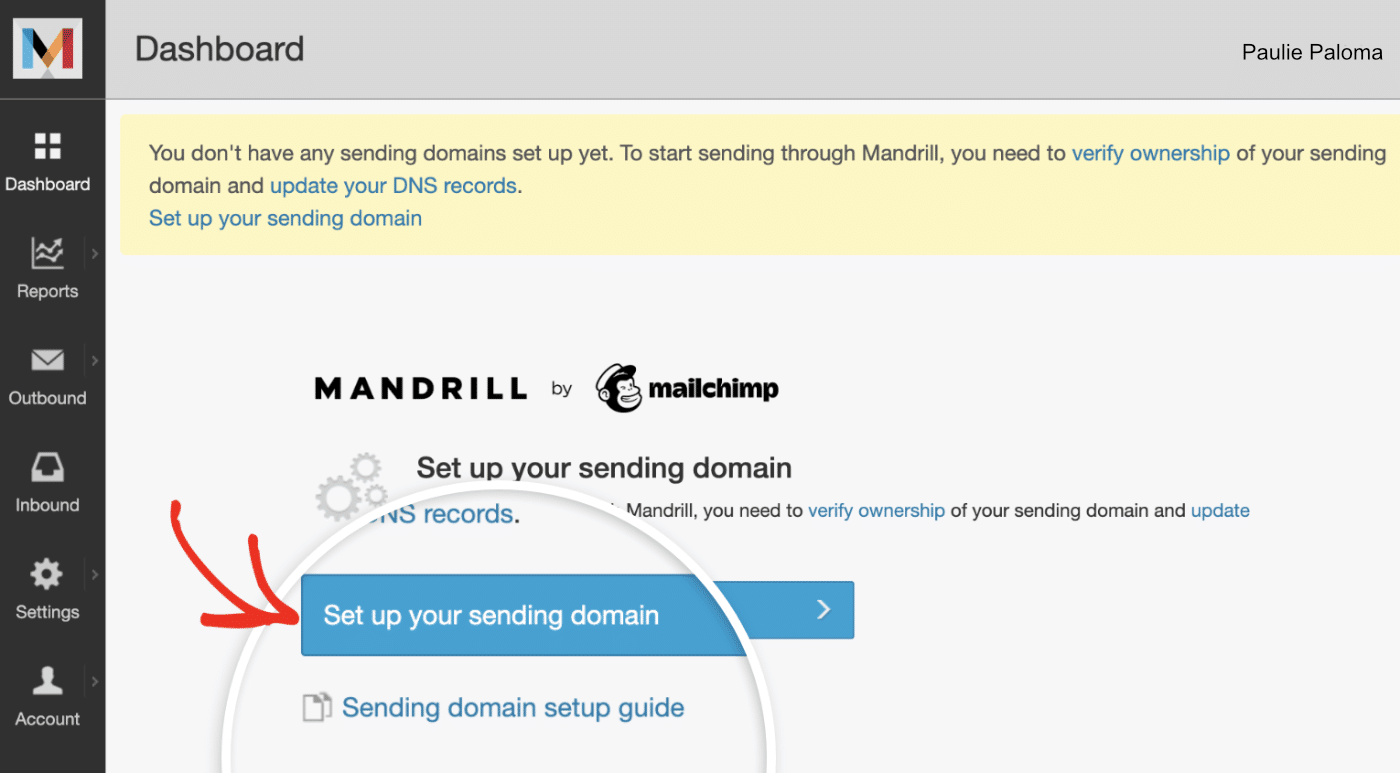
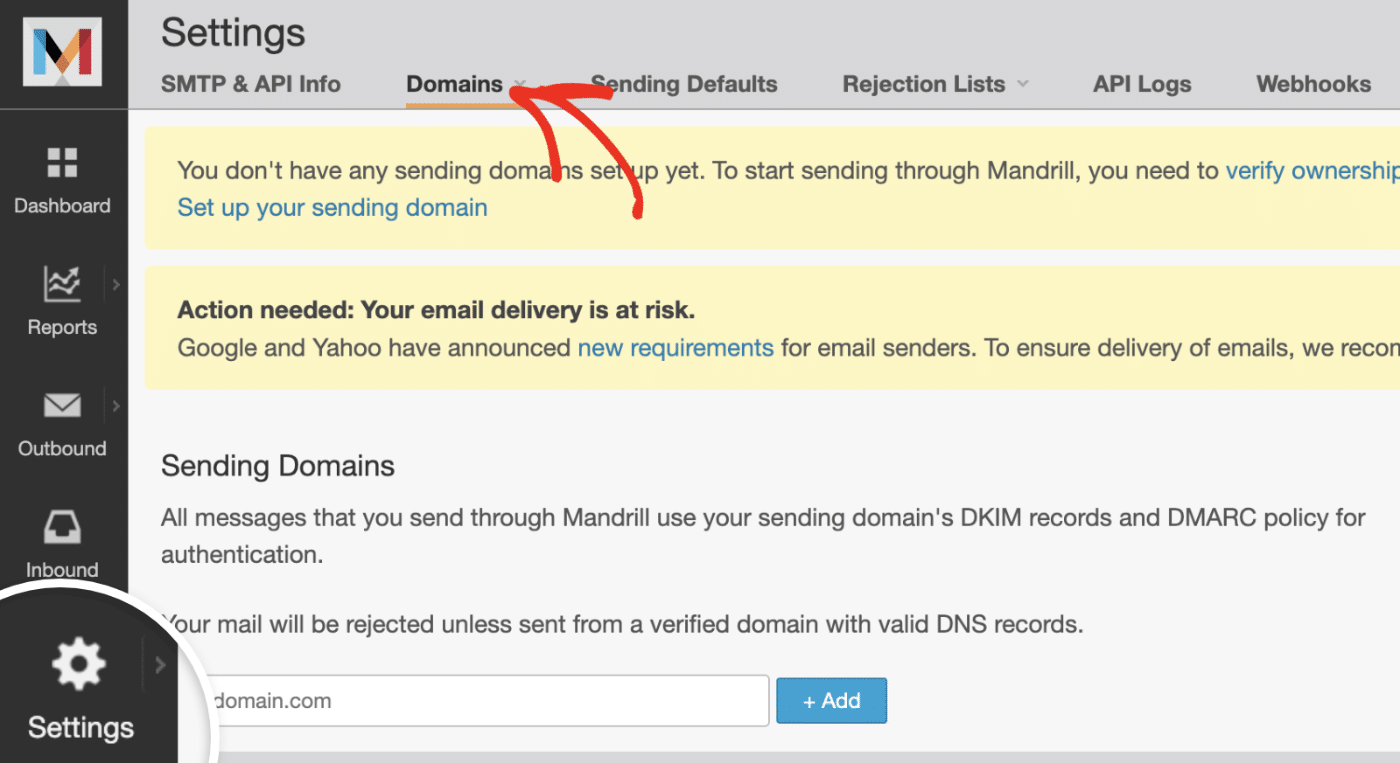
From your Mandrill dashboard, you’ll see a notification that you need to set up your sending domain. Click the Set up your sending domain button to begin.
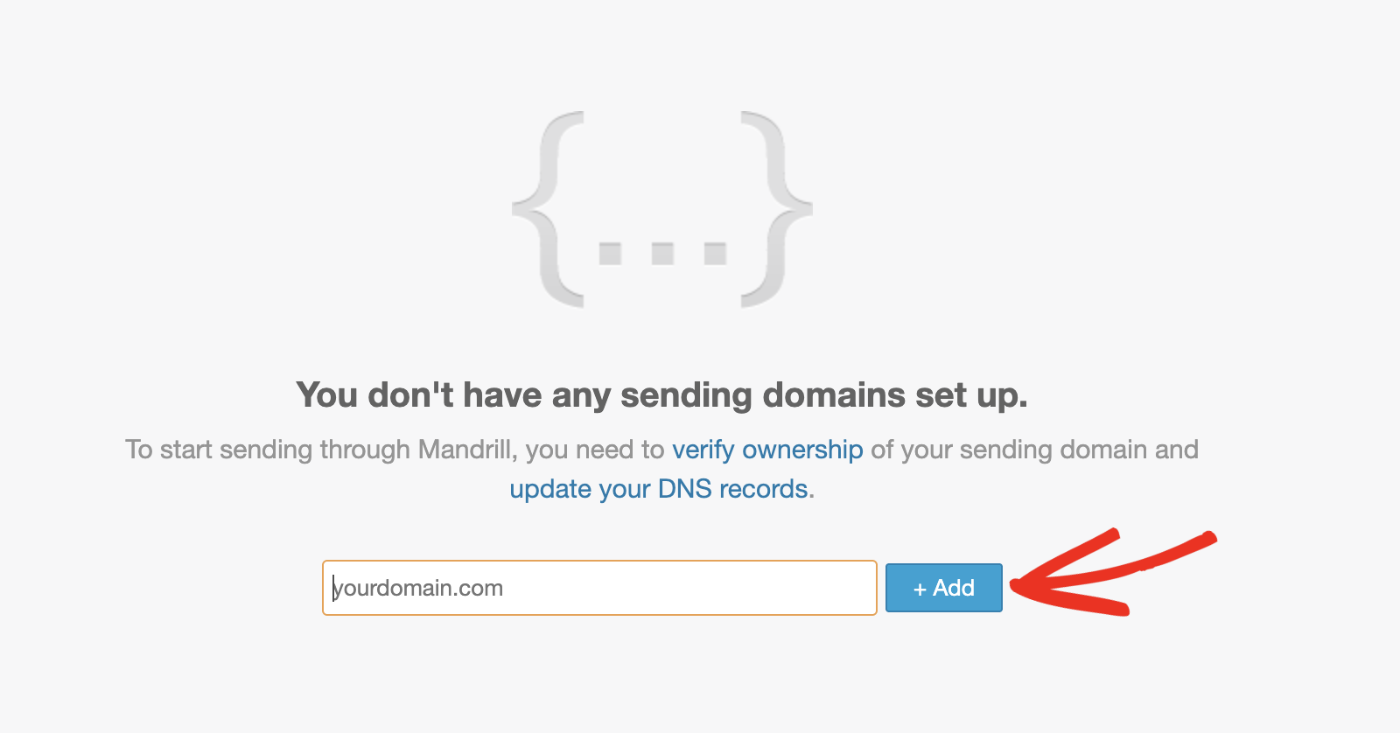
After that, enter your domain name in the domain field and click the + Add button to proceed.
Alternatively, you can navigate to Settings and then click on the Domains tab to manage your sending domains.
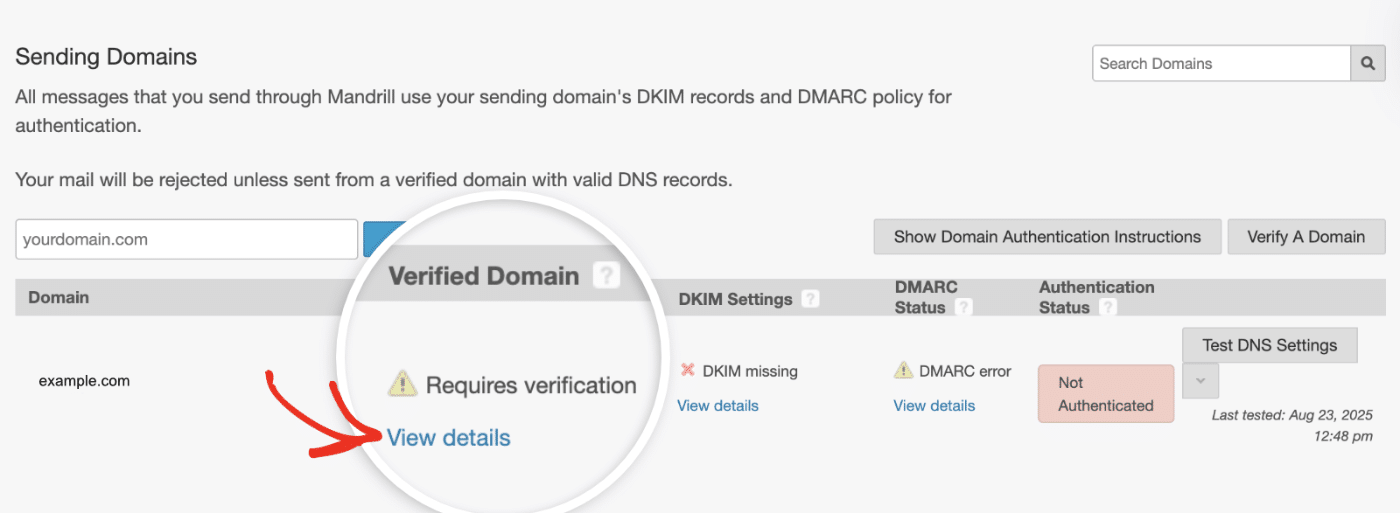
After adding your domain, you’ll need to verify that you own it. To do so, click View details below the Verified Domain column.
In the overlay that appears, Mandrill will provide two verification methods: adding DNS records to your DNS settings or receiving verification emails.
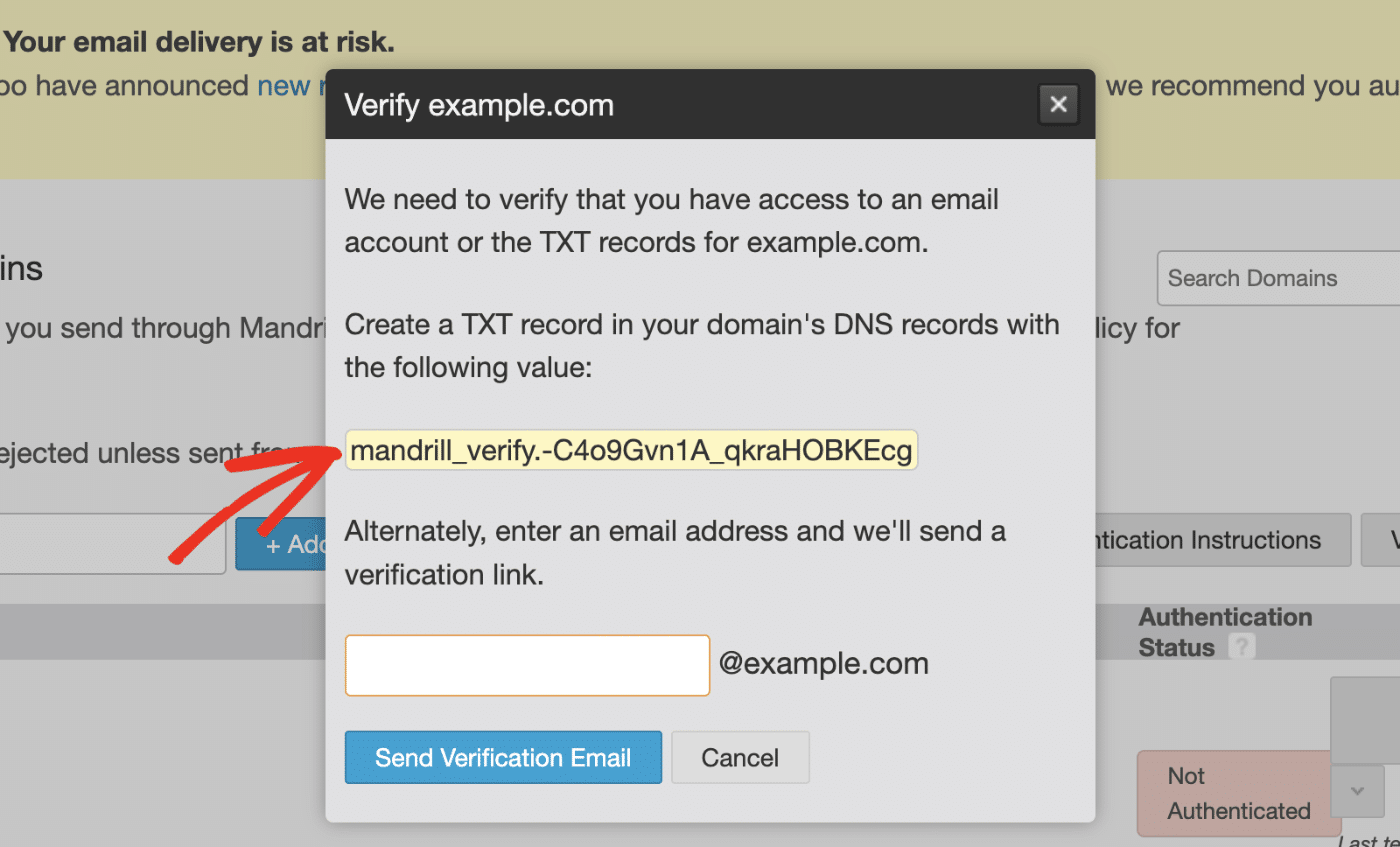
If you choose the TXT record method, you’ll see a unique verification code that you need to add to your domain’s DNS settings.
Note: See WPBeginner’s tutorial for details on how to add DNS records.
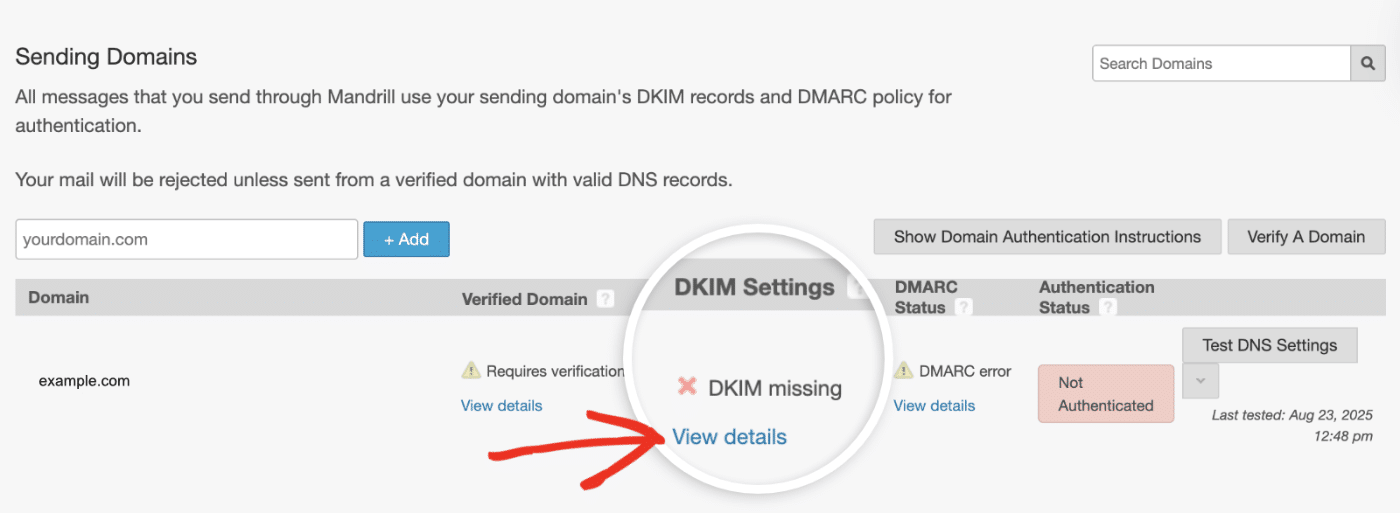
In addition to the domain verification record, you’ll need to set up DKIM and DMARC records for proper email authentication. To add the DKIM records, click View details next to your domain’s DKIM Settings.
Mandrill will provide two CNAME records for DKIM (e.g., mte1._domainkey and mte2._domainkey) that you need to add to your DNS settings.
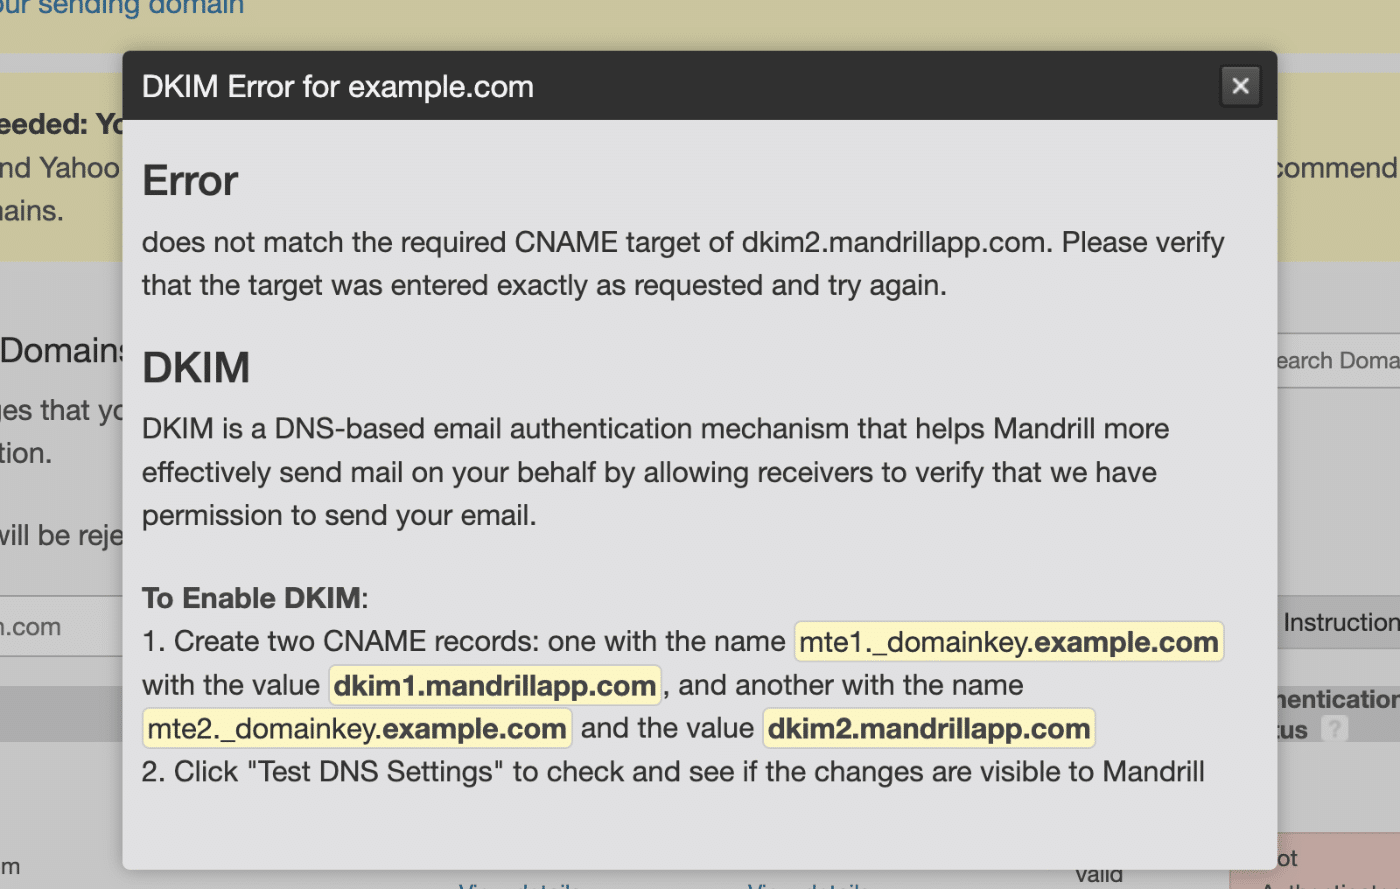
After that, click View details below the DMARC Status column to access the DMARC record.
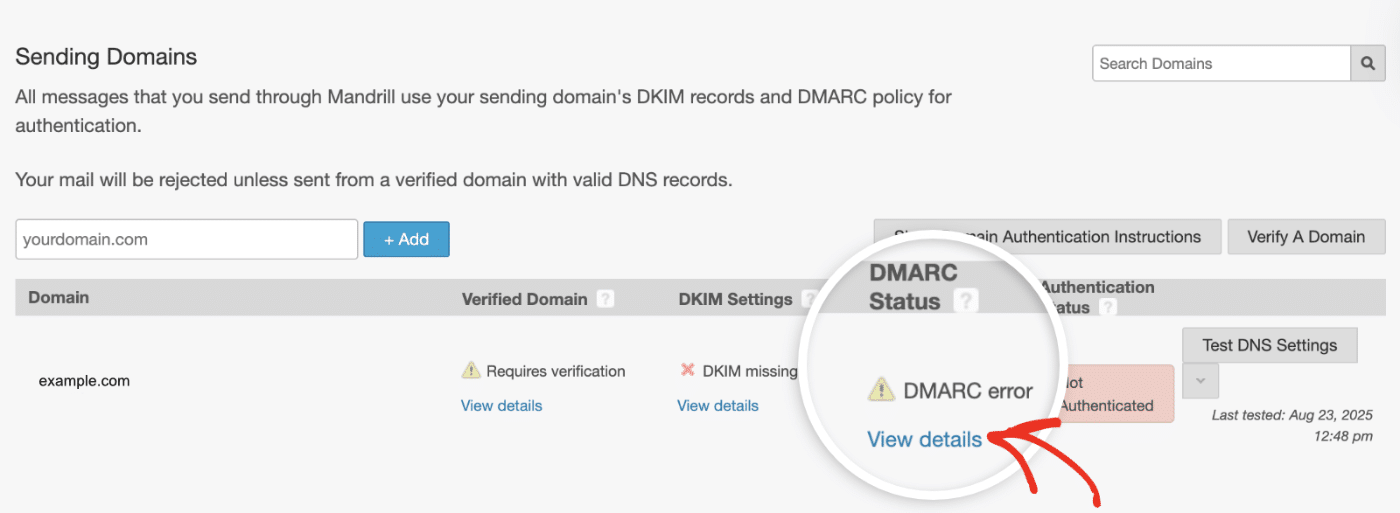
In the overlay that appears, you’ll find the required DMARC policy needed to authenticate your domain.
After adding the DNS records, click the Test DNS Settings button to check if your records are properly configured.
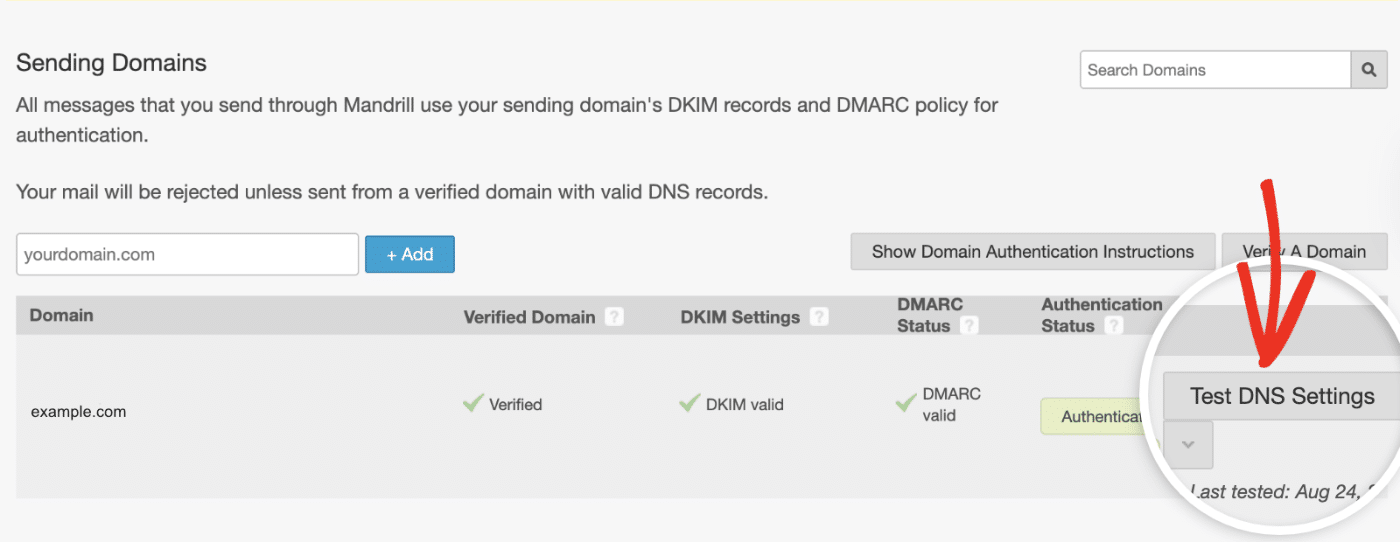
You should see Authenticated in the Authentication Status column if your DNS settings are propagated.
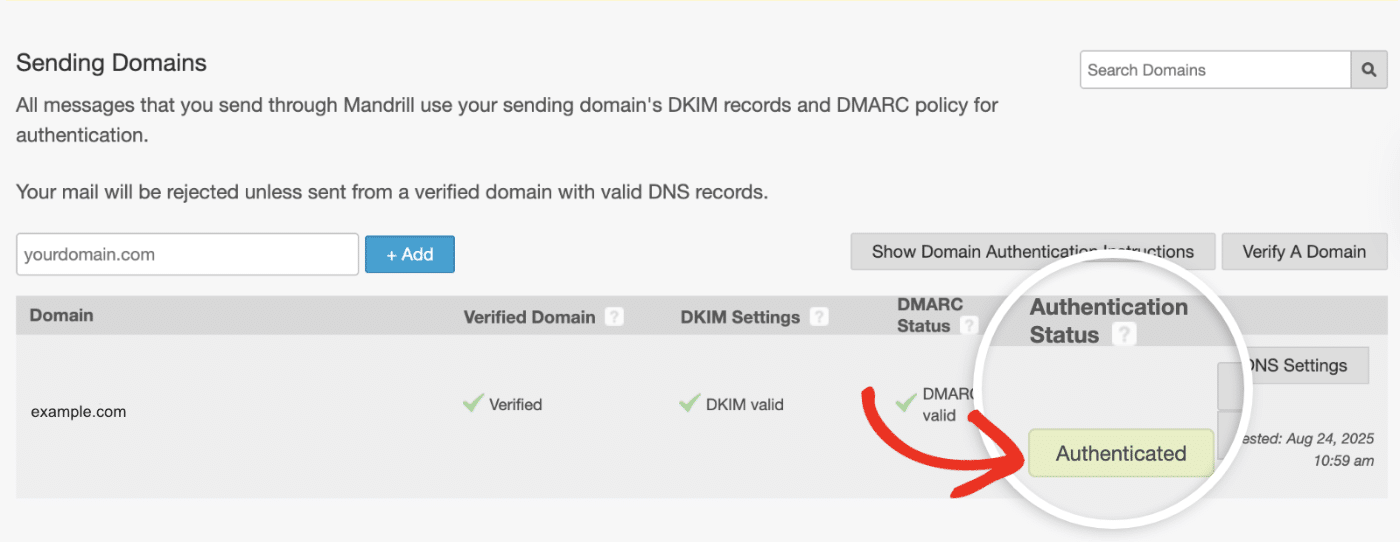
Note: DNS propagation can take up to 48 hours to complete.
3. Creating Your API Key
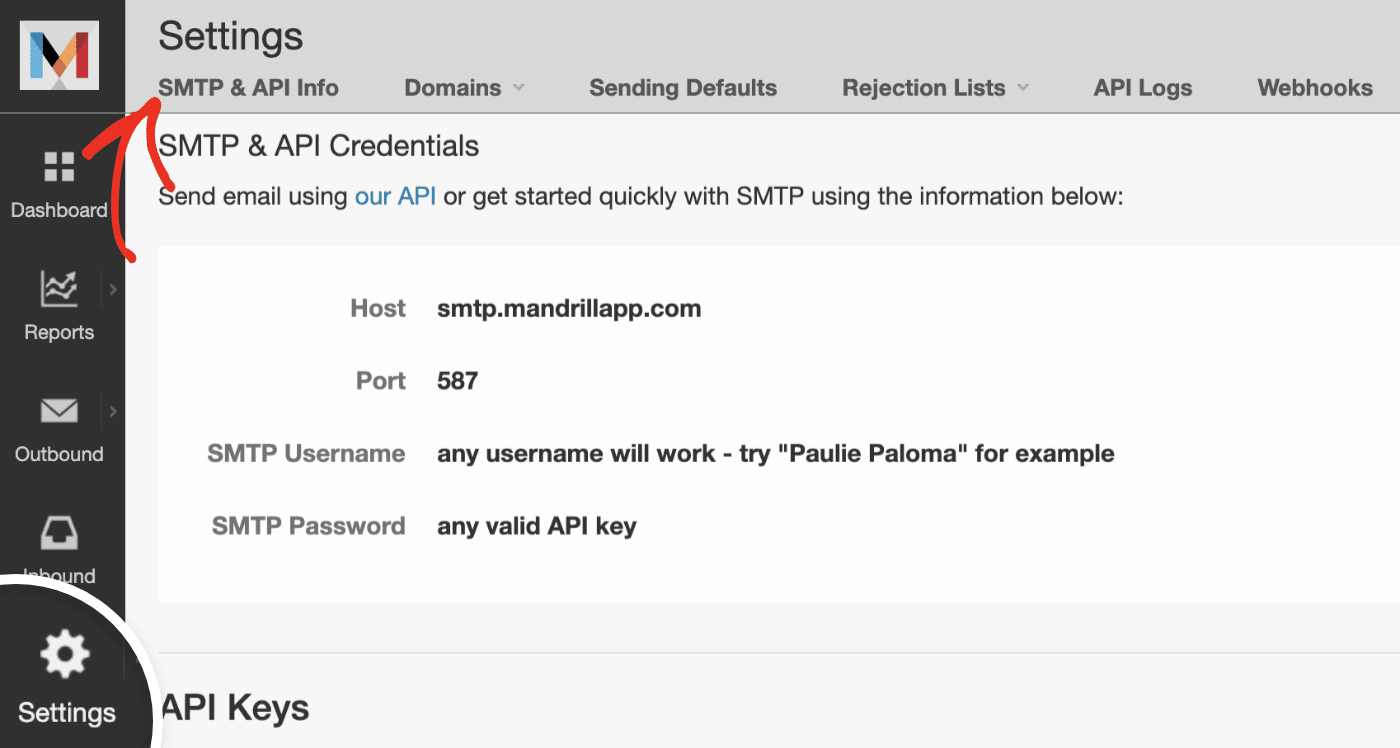
To connect Easy WP SMTP to Mandrill, you’ll need to create an API key. From your Mandrill dashboard, navigate to Settings and then click on the SMTP & API Info tab.
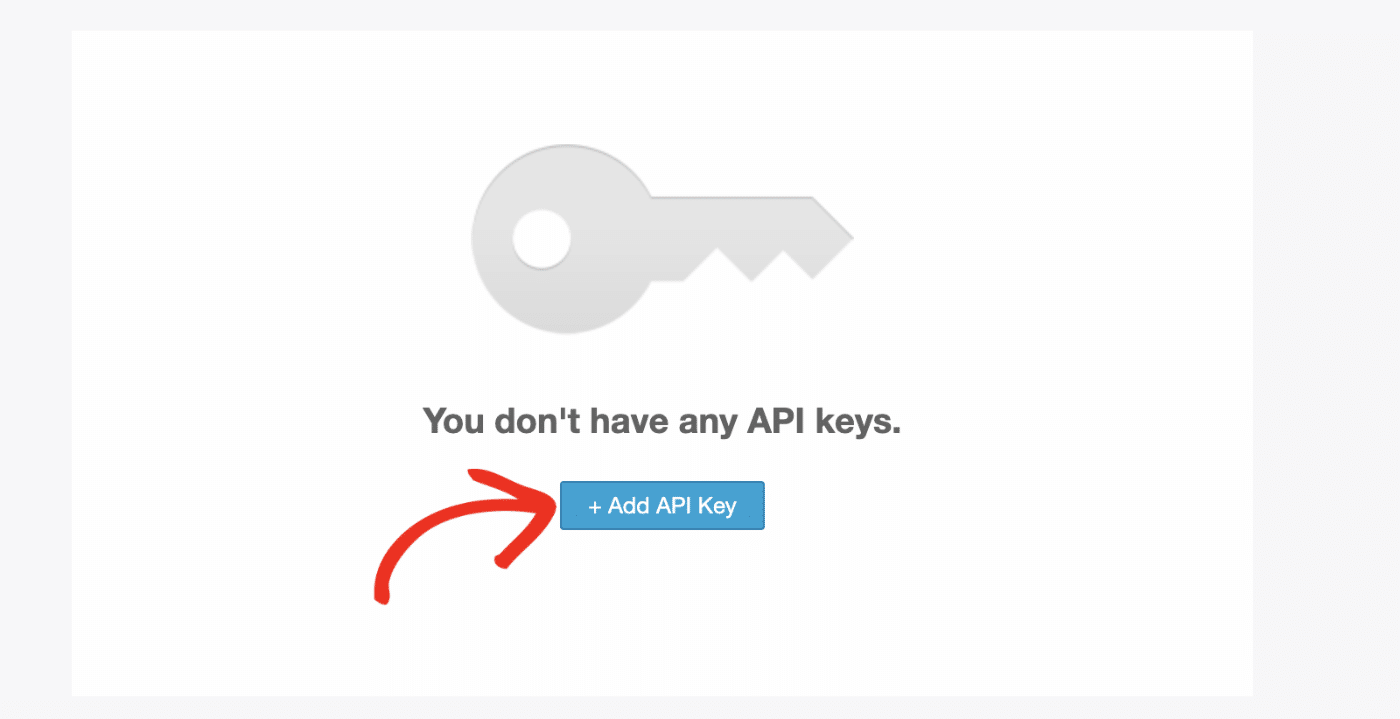
If you don’t have any API keys yet, you’ll see a message saying “You don’t have any API keys.” Go ahead and click the + Add API Key button to create one.
After creating the API key, an overlay will appear with important information about your new key. Keep this window open as you’ll need this API key in the next step.
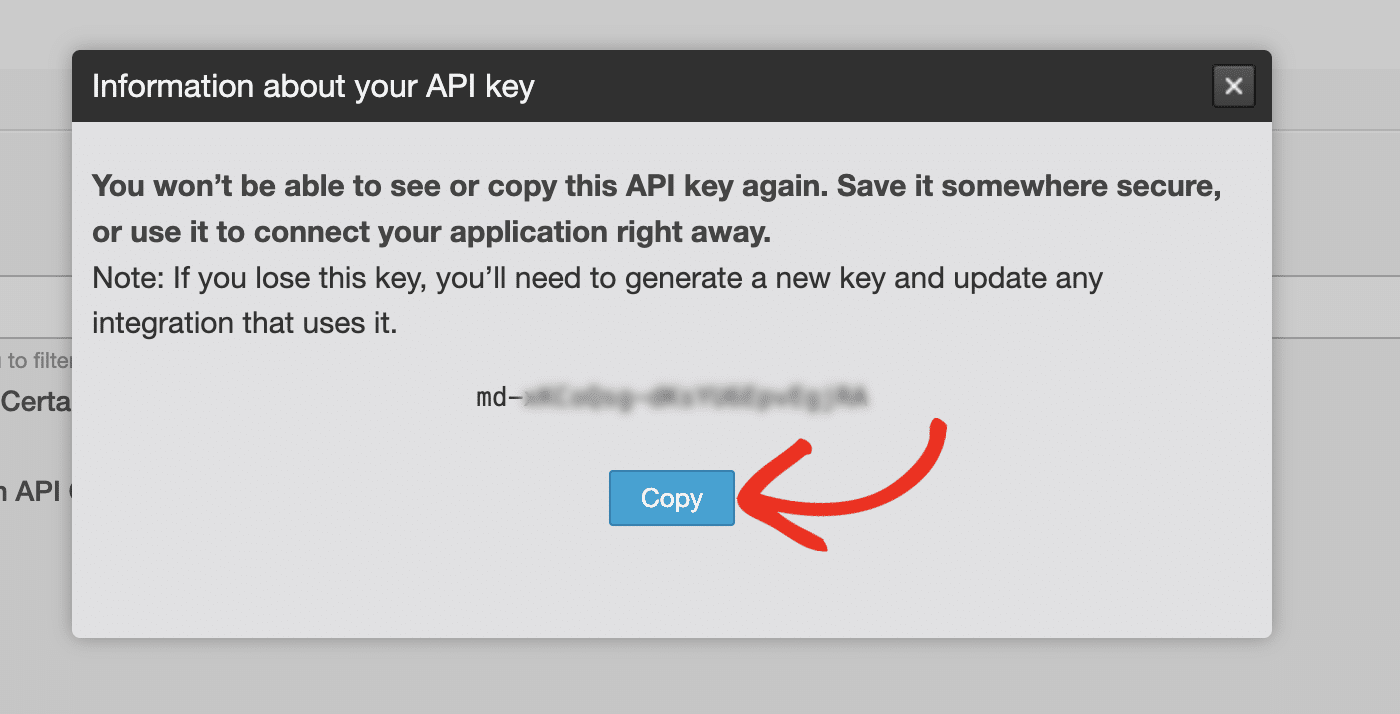
Note: You won’t be able to access the API key after closing the pop-up.
4. Configuring Easy WP SMTP Settings
Once you’ve set up your Mandrill account, you can configure Easy WP SMTP to use Mandrill for sending emails.
Go to Easy WP SMTP » Settings from your WordPress dashboard.

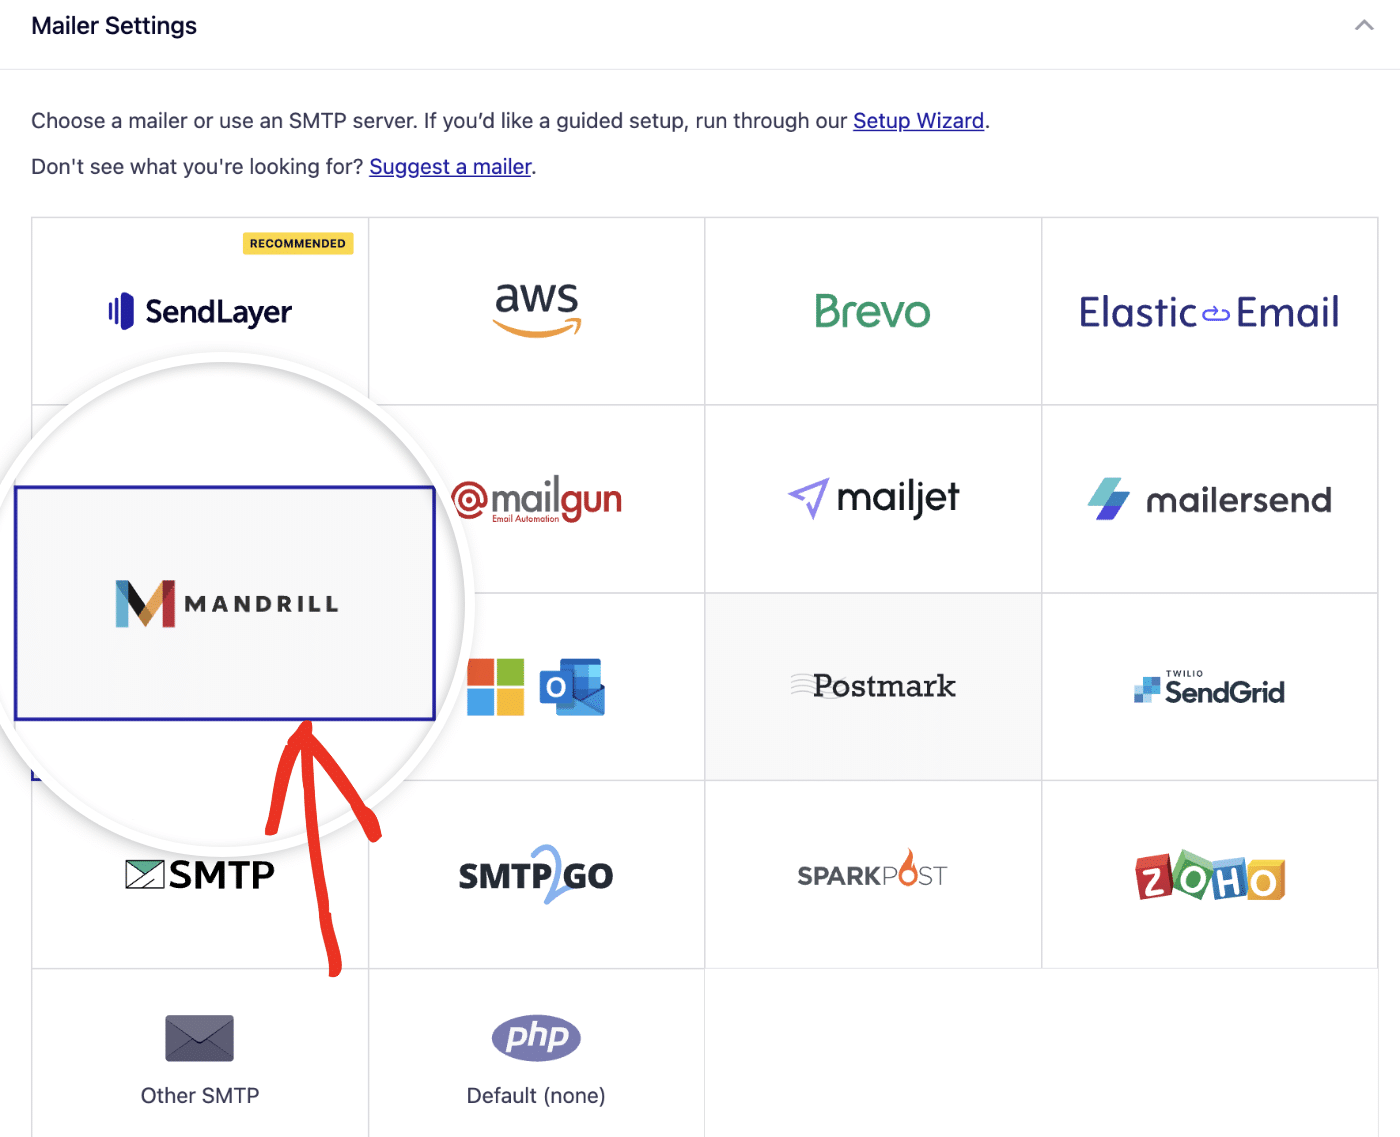
Mailer Settings
Next, select Mandrill from the list of available mailers.
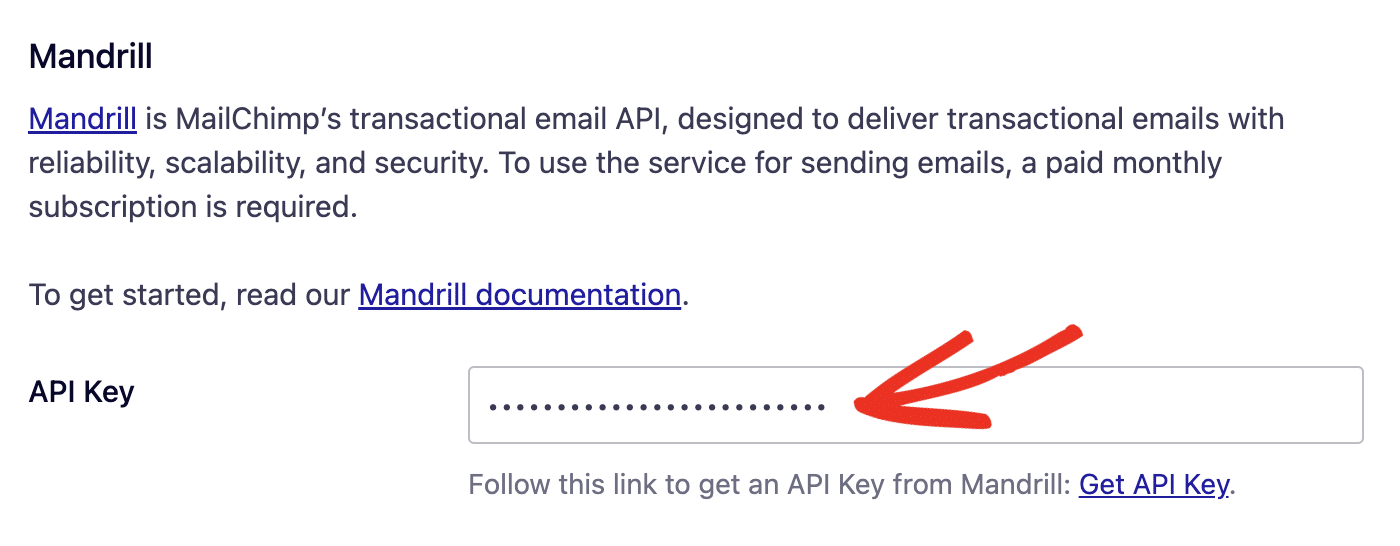
API Key
Once you’ve chosen Mandrill as your mailer, you’ll need to enter your API key. Go ahead and switch back to your Mandrill account window and copy the API key.
Then return to your Easy WP SMTP settings and paste it into the API Key field.
General Settings
From Email Address
By default, the From Email Address field will be filled with your site’s admin email.
The From Email is the address your site’s emails will be sent from. This must be an email address at the domain you verified with Mandrill.
For example, if you verified example.com, the From Email address must contain example.com (e.g., [email protected]).

You also have the option to enable the Force From Email if you want the From Email Address to be the same site-wide.
From Name
The From Name is the name that appears in the emails sent from your site, letting the recipient know who sent the email. By default, the From Name is set to your site’s name. However, you can change the name to whatever you’d like.

Similarly, you can enable the Force From Name toggle to apply the settings site-wide.
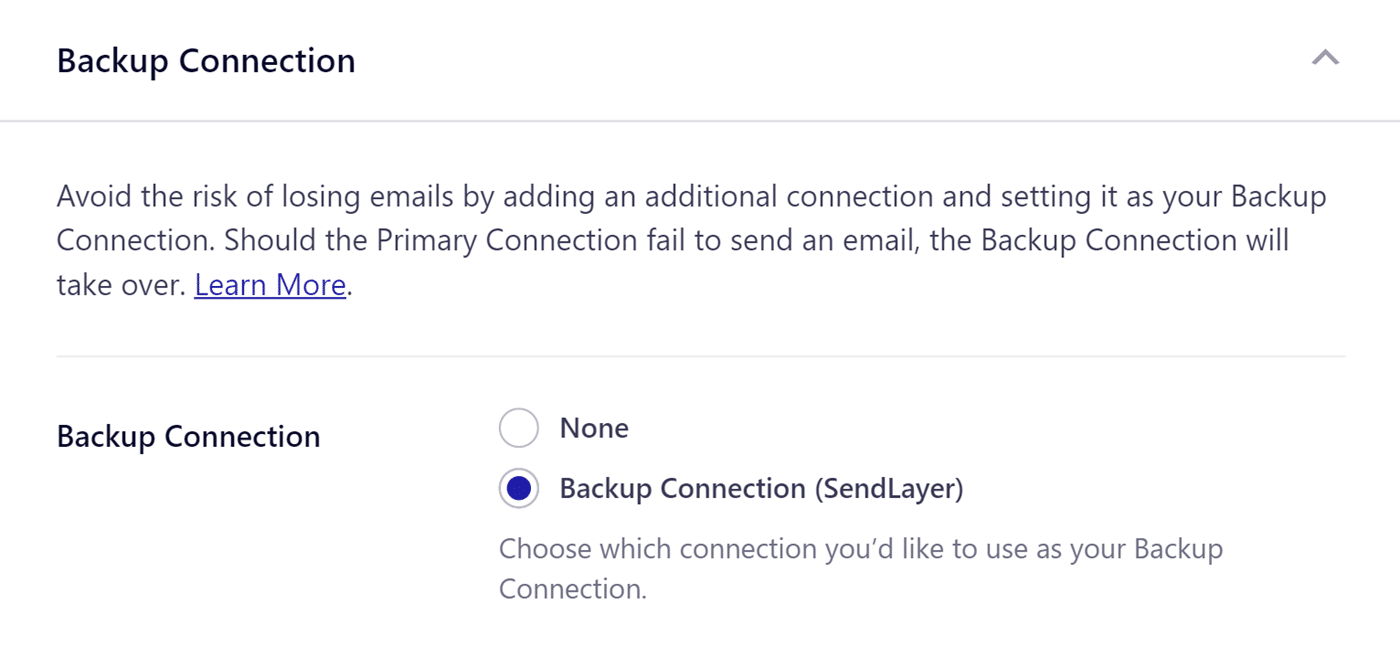
Backup Connection
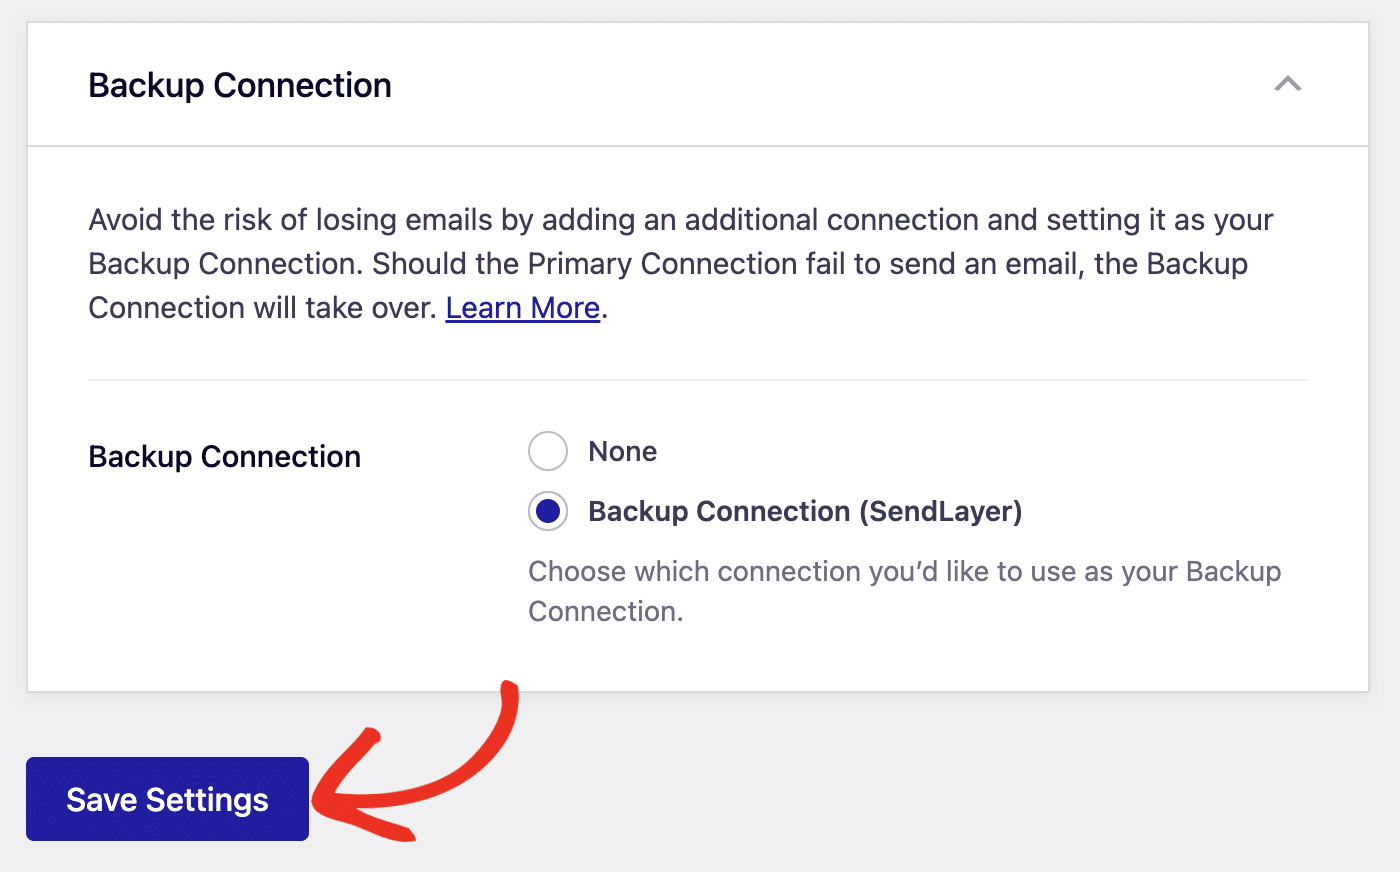
Configuring a Backup Connection is an optional step in your Mandrill mailer setup. However, to further improve email deliverability, we recommend configuring an additional connection to serve as a backup in case your Primary Connection fails.
Once you’re done configuring the mailer settings, be sure to click Save Settings to register your changes.
That’s it! You’ve now successfully set up the Mandrill mailer with Easy WP SMTP.