Are you ready to install the Easy WP SMTP plugin and improve your email deliverability? Once you’ve purchased a license, the next step is to install the plugin on your WordPress site.
To help you get started, we’ve created a simple step-by-step guide on how to install Easy WP SMTP on your site.
1. Downloading the Easy WP SMTP Plugin
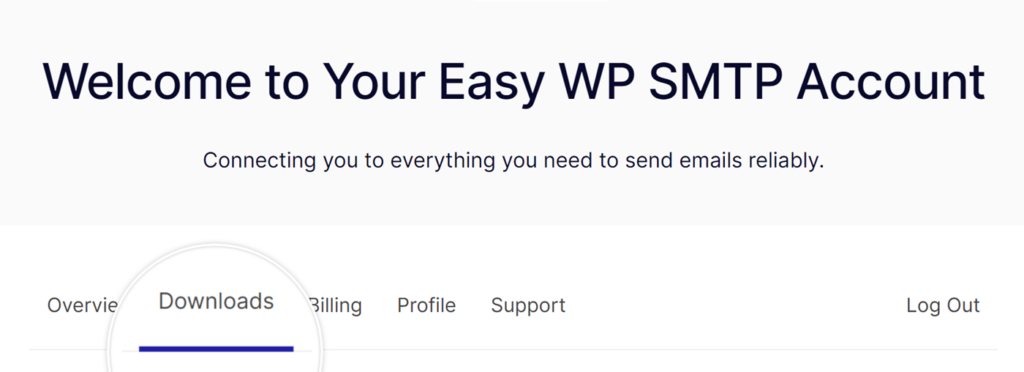
To begin, log in to your Easy WP SMTP account and click on the Downloads tab.
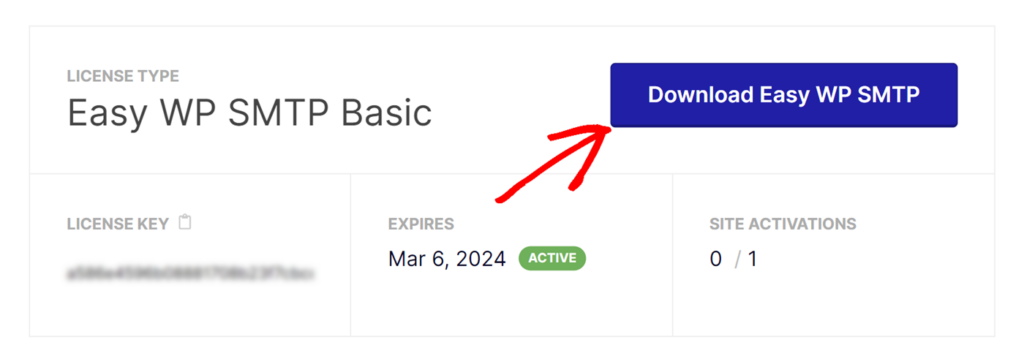
After clicking, you’ll see a page displaying all of your licenses. To download the plugin, select the license you want and click on the Download Easy WP SMTP button next to it. This will download a zipped file of the Easy WP SMTP plugin directly to your computer.
Note: Sometimes the downloaded file may automatically unzip and appear as a regular folder. But remember, the folder must remain zipped to be used with the WordPress plugin uploader.
If you need help on how to zip a file, please check out these instructions for Windows and Mac operating systems.
2. Installing Easy WP SMTP on Your Site
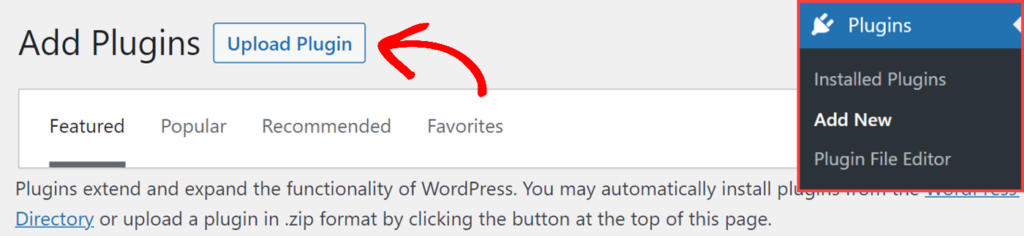
After downloading the zipped file, go to the WordPress admin area of the website where you wish to install Easy WP SMTP. From there, navigate to Plugins » Add New in the admin dashboard, and then click on the Upload Plugin button.
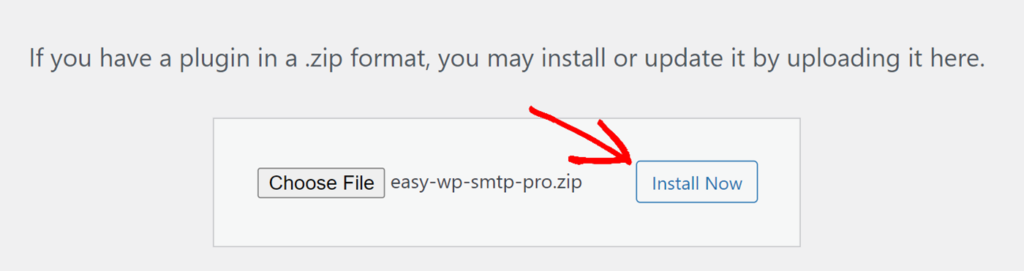
Once you’re in the plugin uploader, select the Choose File button, and browse for your Easy WP SMTP zipped file.

Once your file is selected, click the Install Now button.
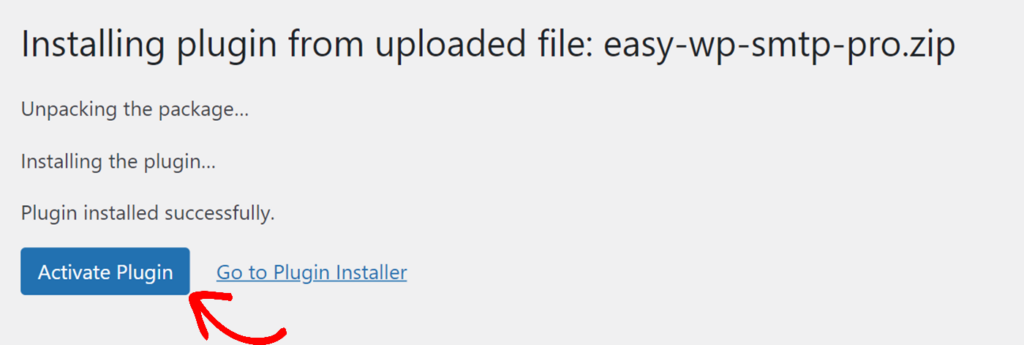
WordPress will automatically install Easy WP SMTP for you. After the installation process is complete, click on the Activate Plugin button to enable the plugin and start using it on your site.
That’s it! You’ve successfully installed Easy WP SMTP on your WordPress website.