In this tutorial, we’ll show you how to improve email deliverability with the Amazon SES mailer in Easy WP SMTP.
Requirements: Your site needs to have a valid SSL (HTTPS) certificate enabled. Please see WPBeginner’s tutorial for adding SSL and HTTPS in WordPress.
Before getting started, you’ll need to ensure Easy WP SMTP is installed and activated on your WordPress site.
1. Configuring an Amazon AWS Account
To get started, you’ll need to create a free account with Amazon Web Services (AWS) if you don’t have one already.
Although setting up this mailer won’t require any paid services, you’ll need to enter a credit card when creating your account.
After signing up, AWS will use your address to determine your region, but if it’s unclear, you’ll be prompted to select the closest one from a list of supported regions.
The following regions are currently supported:
Note: The regions marked with an asterisk are supported but not enabled by default. You’ll need to manually enable them in your account settings if they’re the closest to your location in your AWS account settings.
- Africa (Cape Town)*
- Asia Pacific (Mumbai)
- Asia Pacific (Osaka)
- Asia Pacific (Tokyo)
- Asia Pacific (Seoul)
- Asia Pacific (Singapore)
- Asia Pacific (Sydney)
- AWS GovCloud (US)
- Canada (Central)
- Europe (Ireland)
- Europe (London)
- Europe (Frankfurt)
- Europe (Milan)*
- Europe (Paris)
- Europe (Stockholm)
- Middle East (Bahrain)*
- South America (São Paulo)
- US East (N. Virginia)
- US East (Ohio)
- US West (N. California)
- US West (Oregon)
2. Creating an IAM User
After creating an account on Amazon Web Services, you need to set up an IAM User to get access keys. To do this, go to the IAM Users page on Amazon Web Services, and then click the Create user button.

To get started, you’ll need to create a new user account. You can choose any name you want in the User name field, but we suggest using a specific format – yourdomain_easywpsmtp.
This format helps to keep track of which website is connected to each user. For instance, if your site is example.com, the suggested User name would be examplecom_easywpsmtp.
If you need to create or modify user accounts in the future, this naming convention will be helpful.
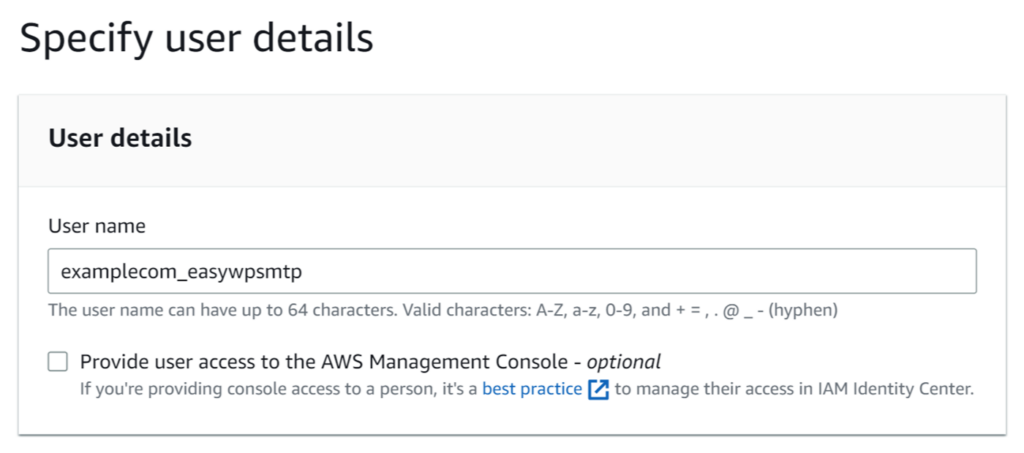
When you’re ready, click the Next button to proceed.
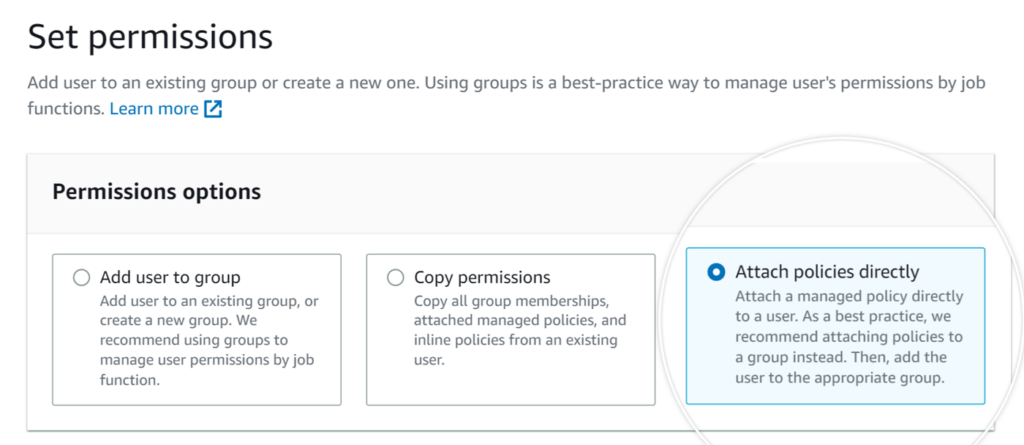
Next, you’ll be setting permissions for this new user. From the top row of boxes, select Attach policies directly.
Then, type AmazonSESFullAccess into the search bar. This should leave only one result, named AmazonSESFullAccess. Be sure to check the box next to this option so that this permission is added for the user.
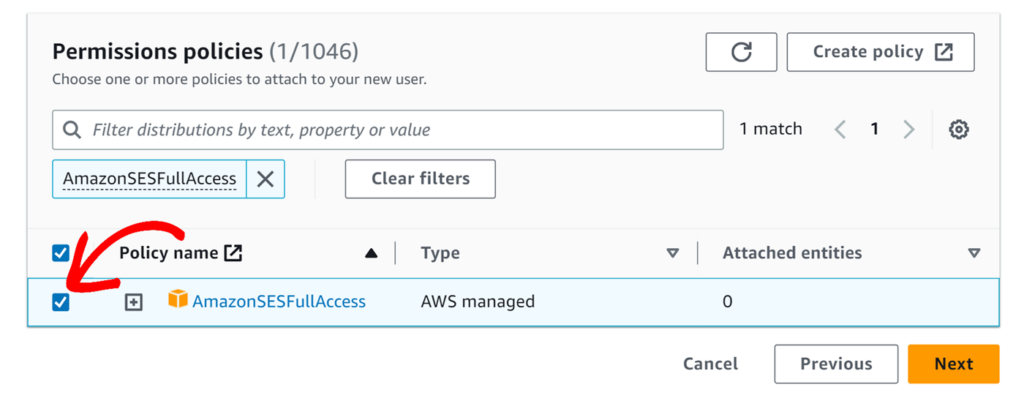
When you’re ready to move forward, click the Next button.
On the next page, you’ll be shown all the details you’ve chosen for this user. You can double-check that everything looks correct, then click the Create user button.
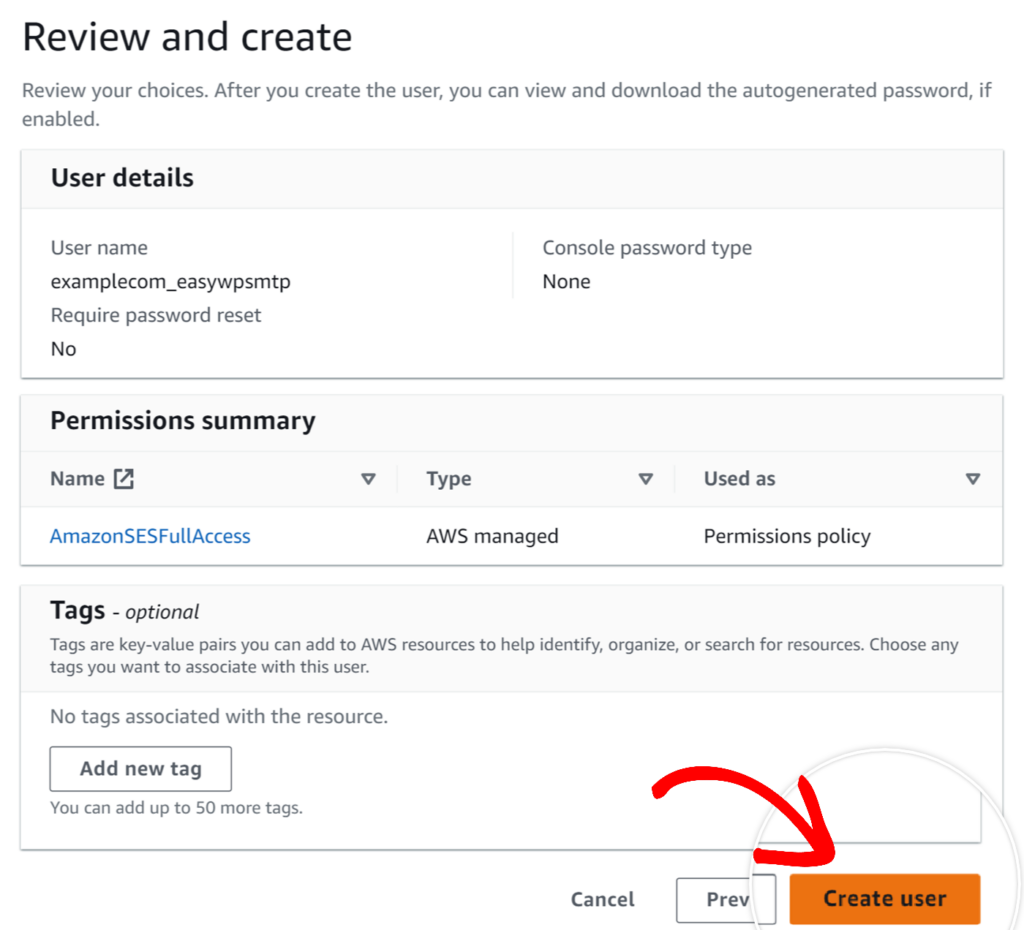
AWS should now display a success message, and you will be redirected to the Users page.
Generating an Access Key
On the Users page, click on the User name of the user which you’ve created.
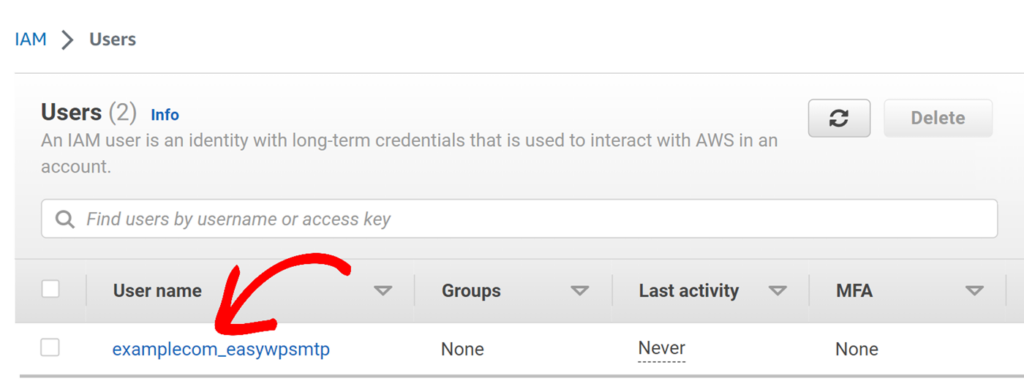
Next, from the tabs that are displayed, click on Security credentials.

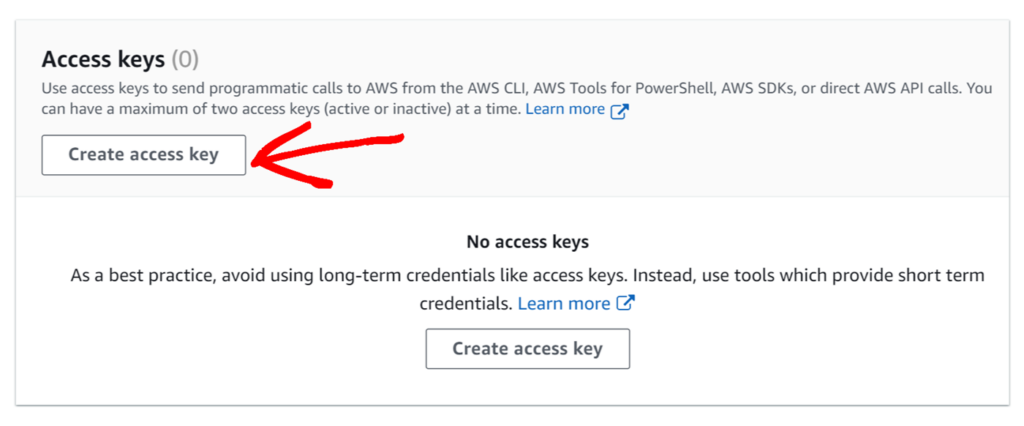
Then, scroll down to the Access keys section and click on the Create access key button.
Next, select Other for the Access key best practices & alternatives section.
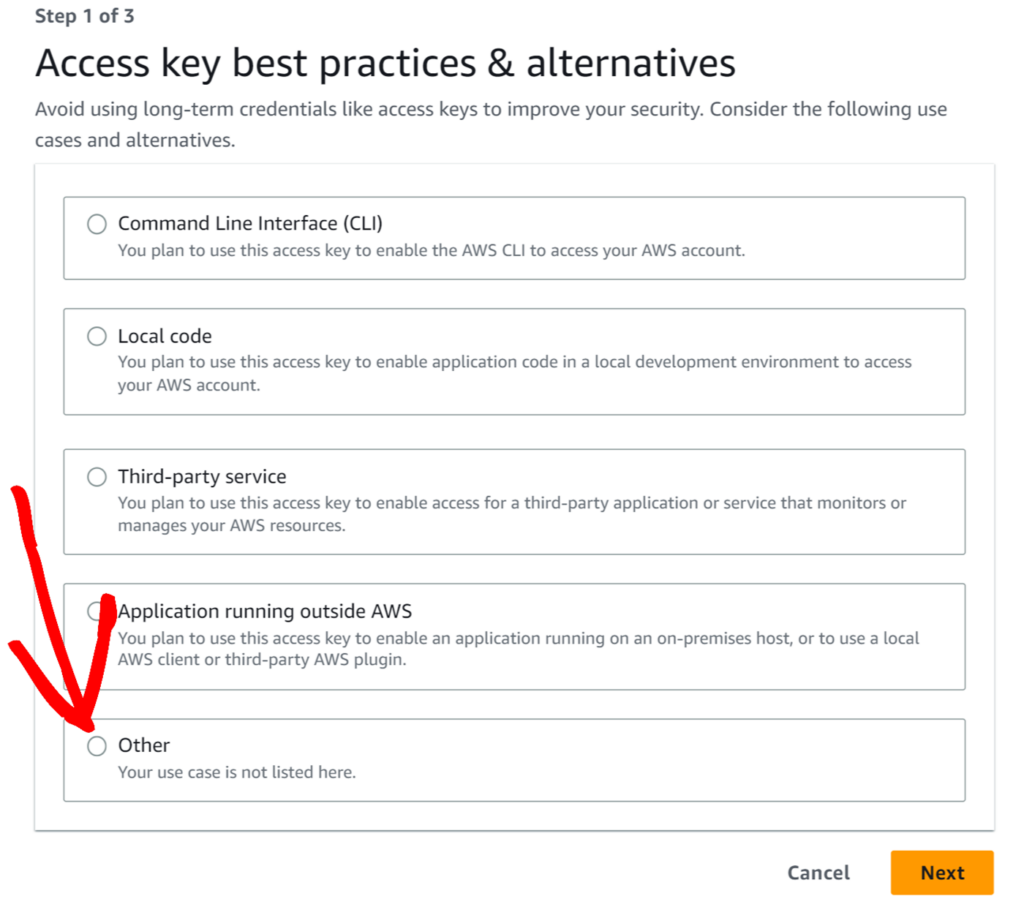
When you’re ready to move forward, click the Next button.
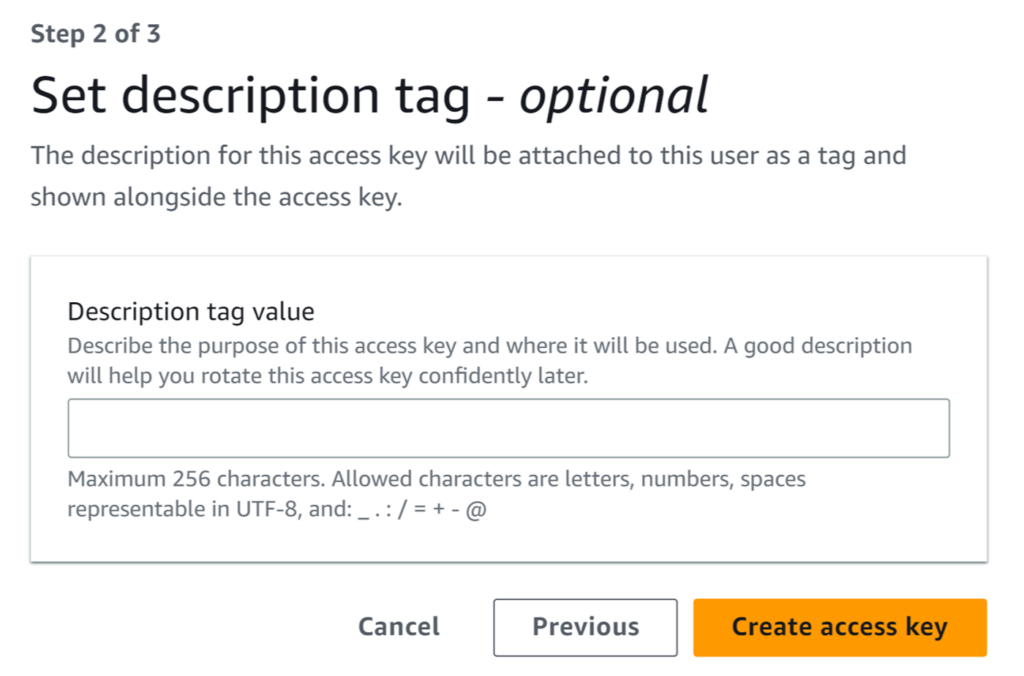
On the next page, we’ll skip the option to add a description tag, so you can go ahead and click the Create access key button.
AWS should now display a success message. You’ll also see an Access key ID and Secret access key for your user. Be sure to take a moment to copy these somewhere safe.
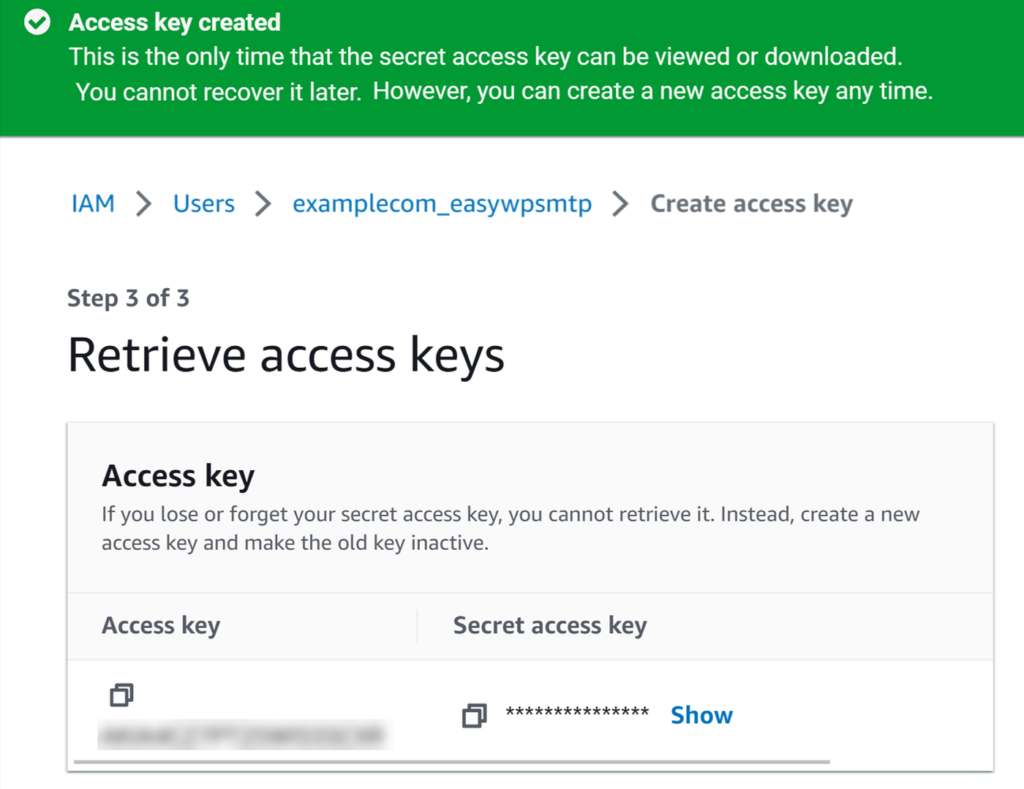
Note: Once you leave this page, you won’t be able to view the Access key and Secret access key again. Therefore, it is essential to either download a CSV file containing this information or copy it to a secure location for future use.
3. Switching AWS to Production Mode
When you create an Amazon SES account, it starts in Sandbox Mode. This means you can only send a limited number of emails per month and only to email addresses that have been verified by Amazon.
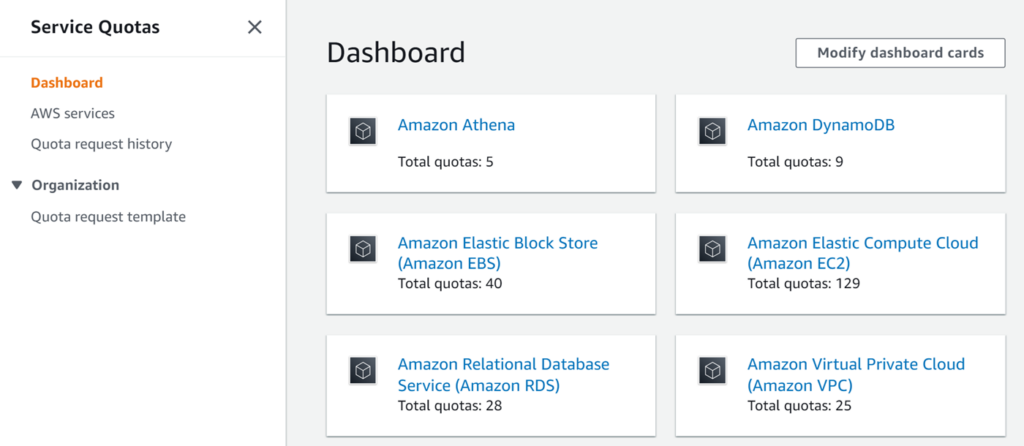
Next, we will guide you through the process of moving to Production Mode. This will allow you to increase your monthly sending quota and send emails to any recipient. To begin this step, you’ll need to navigate to the Amazon Service Quotas dashboard.
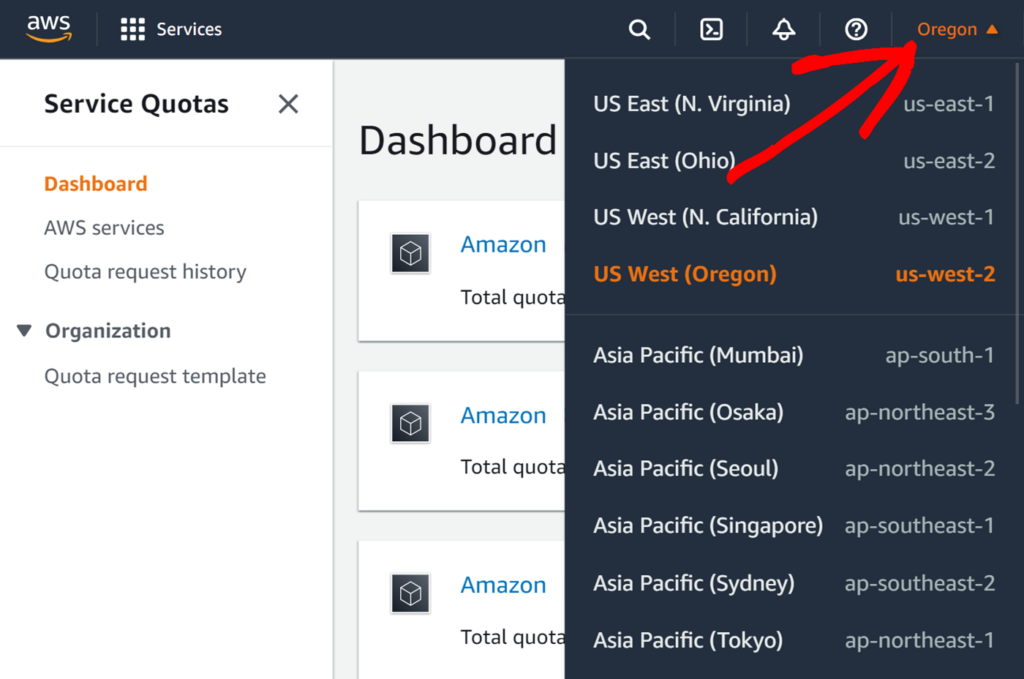
Selecting Your Region
Once you’re on the dashboard, make sure you have the right region selected. This region should be the same one you chose when you configured your Amazon AWS account. You can double-check and choose your region by clicking on the Regions dropdown.
Once you have selected your region, you can request an increase in your monthly email limit.
Requesting a Quota Increase
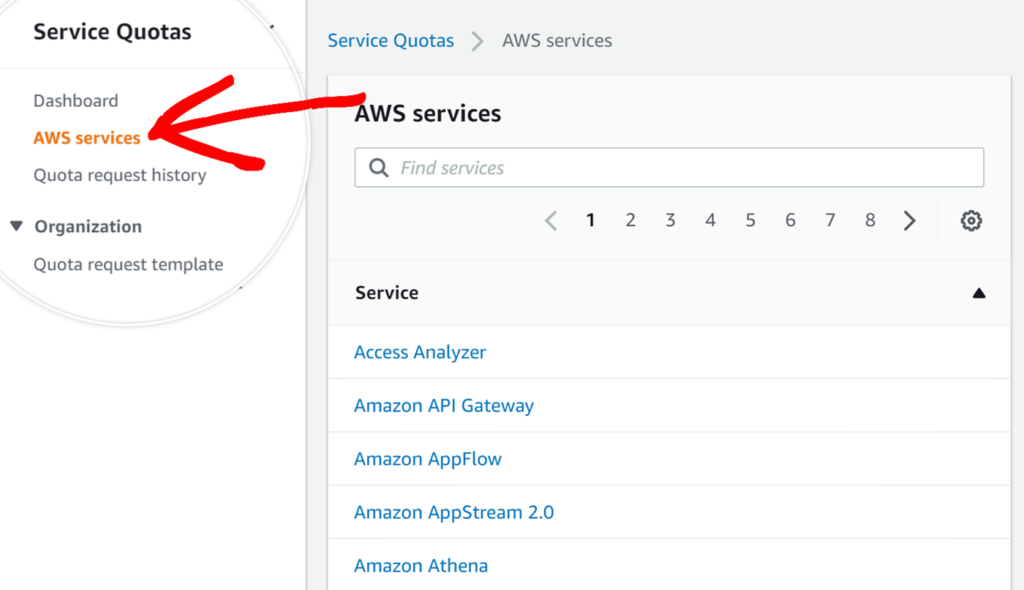
To request an increase to your monthly email limit, click on the AWS services option in the sidebar menu.
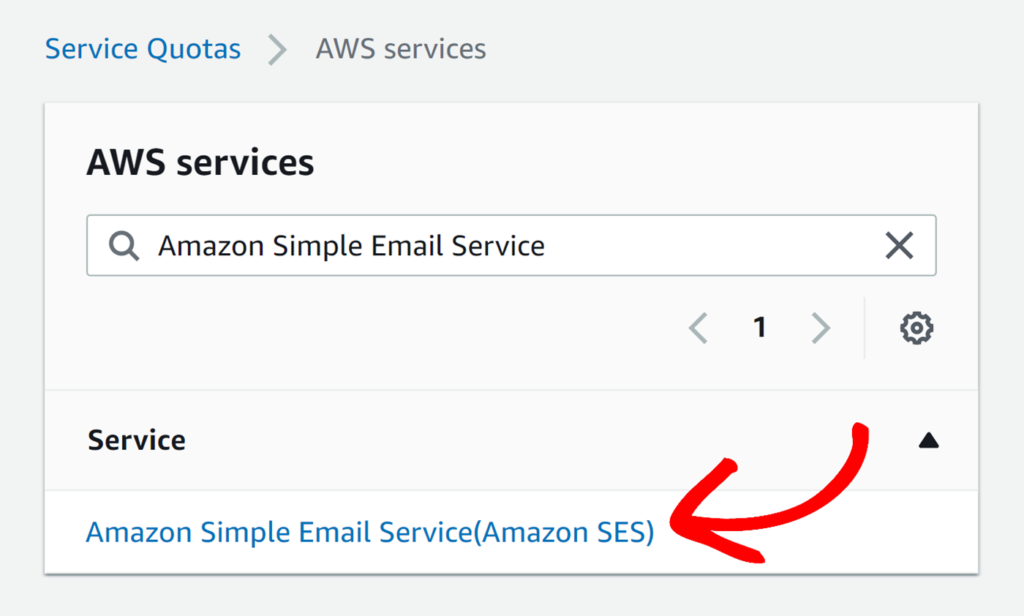
Then, type Amazon Simple Email Service into the search bar.
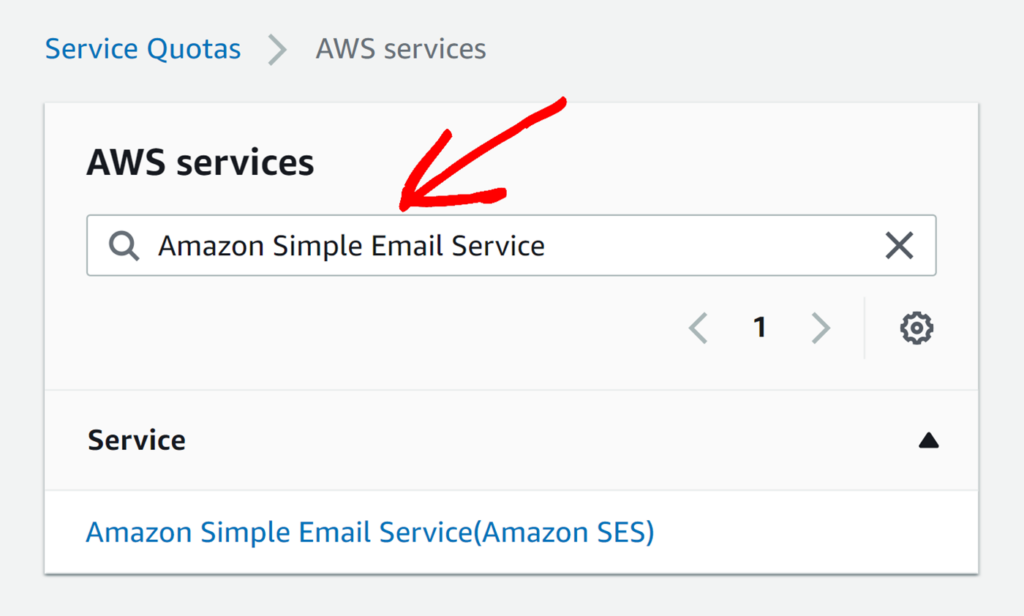
This will leave a single option named Amazon Simple Email Service (Amazon SES). When you’re ready, go ahead and click on this option.
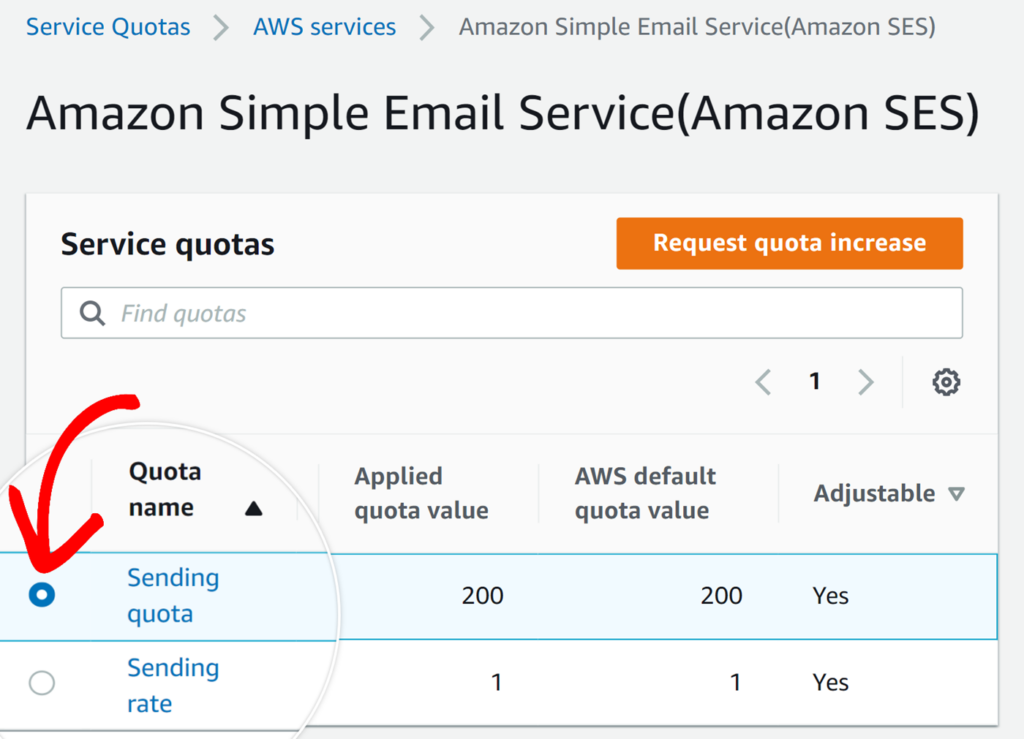
On the next page, you’ll want to initiate a request to increase your sending quota. To do this, start by selecting the multiple-choice option next to Sending quota.
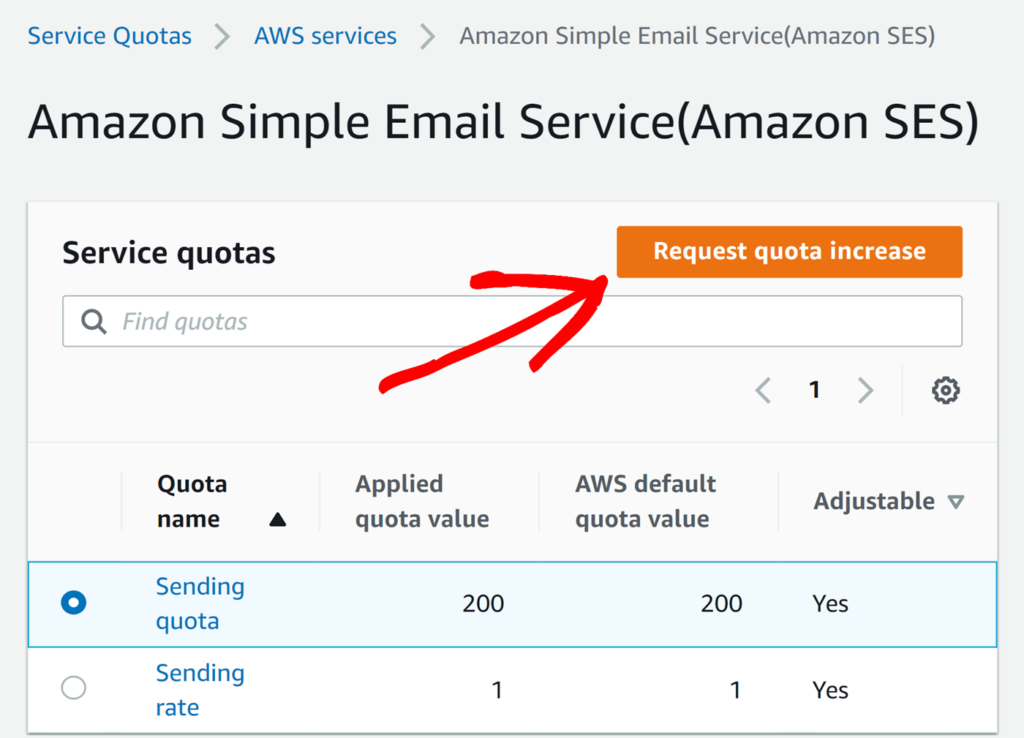
Next, click on the Request quota increase button.
Next, you’ll see a Case Classification form that you need to review and complete. This step is essential because Amazon uses it to stop spammers from abusing its system. By filling out this form, you’re demonstrating to Amazon SES that your website will only send emails for legitimate purposes.
To finish this form, go to the Change quota value section and enter the number of emails you want to send each day. In this example, we will ask for a daily sending quota of 500 emails.
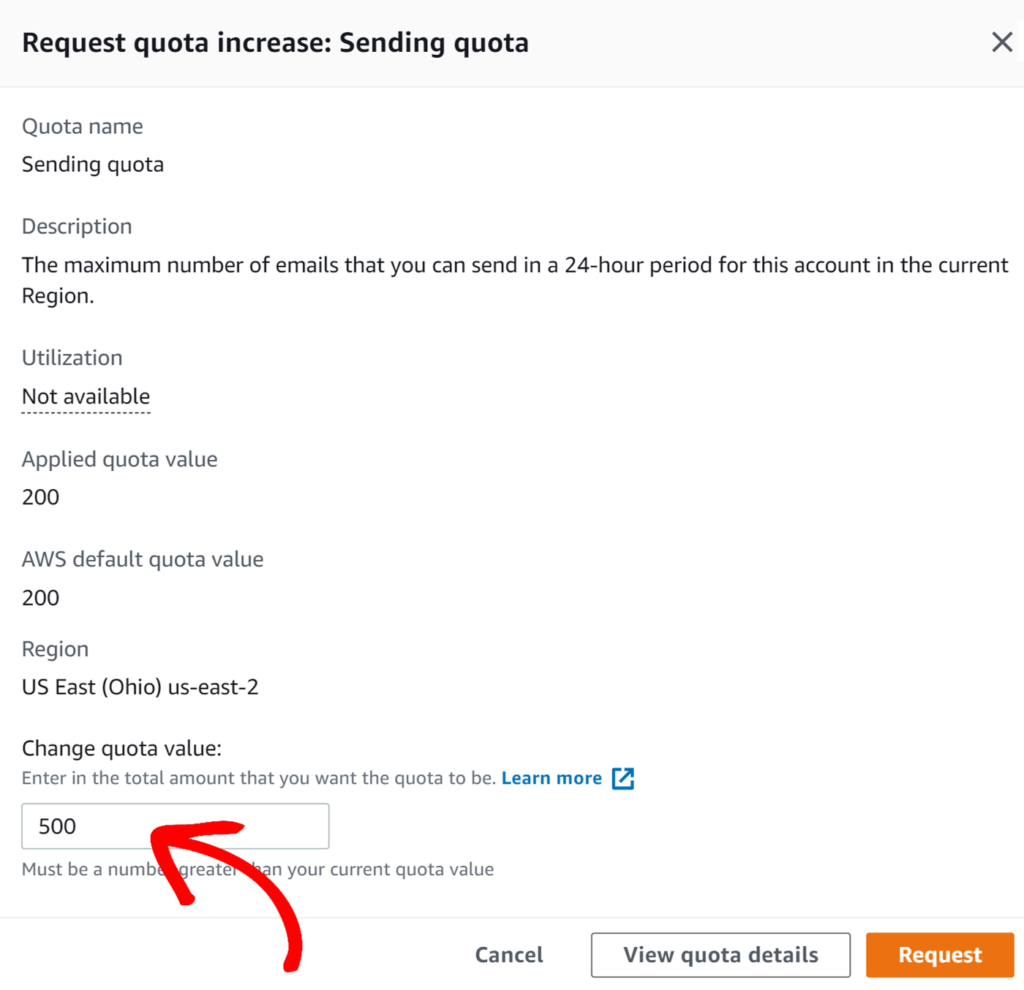
Once you’ve added a quota value, go ahead and click the Request button to submit the form.
Immediately after submission, you should receive two emails from Amazon Web Services. Both will simply confirm that a new case has been created.
AWS will generally review requests and let you know the result within one business day. In the meantime, you can continue with the next setup steps.
4. Configuring Easy WP SMTP Settings
While you wait for AWS to review your case submission, you can set up Easy WP SMTP on your WordPress site.
To access the settings from the WordPress dashboard, go to Easy WP SMTP » Settings.

In the following steps, we’ll cover how to configure each of the settings on this page.
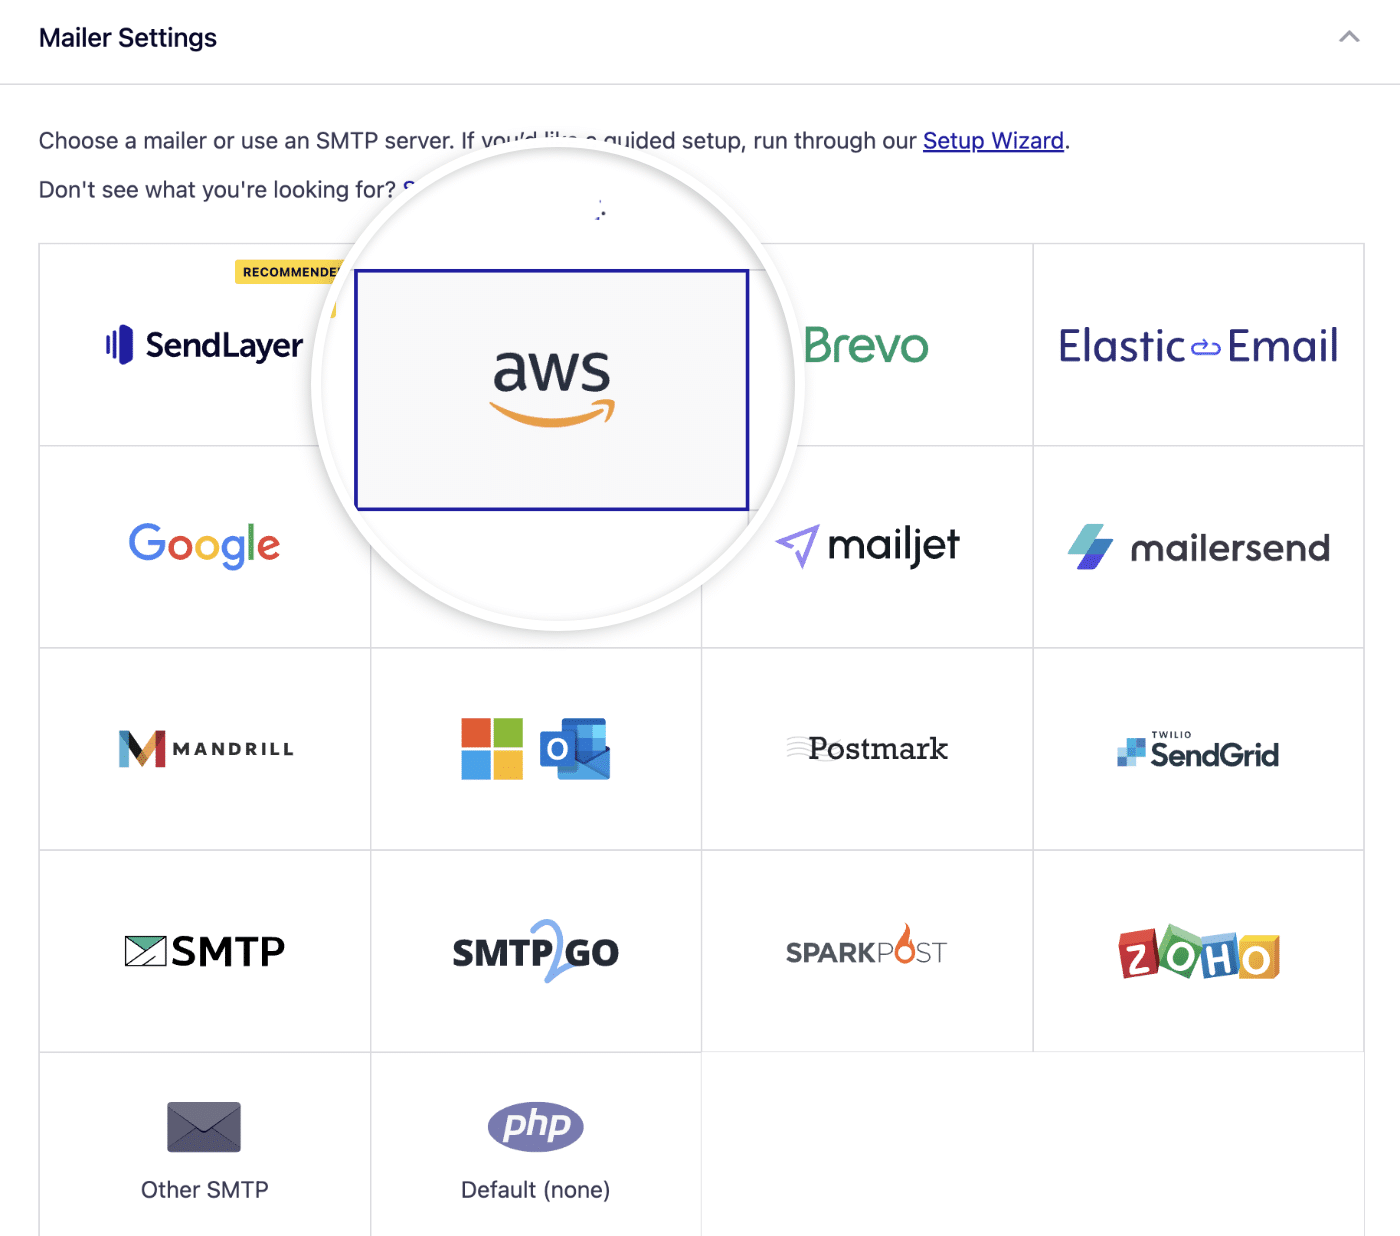
Mailer Settings
Select Amazon SES as the mailer to use with Easy WP SMTP.
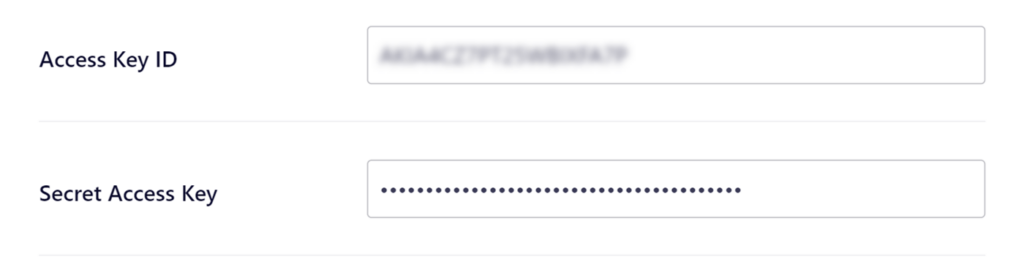
Access Key
At this point, you need to enter the access keys that you previously created in your AWS account. Simply copy and paste the Access Key ID and Secret Access Key, and then click on the Save Settings button.
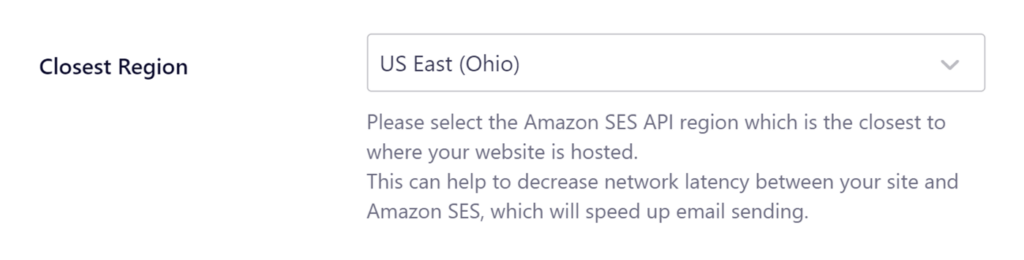
After entering your access keys and saving the settings, you can set up the Closest Region field. The field should already have a pre-selected region based on the location of your site’s hosting server. Just make sure that it’s correct and matches the region you chose in the Amazon console.
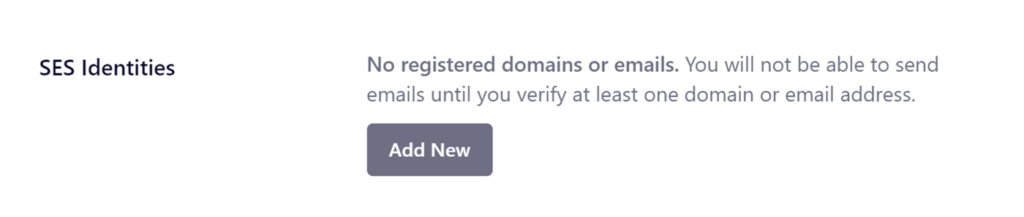
SES Identities
Next, you’ll need to scroll down to the SES Identities section. This is where you can add any email addresses or domains you’d like to use as the From Email on your site.
To add a new verified email or domain, click on the Add New button.
This will open an overlay where you can choose to Verify Domain or Verify Email Address. We’ll explain both options below.
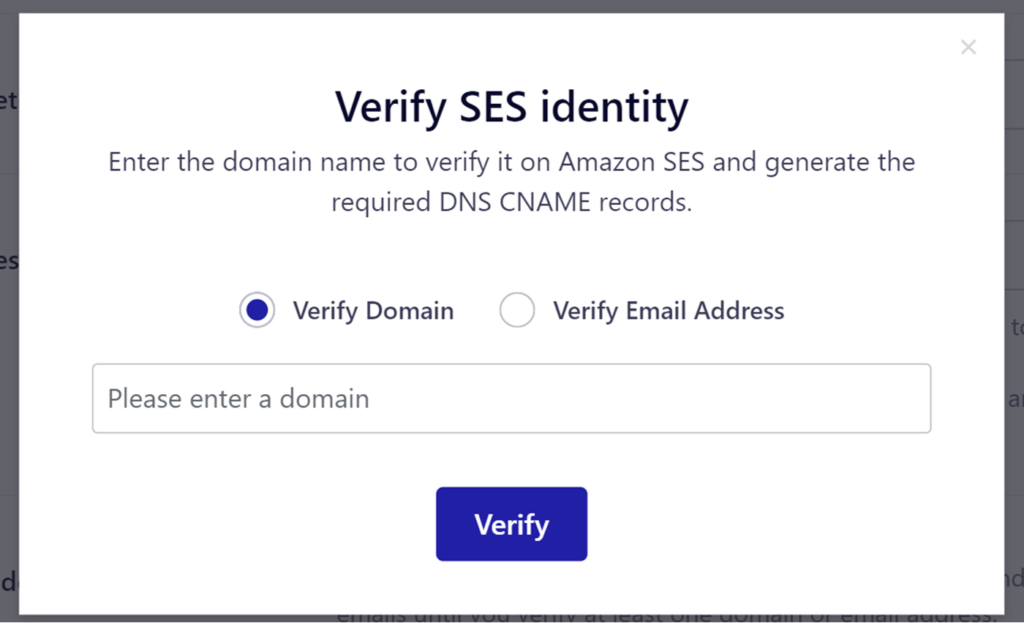
To verify a domain, enter it in the Please enter a domain field and click Verify to generate three CNAME records. Add these records to your domain’s DNS settings. Once verified, you can use any email address under the domain.
To verify an email address, select Verify Email Address, enter your email address in the Please enter a valid email address field, and click Verify. Check your email inbox for a verification email from Amazon Web Services and click the included link within 24 hours to verify.
General Settings
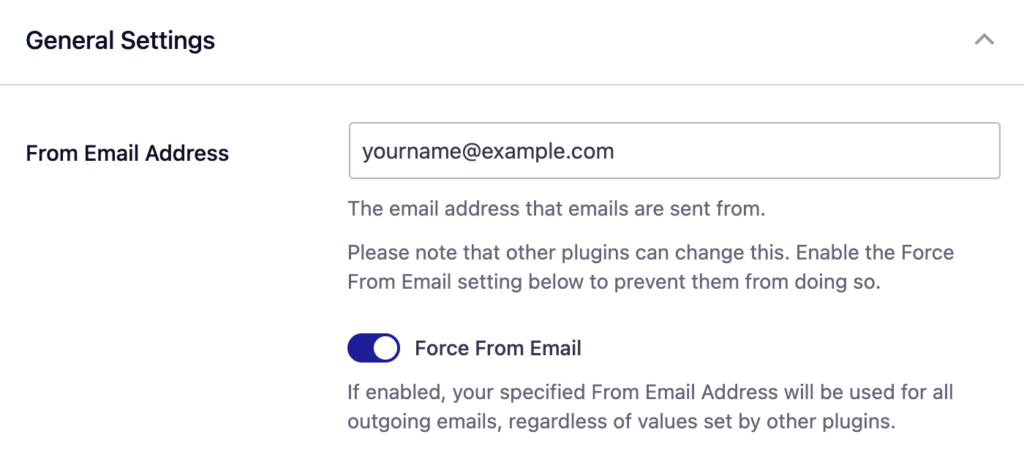
From Email
The From Email refers to the email address from which your WordPress site sends emails. It should match your verified sending domain in Amazon SES, such as [email protected].
Enabling the Force From Email toggle ensures all site emails use your From Email, overriding other plugin settings.
From Name
The From Name is the name that appears as the sender of the emails from your website. By default, it’s your website’s name, but you can modify it to anything you prefer.
If you enable the Force From Name toggle, your preferred name will apply to all the emails sent from your website.

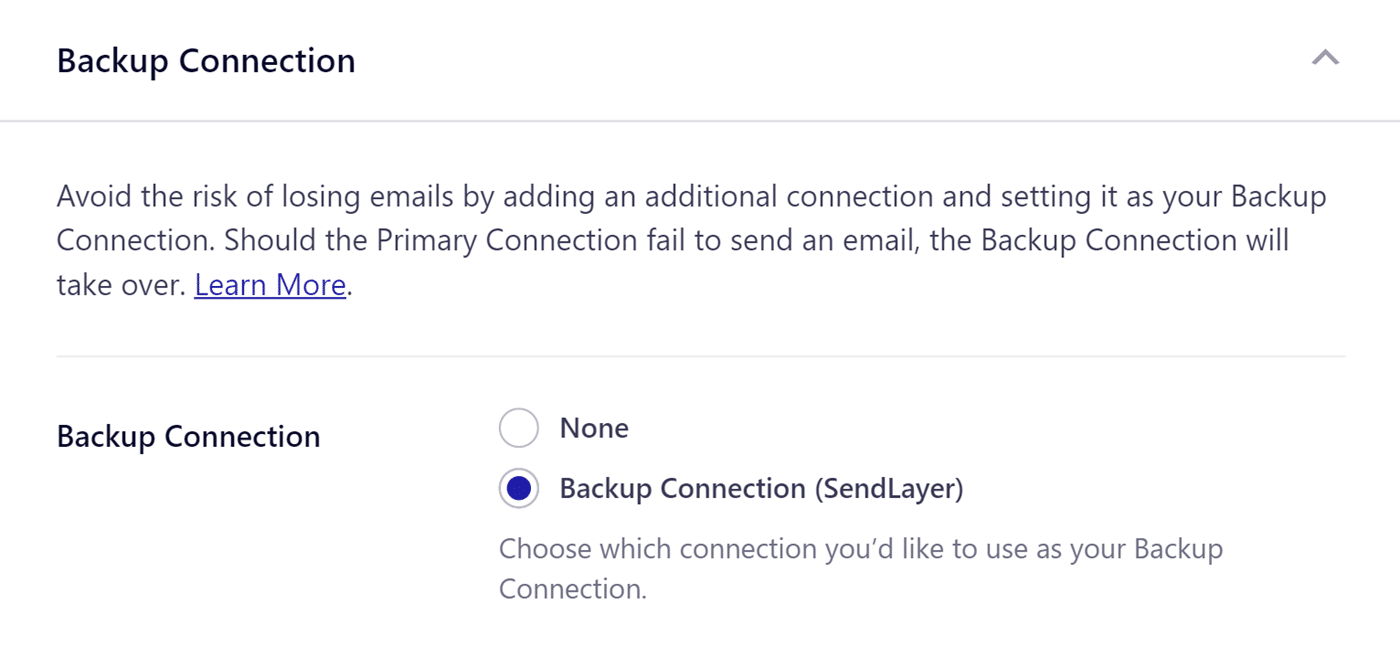
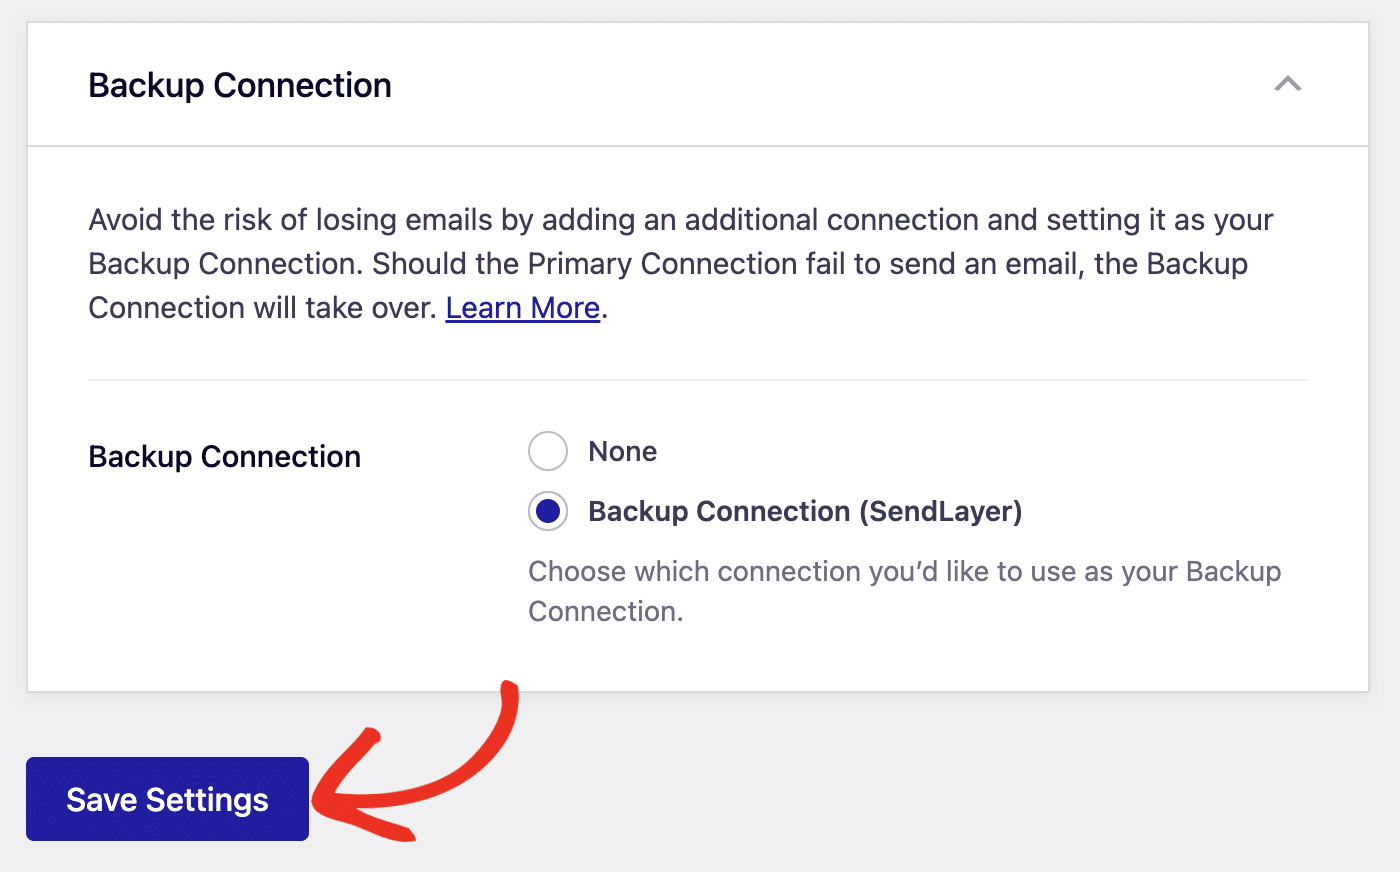
Backup Connection
Configuring a Backup Connection is an optional step in your Amazon SES mailer setup. However, to further improve email deliverability, we recommend configuring an additional connection to serve as a backup in case your Primary Connection fails.
Note: If you’d like to learn how to send emails through different connections based on specific rules, please refer to our Smart Routing tutorial.
Once you’re done configuring the mailer settings, be sure to click Save Settings to register your changes.
That’s it! You’ve now successfully set up the Amazon SES mailer with Easy WP SMTP.