This tutorial covers the steps to integrate Easy WP SMTP with Slack.
Before getting started, make sure Easy WP SMTP is installed and activated on your WordPress site and that you’ve verified your license.
Accessing Email Alerts Settings
Start by navigating to Easy WP SMTP » Settings from your WordPress dashboard. Once here, click on the Alerts tab.
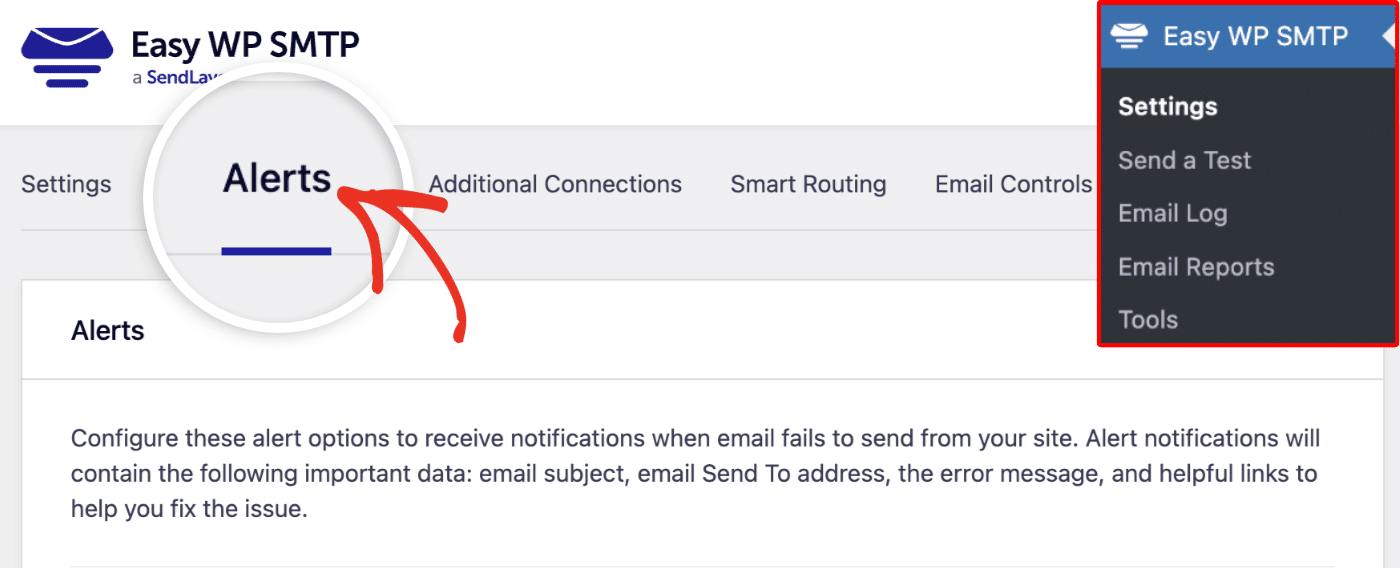
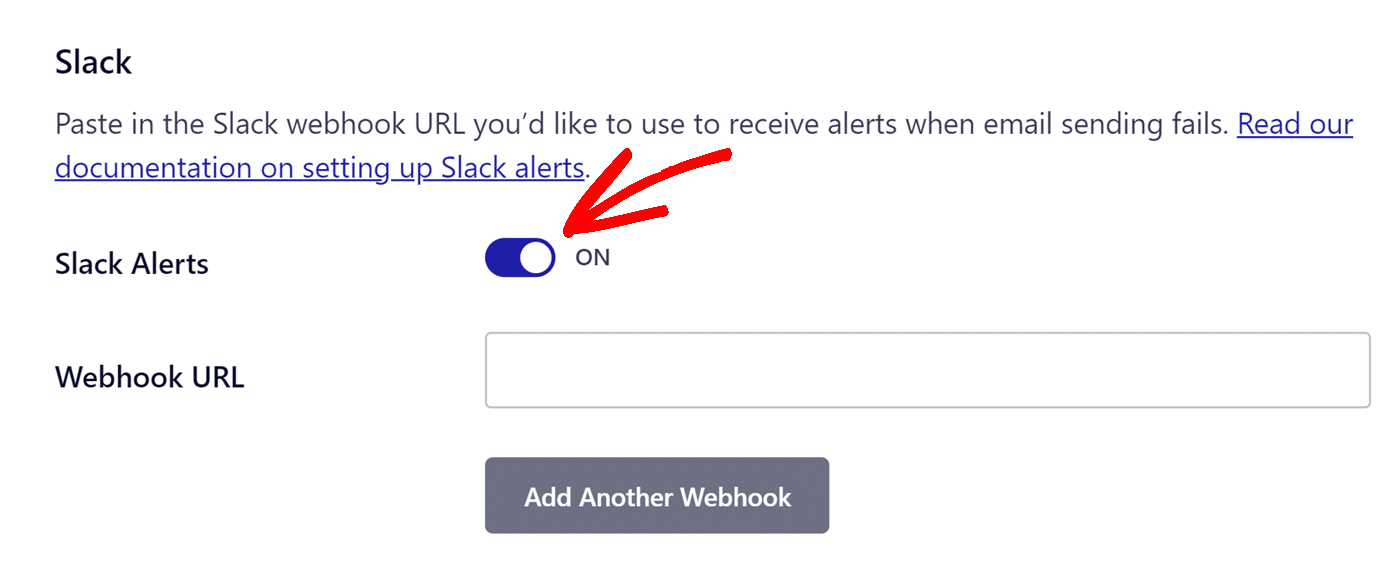
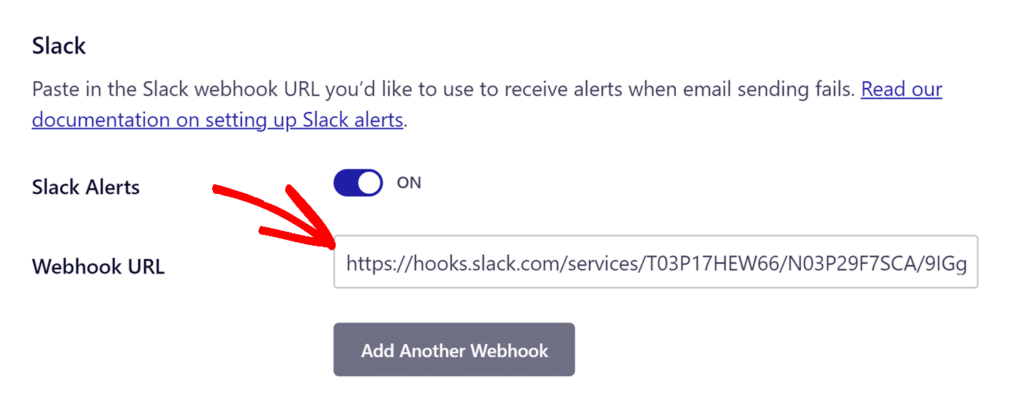
Then scroll to the Slack section. To use Slack integration, you’ll need to create a Slack app and add its webhook URL to your site. Before doing this, ensure the Slack Alerts option is set to the ON position.
Creating a Slack App
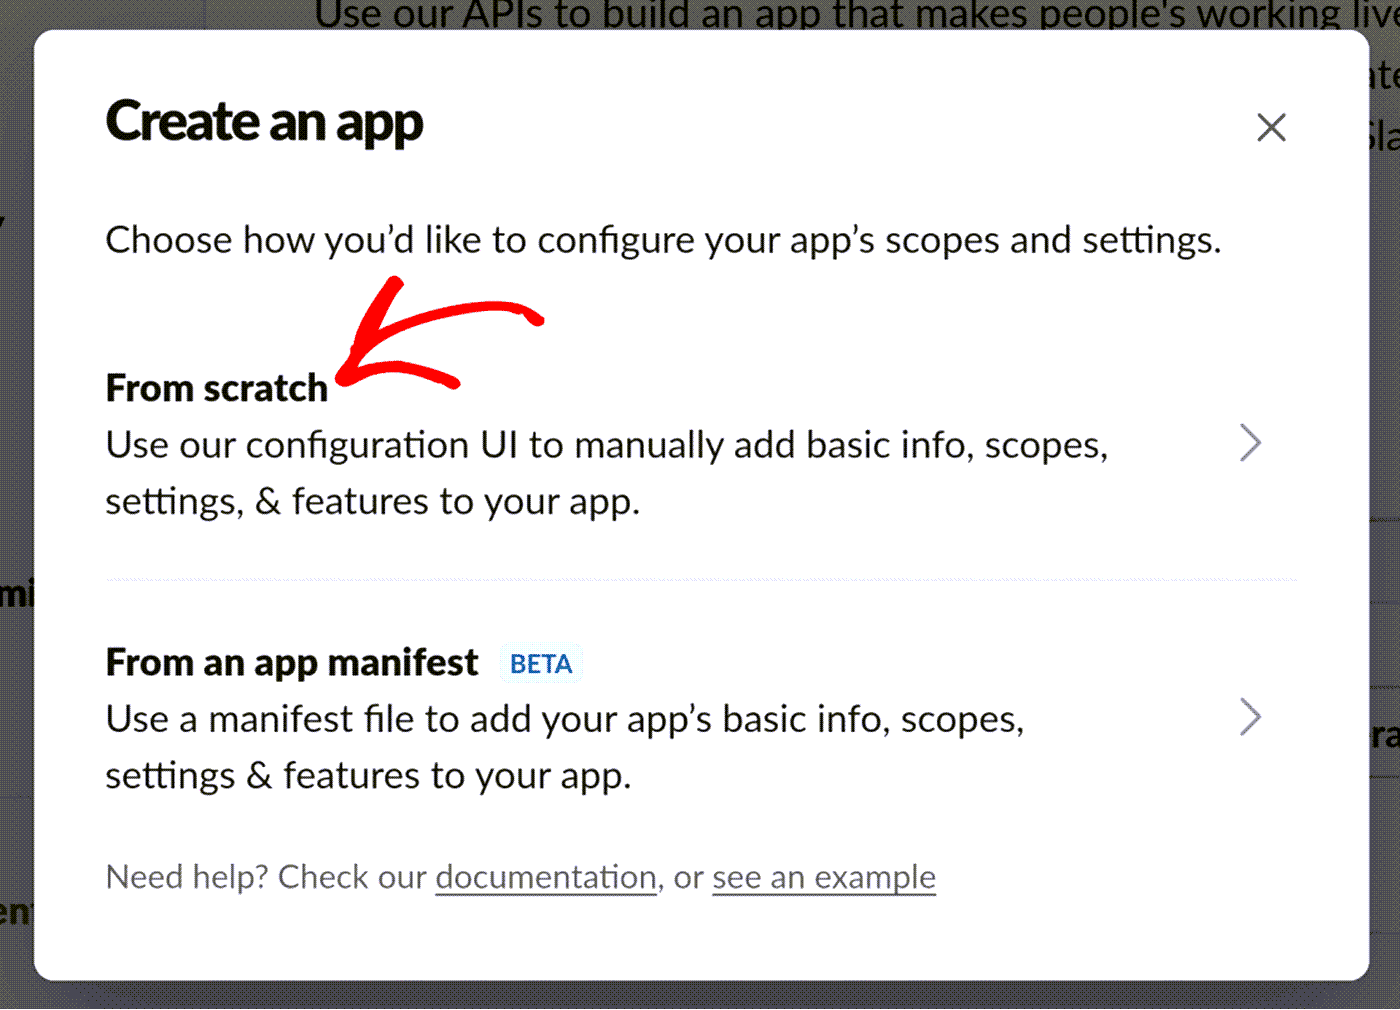
Next, open the Slack API page and create a new app. In the Create an app dialog, choose From scratch to start building your app.
Now you’ll be able to choose an App Name for your Slack app.
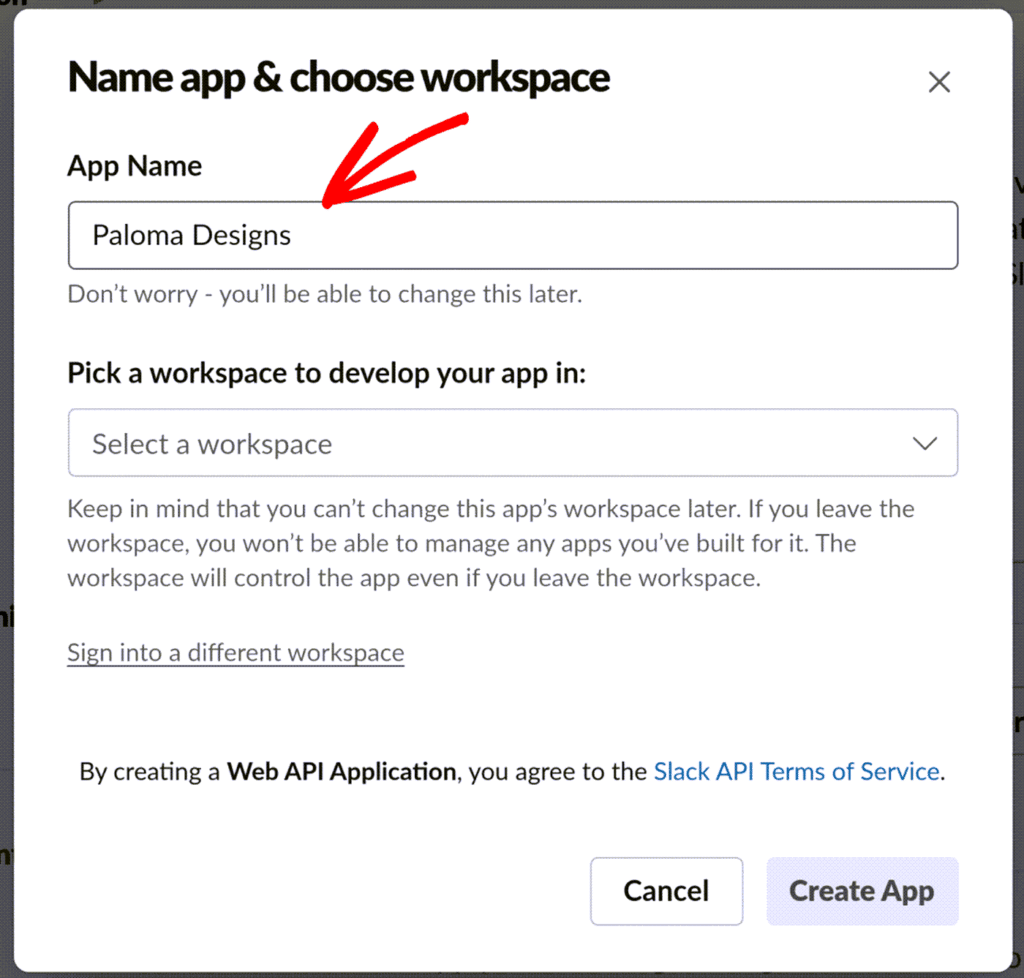
You’ll also need to choose a workspace for your app from the workspace dropdown list.
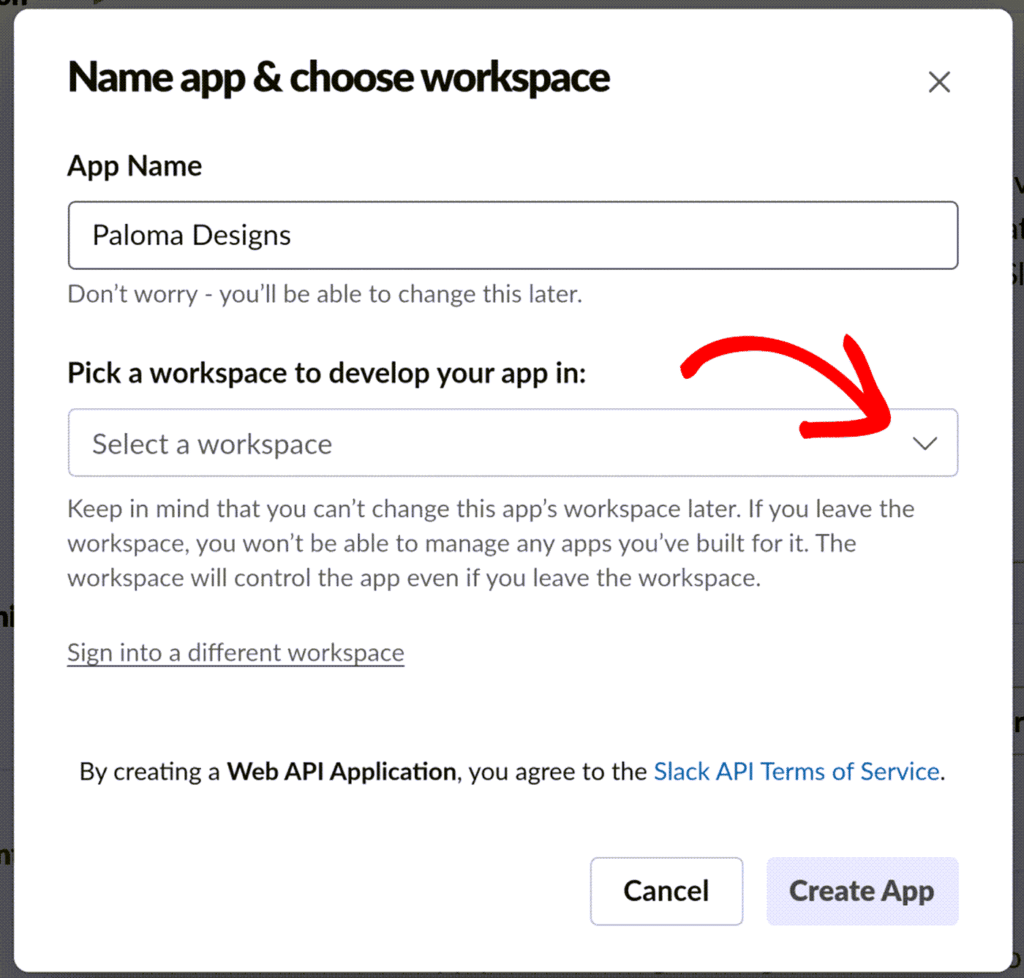
Note: Be sure to choose the correct workspace because this setting can’t be changed after your app has been created.
If you’ve chosen the wrong workspace, you’ll need to create your app again.
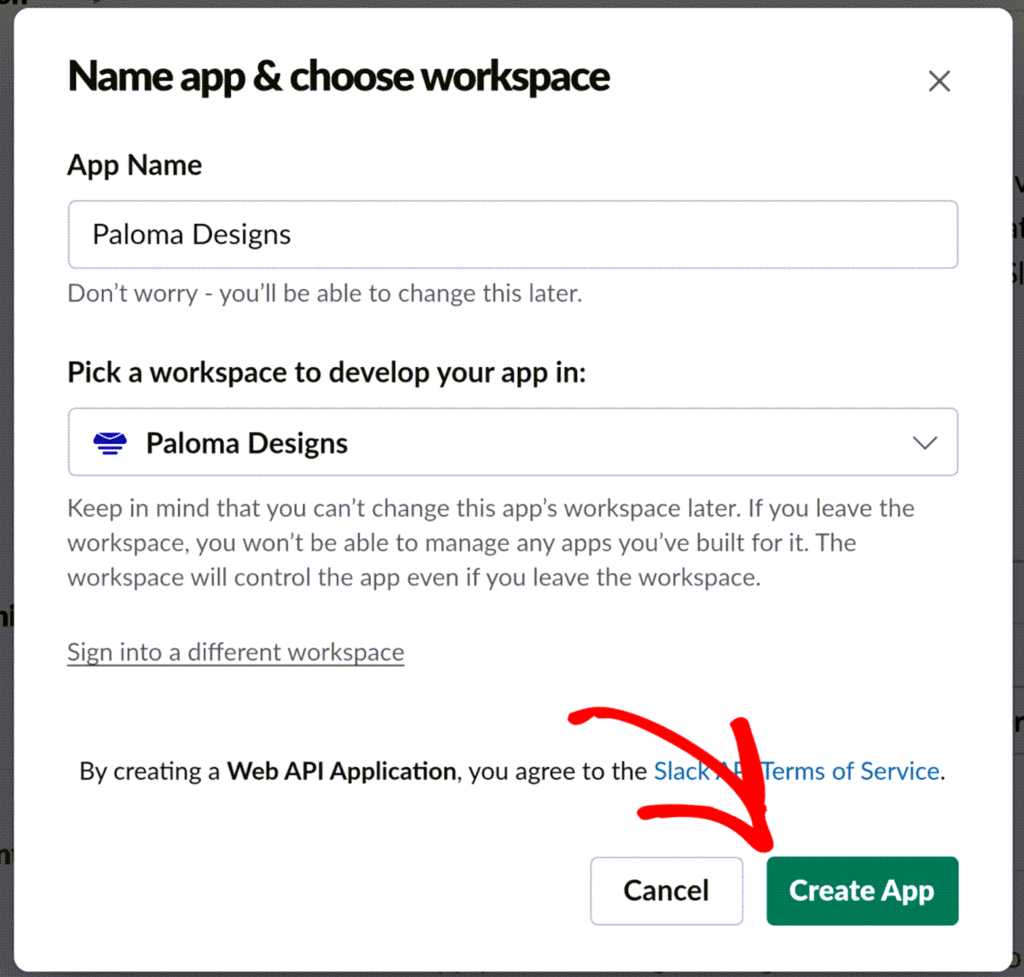
Once you’ve chosen your workspace, click the Create App button to generate your new Slack app.
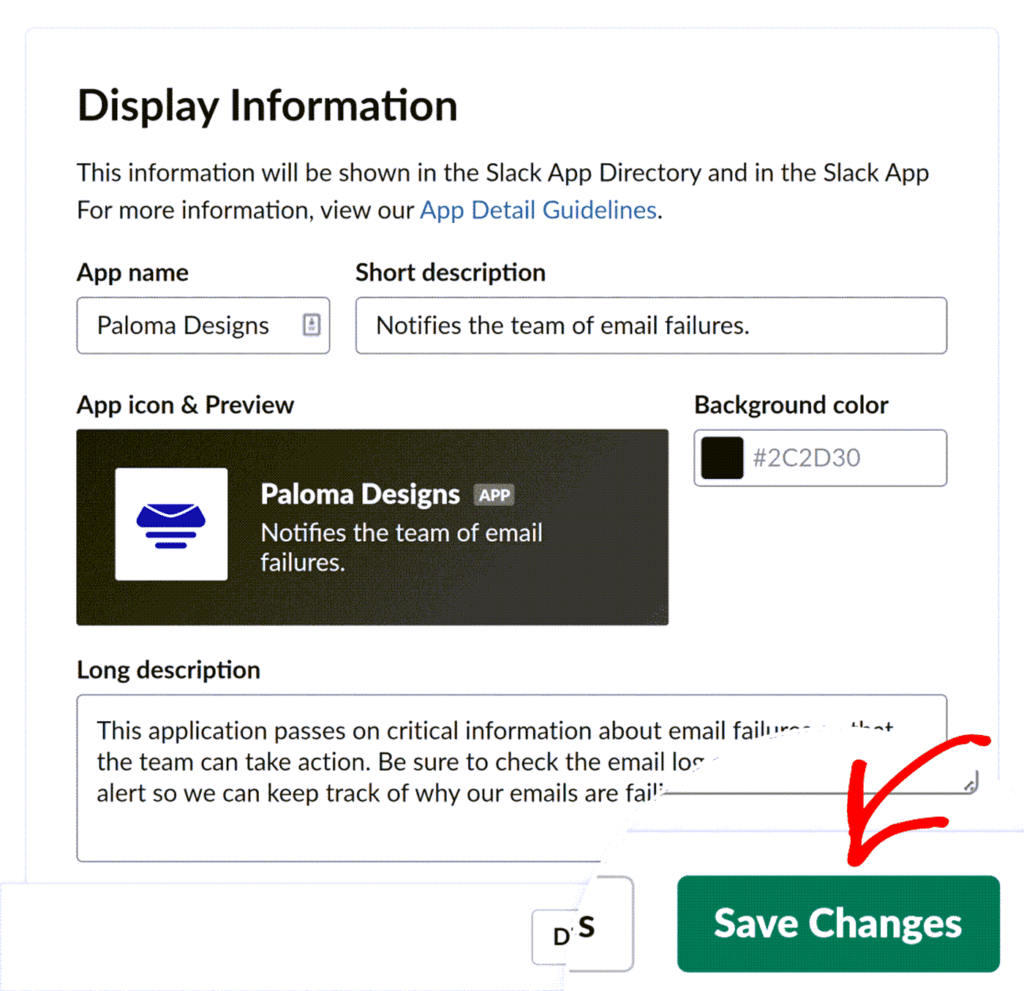
Once your Slack app is created, you can add both short and long descriptions, an app image, and a background color for the app under Display Information.
When you’re finished setting up your app as you like, click the Save Changes button at the bottom right of the screen to save your settings.
The next step is to enable and copy the webhook needed to connect your Slack app to Easy WP SMTP on your site.
Enabling Incoming Webhooks
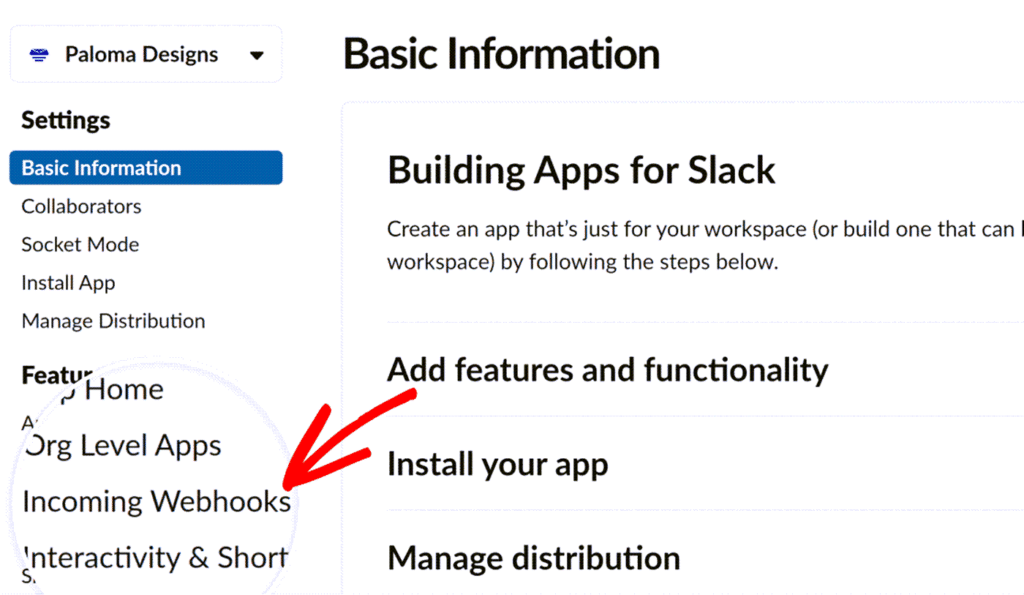
To do this, click on Features » Incoming Webhooks in the sidebar of the Slack API page.
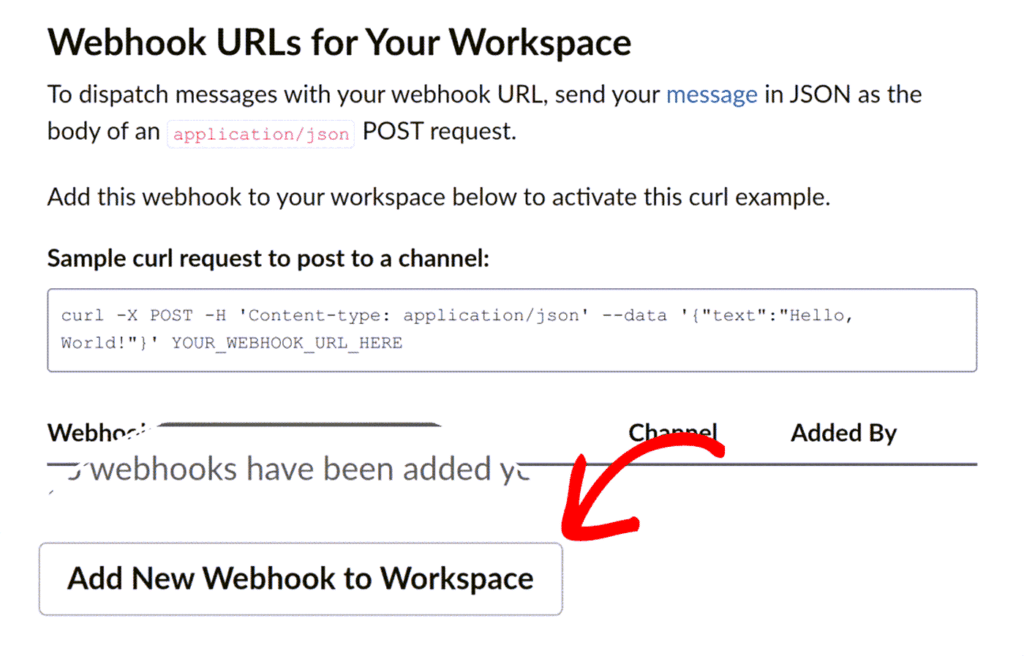
The Incoming Webhooks page allows you to manage all incoming webhooks for your app.
To get started, set the Activate Incoming Webhooks toggle to On.

Next, under Webhook URLs for Your Workspace, click on the Add New Webhook to Workspace button to generate the webhook URL for your app.
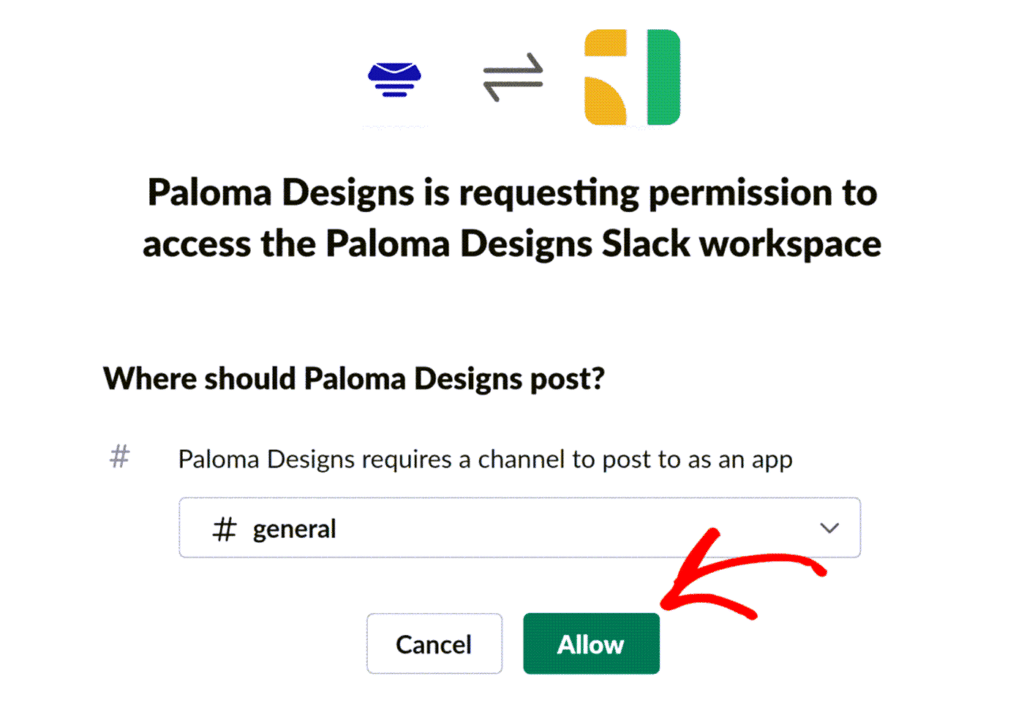
Since your Slack app will send notifications to a channel or individual, you’ll need to choose the intended recipient from the list of available channels and persons. To do this, click on the dropdown list and choose a channel or individual.

Now grant permission to your app by clicking the Allow button.
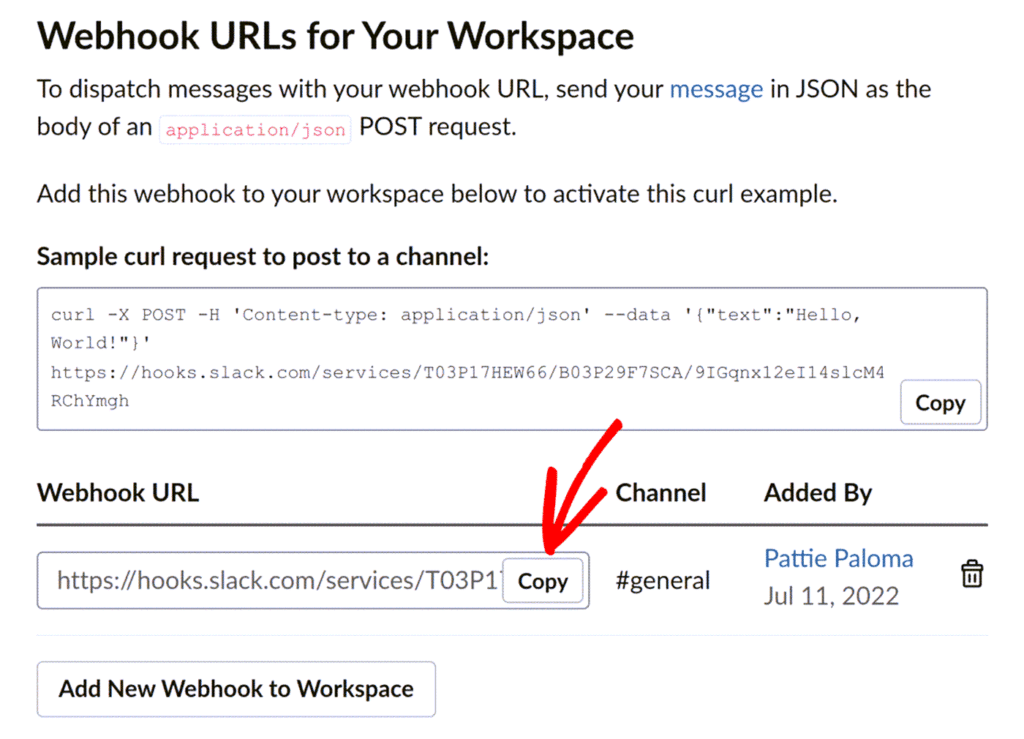
After the operation completes, you’ll be redirected to the Incoming Webhooks page, where you’ll have a new Webhook URL for your app. Copy the Webhook URL from Slack by clicking the Copy button.
Adding the Webhook URL
Finally, paste the webhook URL you copied from Slack into the Webhook URL field in your Easy WP SMTP Alert settings.
Once you’re done with this step, either save your settings or continue to add other integrations.
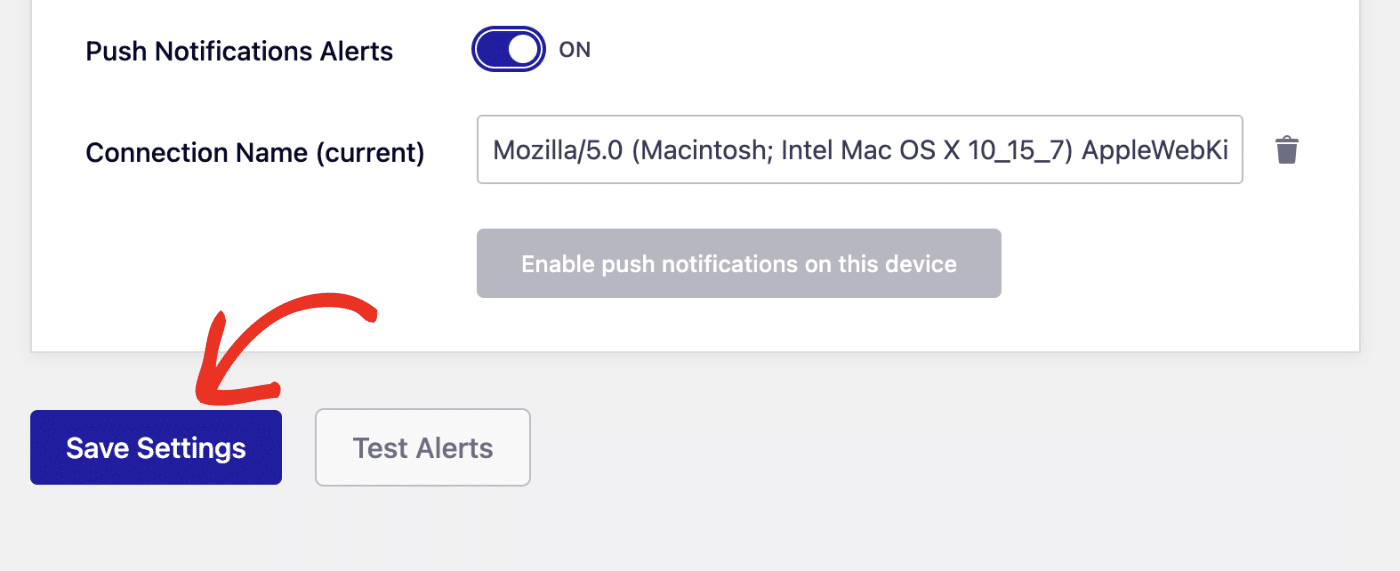
To save your settings, scroll down and click the Save Settings button.
Note: For more information about using webhooks in Slack, check out Slack’s Incoming Webhooks API documentation.
That’s it! You’ve successfully connected Easy WP SMTP to your Slack workspace. You’ll receive a notification whenever your site fails to send an email.