


In this tutorial, we’ll cover how to use Easy WP SMTP with AI assistants like Claude, ChatGPT, and Cursor.
Requirements: Your site must be running WordPress 6.9 or later, and Easy WP SMTP 2.15 or later, to use the AI MCP feature.
Before getting started, make sure Easy WP SMTP is installed and activated on your WordPress site and that you’ve verified your license.
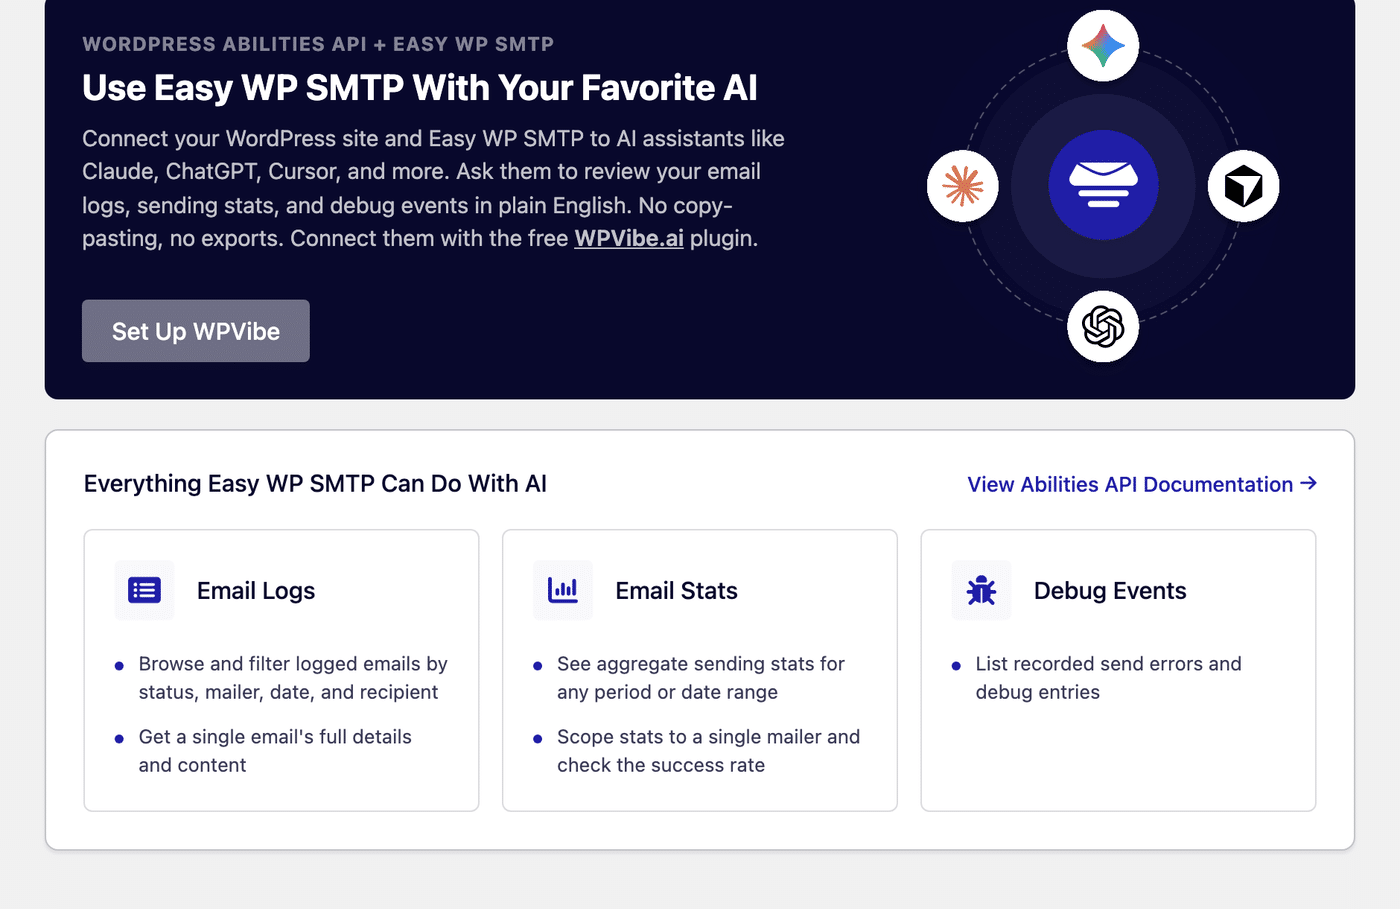
What AI Assistants Can Do With Easy WP SMTP
The AI MCP feature connects Easy WP SMTP to the WordPress Abilities API, the standard that lets AI tools securely read data from your site. A connected assistant has read-only access, so it can review your email activity and answer questions, but it never changes your settings or sends email on its own.
Note: The email log and sending-stats abilities read data from Easy WP SMTP’s Email Log and Email Reports, which are part of Easy WP SMTP Pro.
Here’s what a connected assistant can do:
Email Logs
The assistant browses and filters your logged emails by status, mailer, date, and recipient, and pulls a single email’s full details and content when you need a closer look.
Email Stats
The assistant reports aggregate sending stats for any period or date range, scopes those stats to a single mailer, and checks your success rate.
Debug Events
The assistant lists recorded send errors and debug entries so you can spot what’s failing without digging through the logs yourself.
Accessing the AI MCP Page
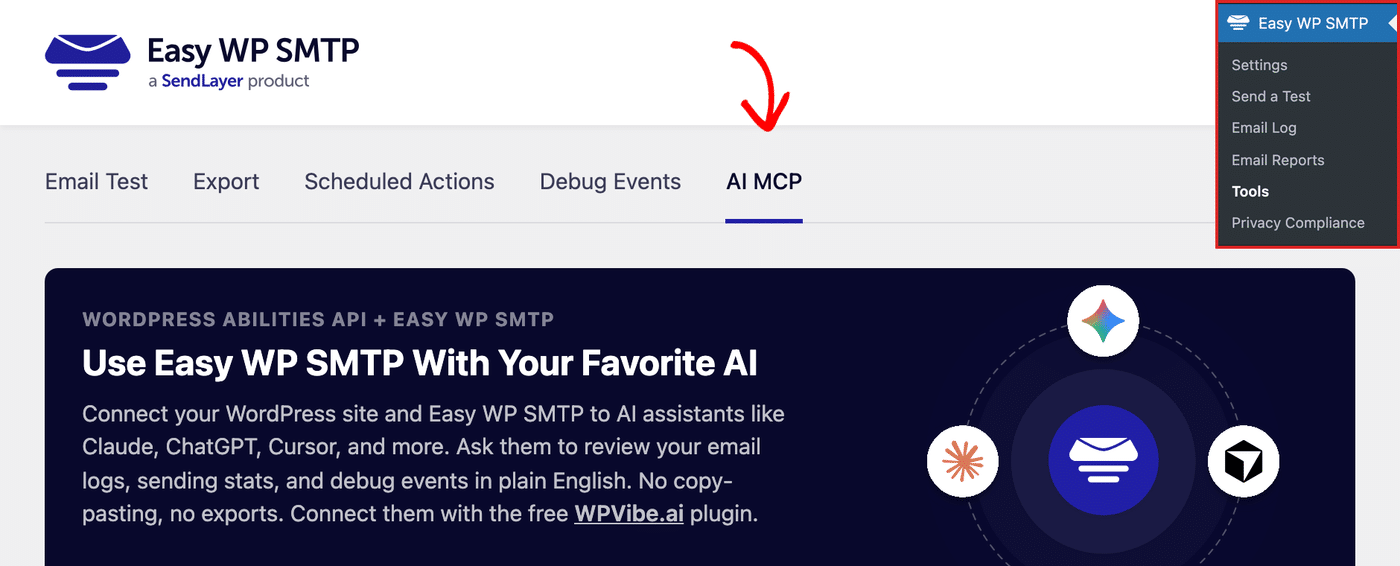
To get started, log in to your WordPress admin dashboard and go to Easy WP SMTP » Tools. Then click on the AI MCP tab.
This page summarizes everything Easy WP SMTP can do with AI and gives you a View Abilities API Documentation link if you want the full technical reference.
Installing the WPVibe Plugin
AI assistants connect to your site through WPVibe, a free connector plugin that handles the secure connection.
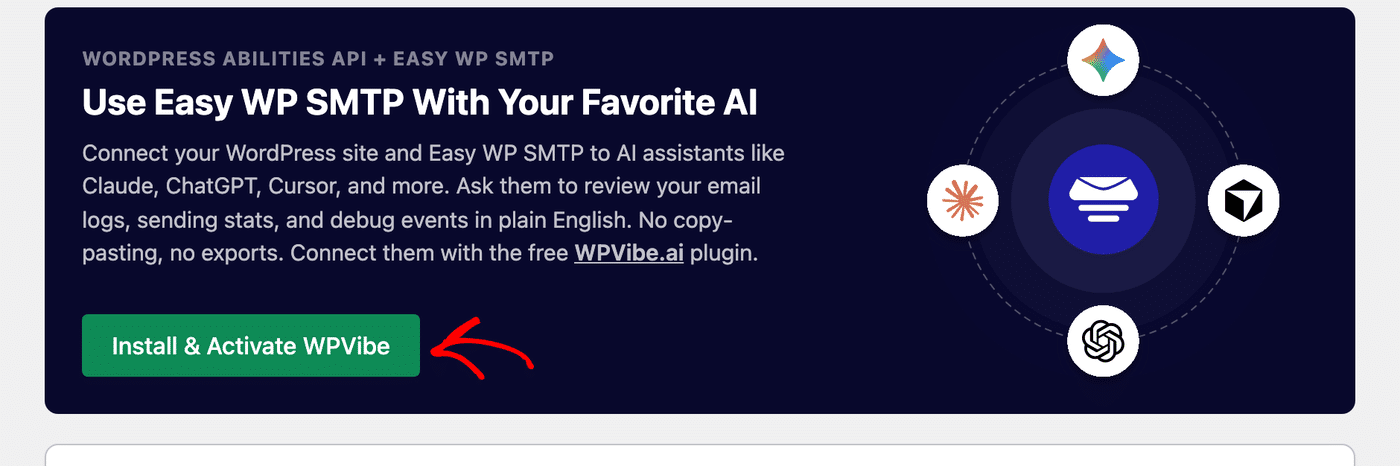
On the AI MCP page, click the Install & Activate WPVibe button.
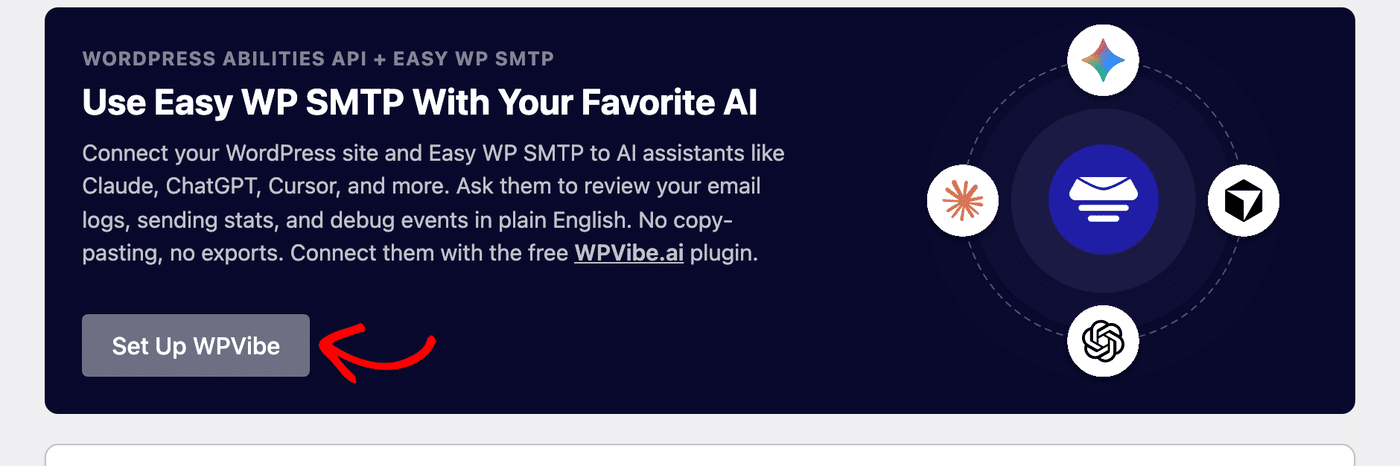
Once it finishes, the button changes to Set Up WPVibe, and a new Vibe AI item appears in your admin menu.
Connecting Your AI Assistant
To connect your assistant, click Set Up WPVibe on the AI MCP page, or open Vibe AI from your admin menu. This opens the WPVibe checklist, which shows your connection status and the steps to connect.
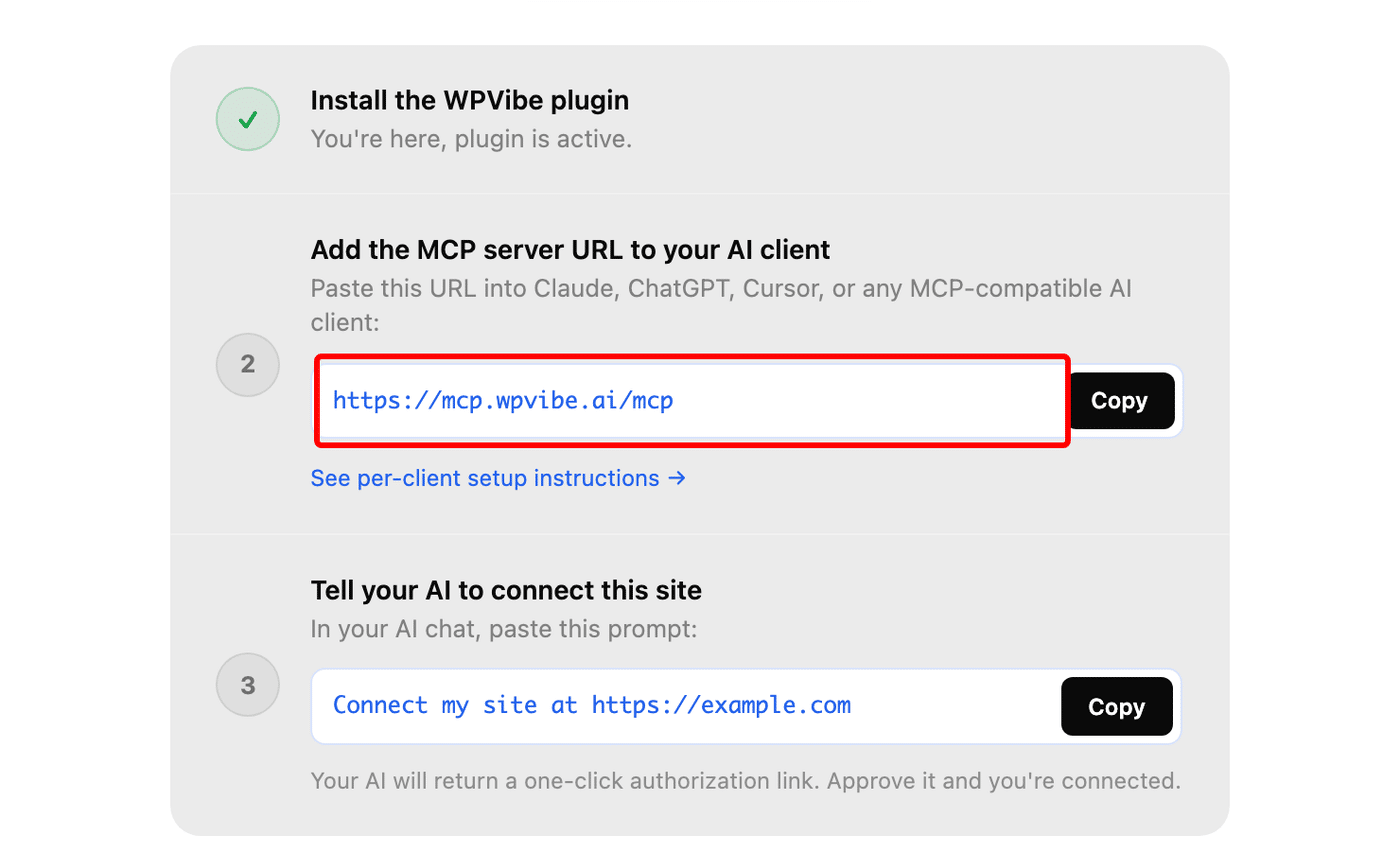
Copy the server URL shown in the checklist (https://mcp.wpvibe.ai/mcp), then add it to your AI tool of choice. The exact steps depend on which assistant you use, so we’ve collected the official setup guide for each one:
- Claude: In Claude on the web, go to Customize » Connectors, click the plus (+) icon, and choose Add custom connector. Give the connector a name like WPVibe, paste the server URL, and click Add. Then click Connect next to the new connector. Connectors added this way are also available in Claude Desktop. For full details, see Anthropic’s custom connectors guide.
- ChatGPT: Connectors with full MCP support are available on ChatGPT Business, Enterprise, and Edu plans, where a workspace admin enables developer mode and adds the connector. See OpenAI’s developer mode and MCP guide for the current steps and plan availability.
- Cursor: Open Cursor’s settings, go to the MCP section, and add a new server using the URL above. See Cursor’s MCP documentation for full details.
Signing In to WPVibe
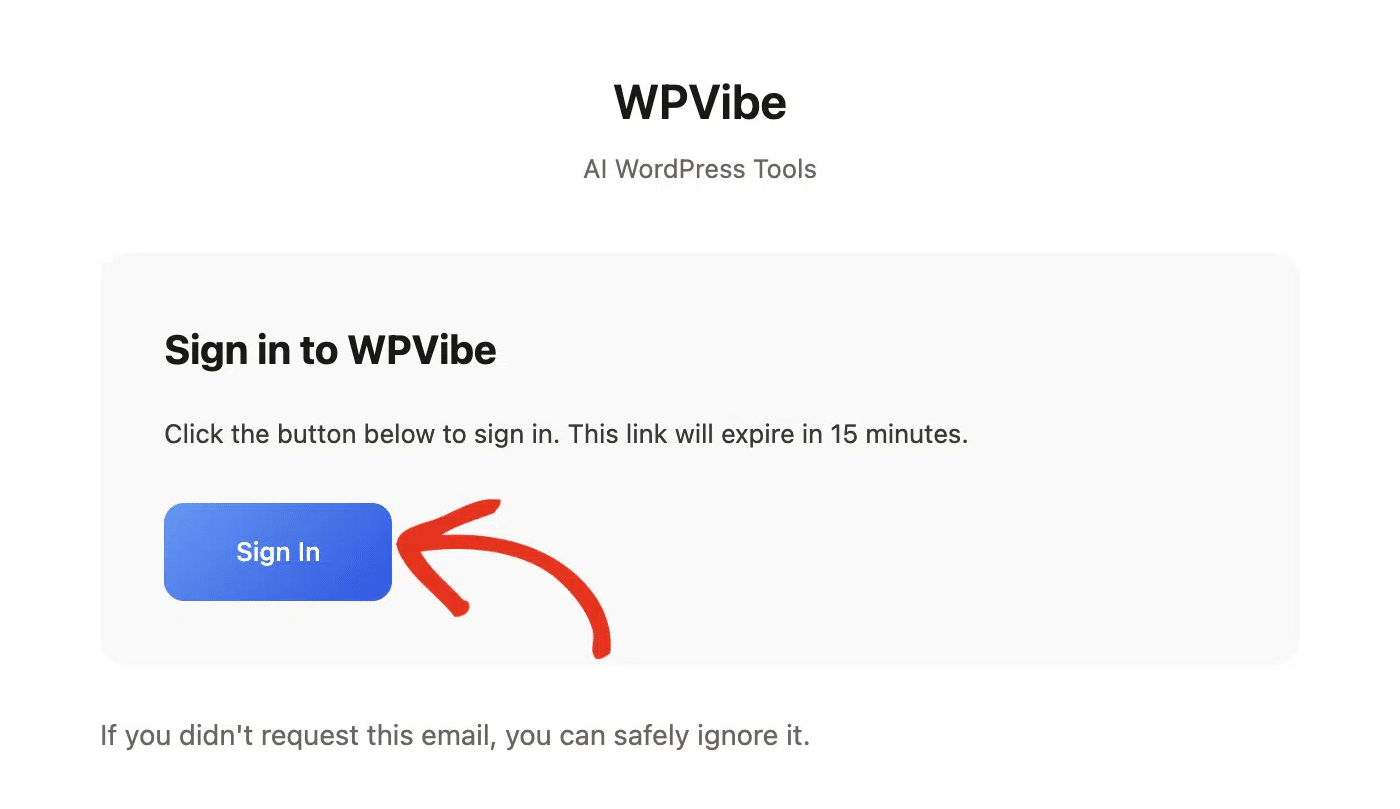
When you add the connector, WPVibe asks you to sign in with your email address. Check your inbox for a message from WPVibe and click the Sign In button inside it.
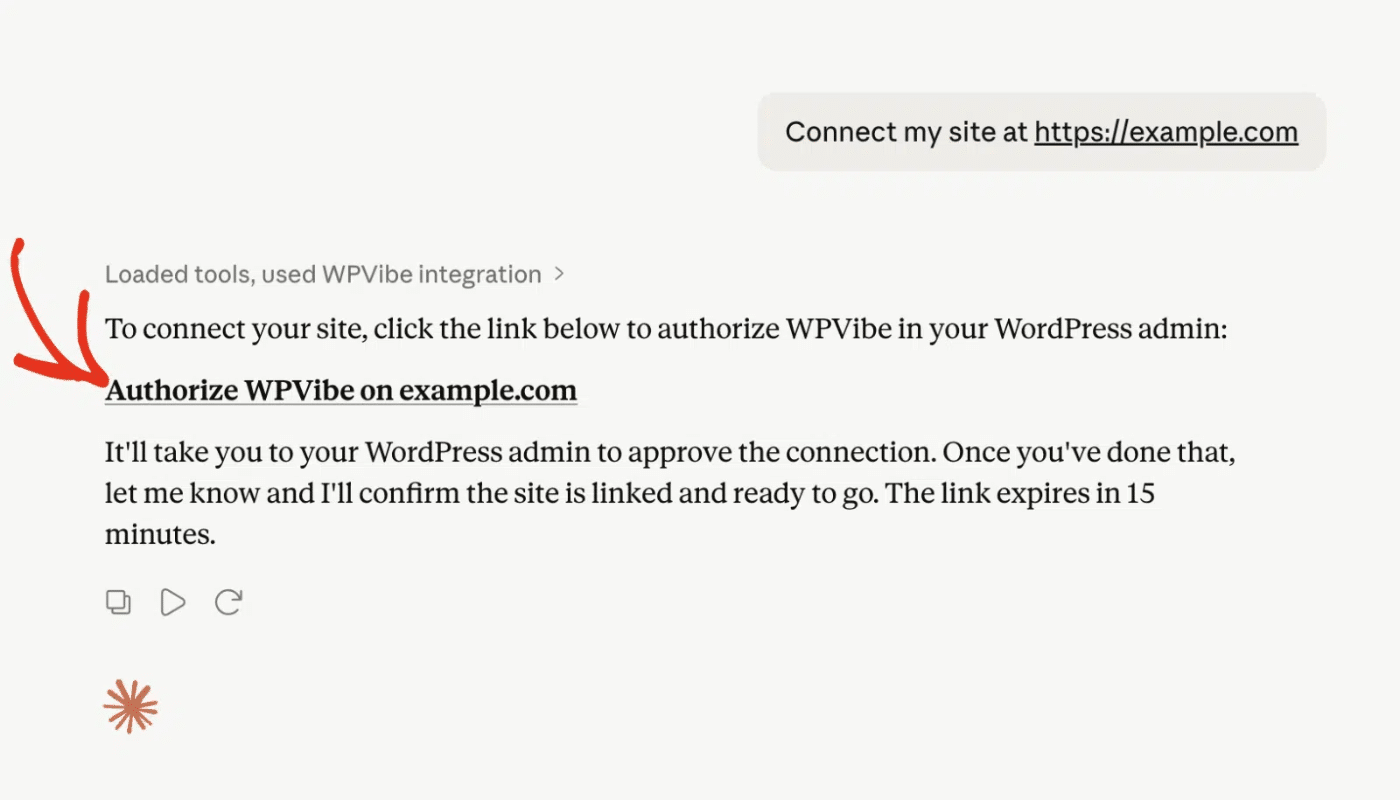
Next, tell your AI to connect. In your AI chat, paste a prompt like “Connect my site at https://example.com” using your own site address.
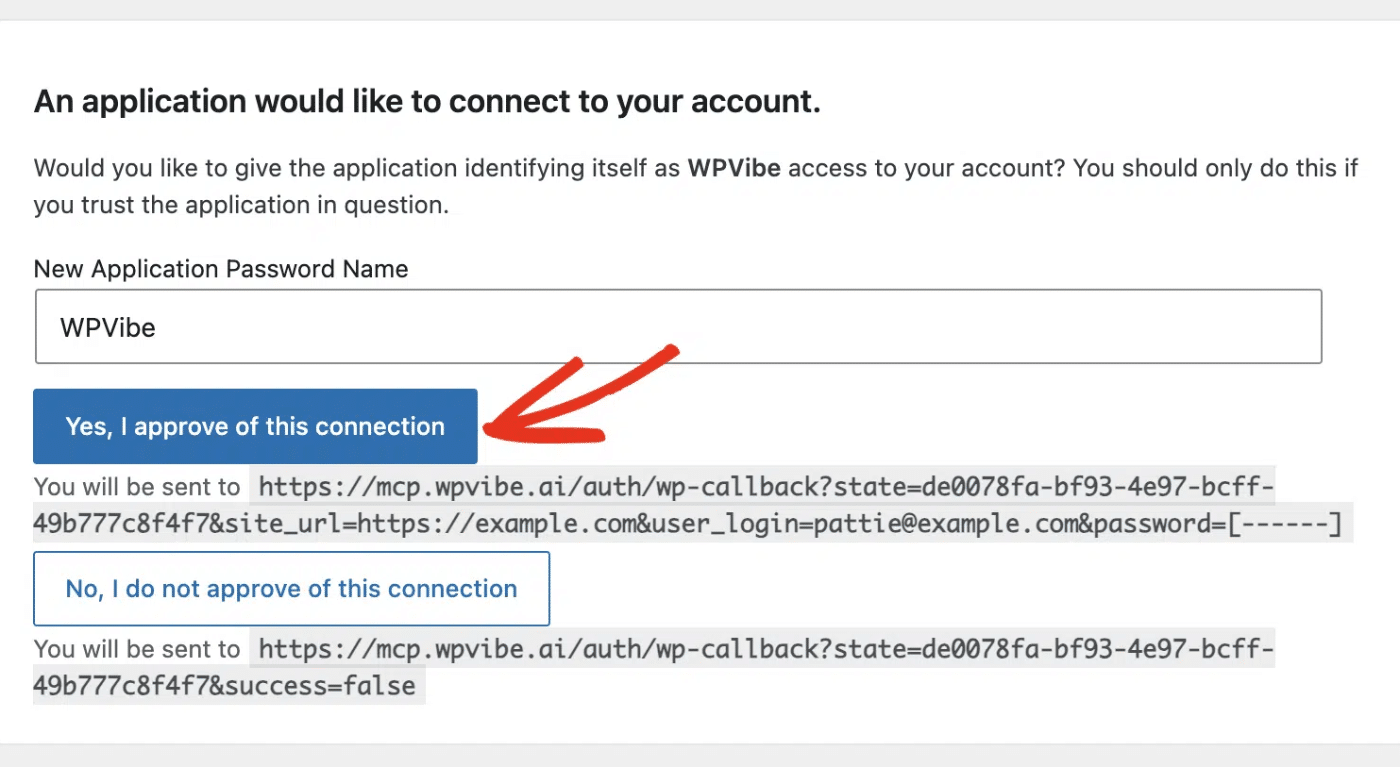
Your assistant returns a one-click authorization link. This link redirects you to the WordPress admin area, where you’ll authorize the connection.
Go ahead and click Yes, I approve this connection to approve it, and your site is connected.
Once done, the Connected label appears on the WPVibe plugin settings page.
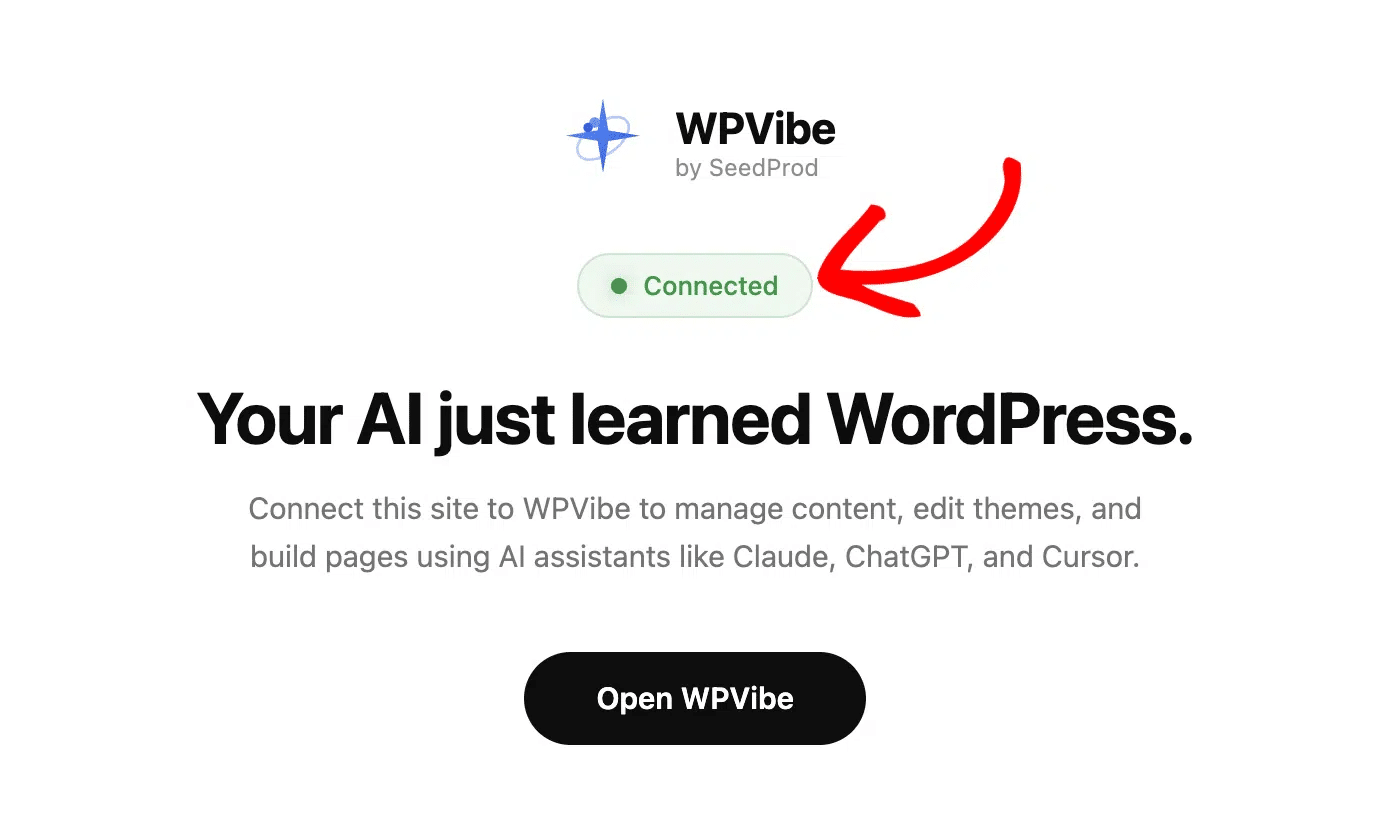
To confirm the connection works, ask your assistant a question like “What mailer is my site using?” or “Show me my recent email logs.” If it responds with your site’s details, the connection is ready.
Trying Your First Prompts
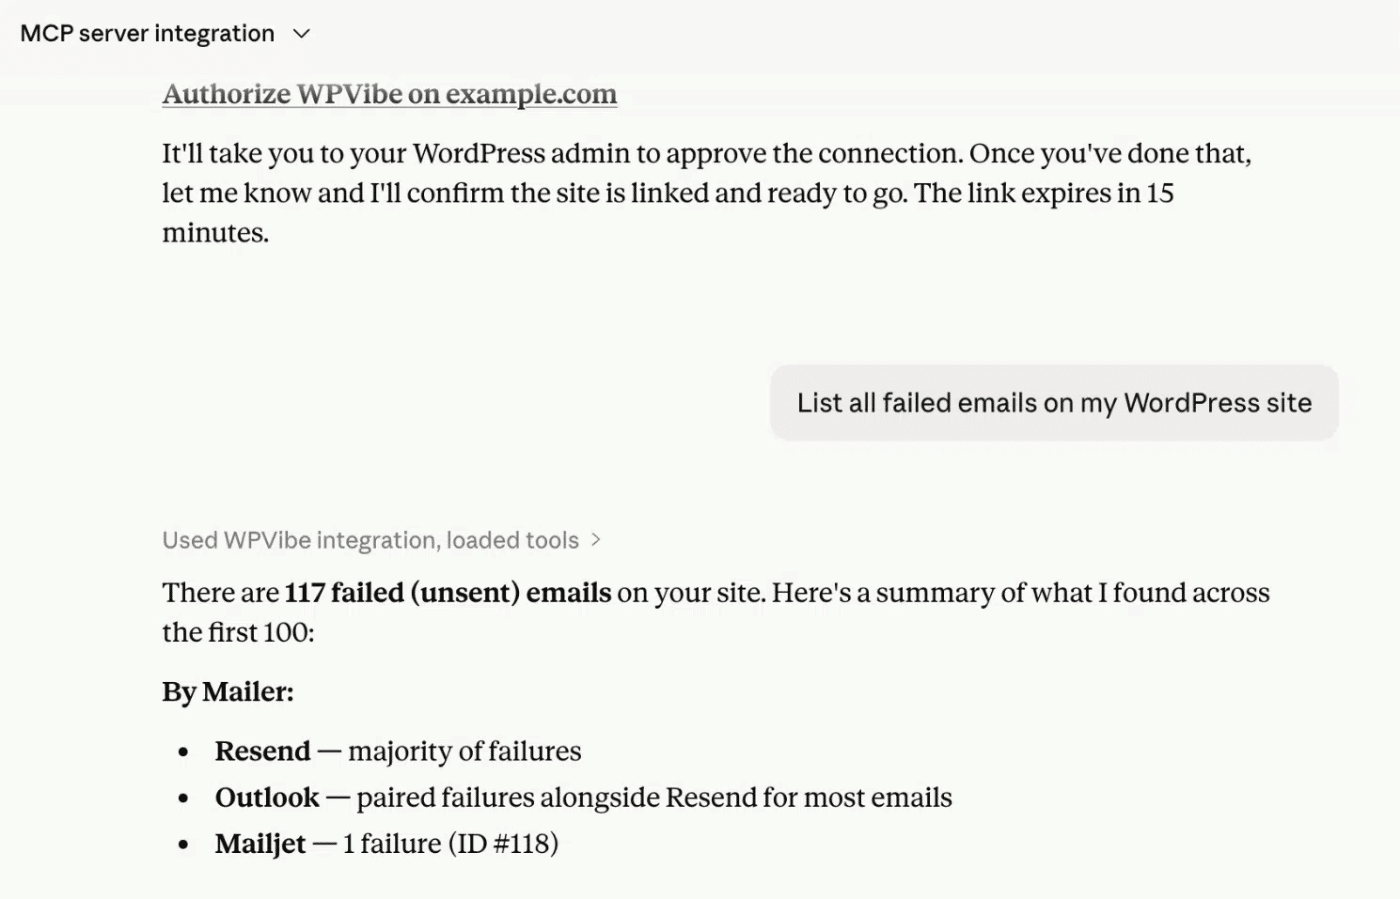
With the connection in place, put the assistant to work. Because access is read-only, every prompt is a safe question about your email activity.
Here are a few prompts to try:
- “Show me the emails my site sent today.”
- “Which emails failed to send this week?”
- “What’s my email success rate over the last 30 days?”
- “Break down my sending stats by mailer.”
- “Are there any recent send errors in my debug events?”
Frequently Asked Questions
Below are answers to some of the top questions about using Easy WP SMTP with AI assistants.
Can the AI change my settings or send emails?
No. The Easy WP SMTP abilities are read-only. A connected assistant reviews your email logs, sending stats, and debug events, but it can’t change your settings or send email on your behalf.
Why don’t I see the AI MCP tab?
The AI MCP tab requires WordPress 6.9 or later and Easy WP SMTP 2.15 or later. Update both to the latest versions, then check Easy WP SMTP » Tools again.
Can I use this on a local or staging site?
The connection relies on your assistant accessing your site via WPVibe, so a publicly accessible site works best. Some local and staging environments might not connect.
Which AI assistants are supported?
Any assistant that supports custom MCP servers can connect, including Claude, ChatGPT, Gemini, and Cursor.
Does this require Easy WP SMTP Pro?
The email log and sending stats are read from Easy WP SMTP’s Email Log and Email Reports, which are part of Easy WP SMTP Pro.
That’s it! You now know how to connect Easy WP SMTP to your favorite AI assistant and put it to work reviewing your email logs and surfacing debug events.