In this tutorial, we’ll cover how to use the Zoho mailer with Easy WP SMTP.
Getting Started With Easy WP SMTP
Once you’ve installed and activated Easy WP SMTP, go to Easy WP SMTP » Settings to access the settings page.

Under the Settings tab, you’ll find the Mailer Settings section. We’ll cover how to complete the configurations below.
Mailer Settings
Select Zoho as the mailer to use for the Easy WP SMTP configuration.
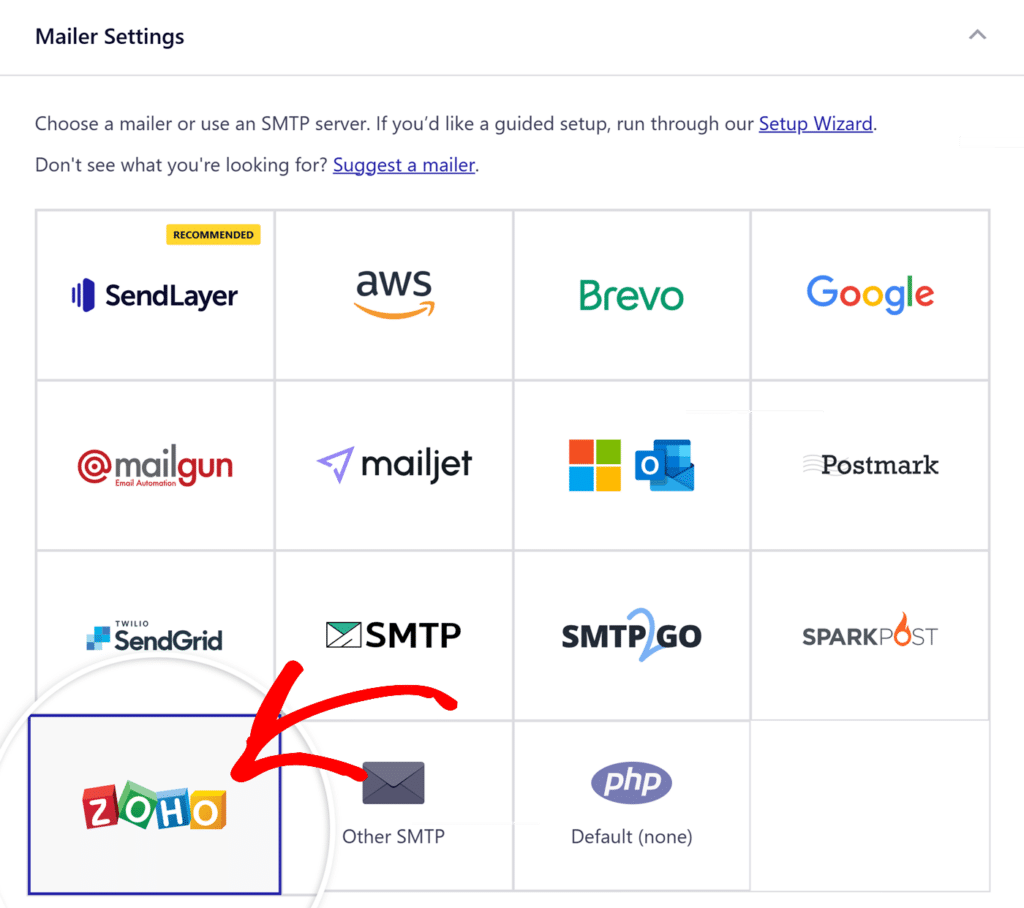
After choosing the Zoho mailer, you’ll see a new section with additional settings.
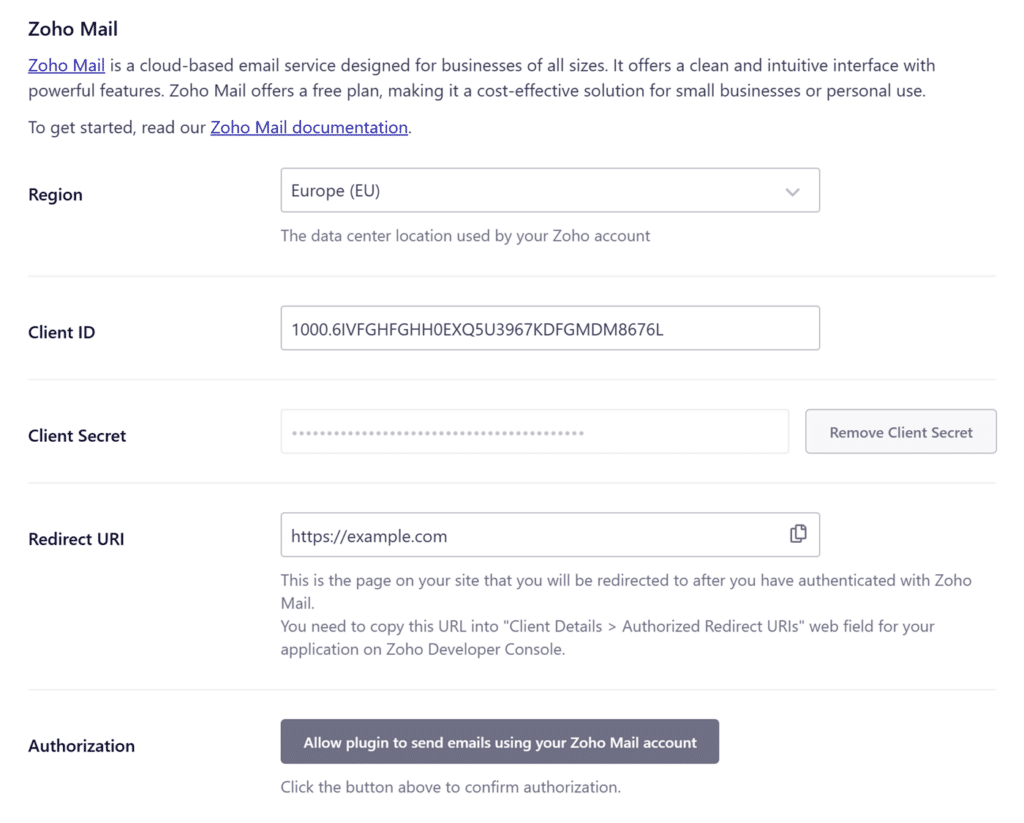
You’ll need to set up your Zoho API credentials to get the information needed to complete the configuration. Leave this browser tab open and proceed to the next step.
Setting Up Your Zoho API Credentials
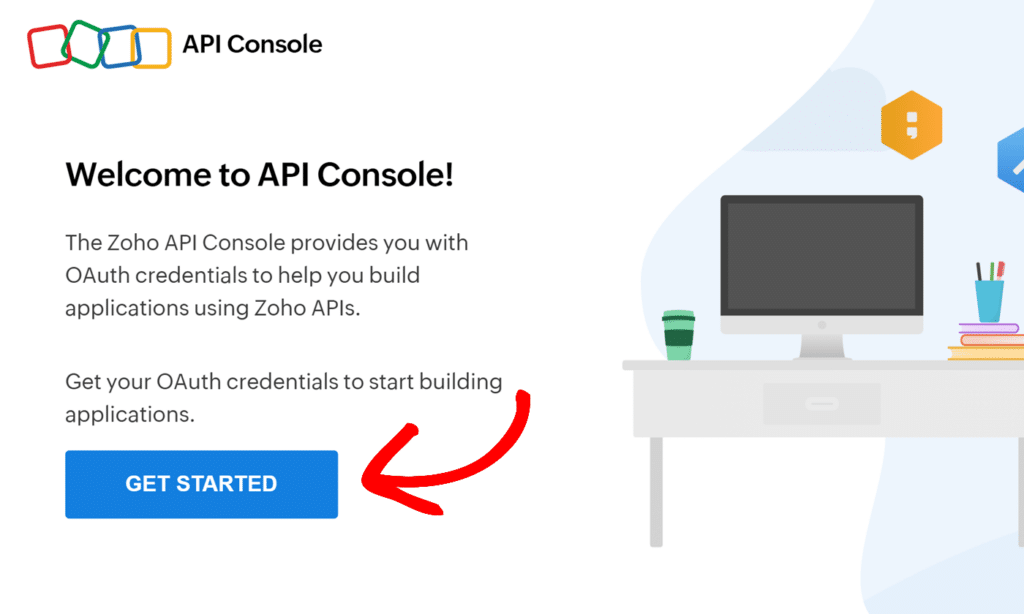
Log in to your Zoho account and navigate to Zoho’s API console. Then, click the Get Started button.
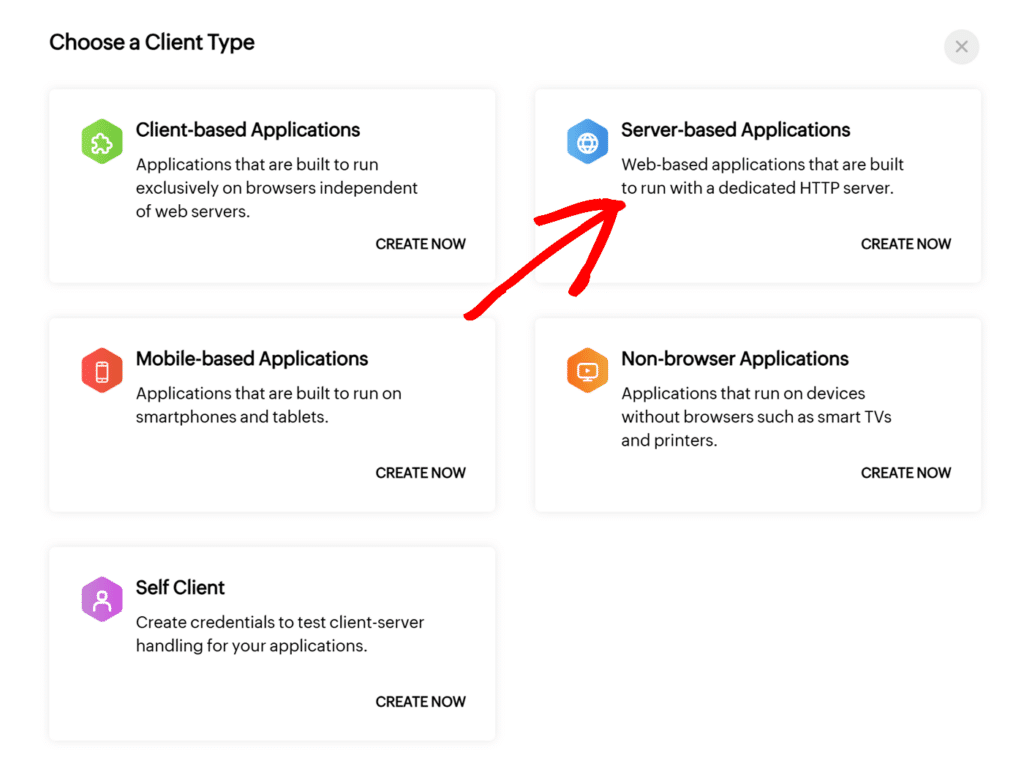
This will open up Zoho’s Client Type options. For this connection, select Server-Based Applications.
This will open up a list of settings that you’ll need to fill out, including:
- Client Name: Enter your website’s name.
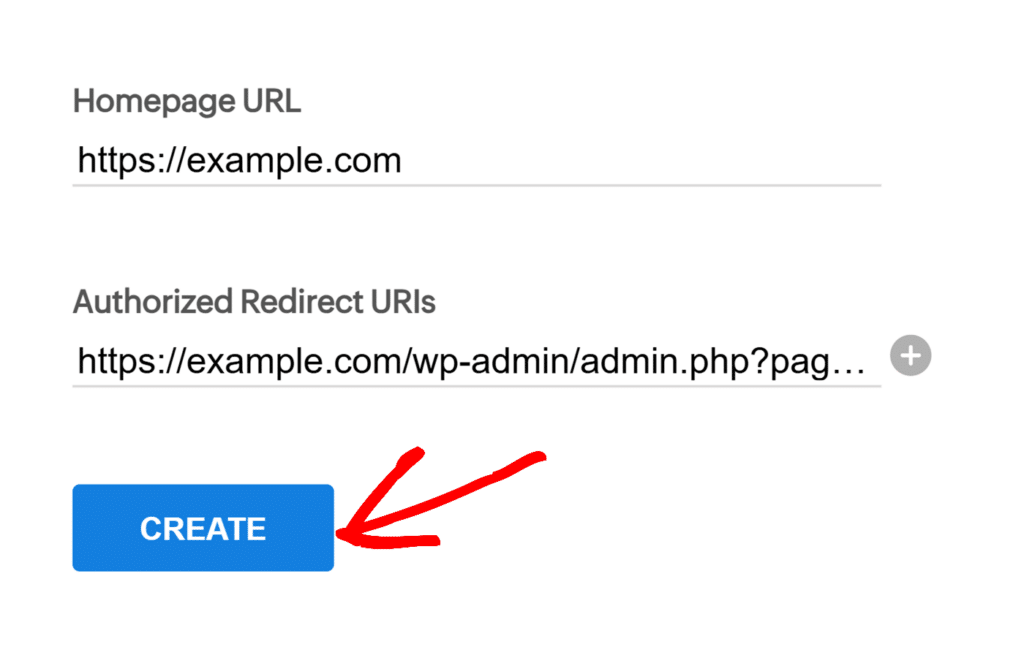
- Homepage URL: Enter your complete website URL (e.g., https://example.com).
- Authorized Redirect URIs: Return to your Easy WP SMTP settings tab and copy the Redirect URI value, then paste it here.
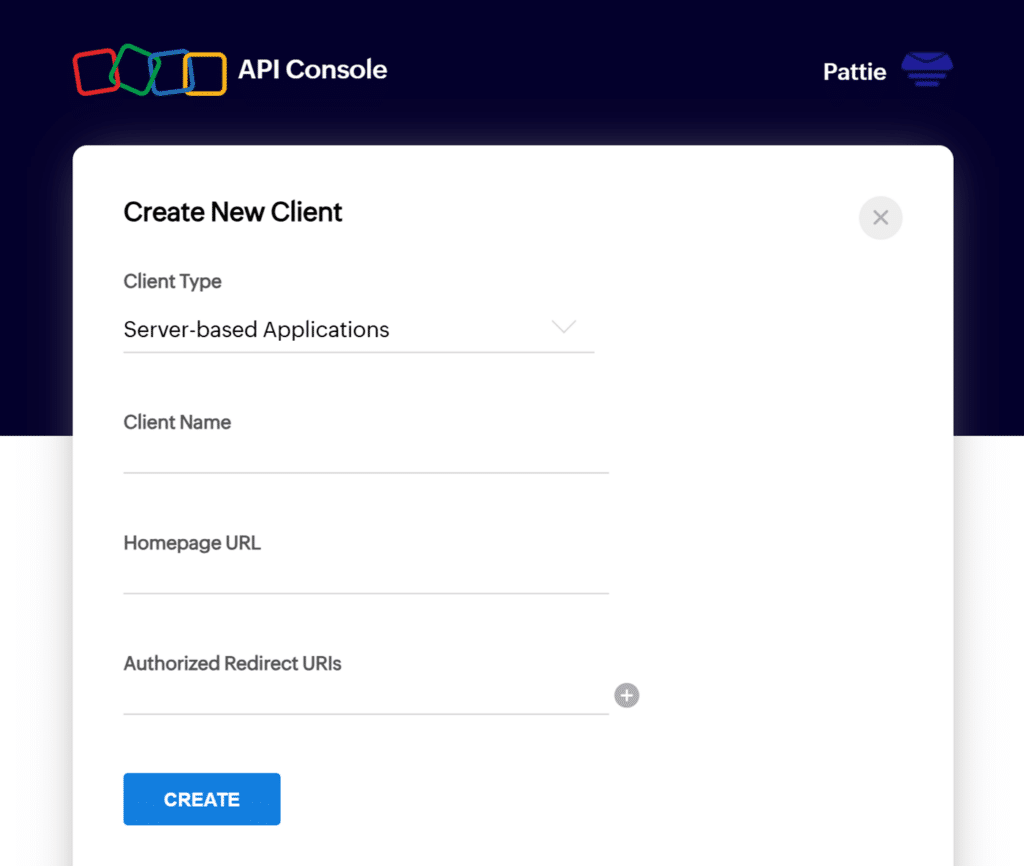
Once done, click Create to generate your credentials.
This will take you to a page that will display your Client ID and Client Secret values.
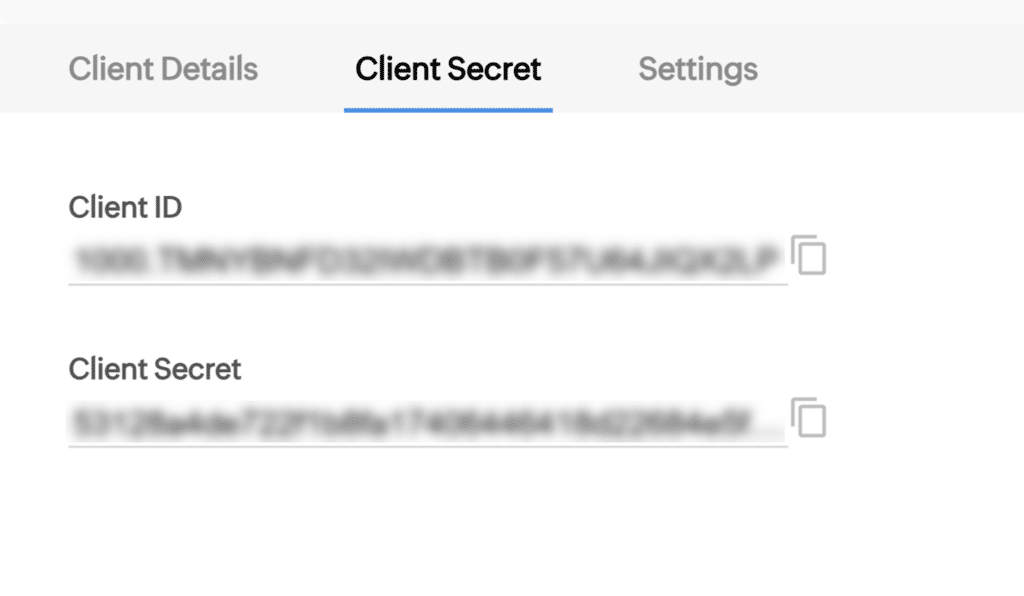
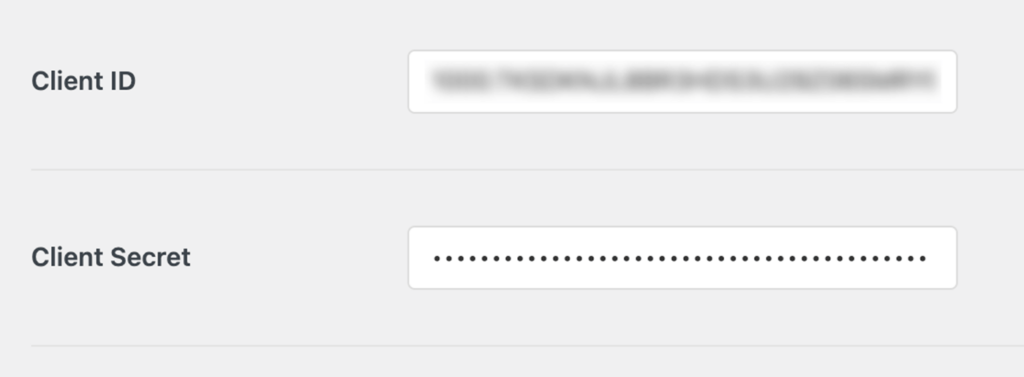
Copy both of these values and return to your Easy WP SMTP settings. Paste these values into the corresponding fields.
Finishing Your Easy WP SMTP Setup
After you’ve finished setting up your Zoho account, you’ll need to complete the integration between it and Easy WP SMTP.
In your Easy WP SMTP settings, fill out the remaining details for the Zoho Mail section.
Region
Select your Zoho account region from the dropdown menu. This should match the data center where your Zoho account is hosted.

After selecting your Region, click on Save Settings to save your changes.
Authorization
After saving your settings, you should see a button labeled Allow plugin to send emails using your Zoho Mail account in the Authorization section. Click on this button to authorize your site.

You’ll be redirected to a Zoho permissions page. Click Accept to authorize the connection between your WordPress site and Zoho account.
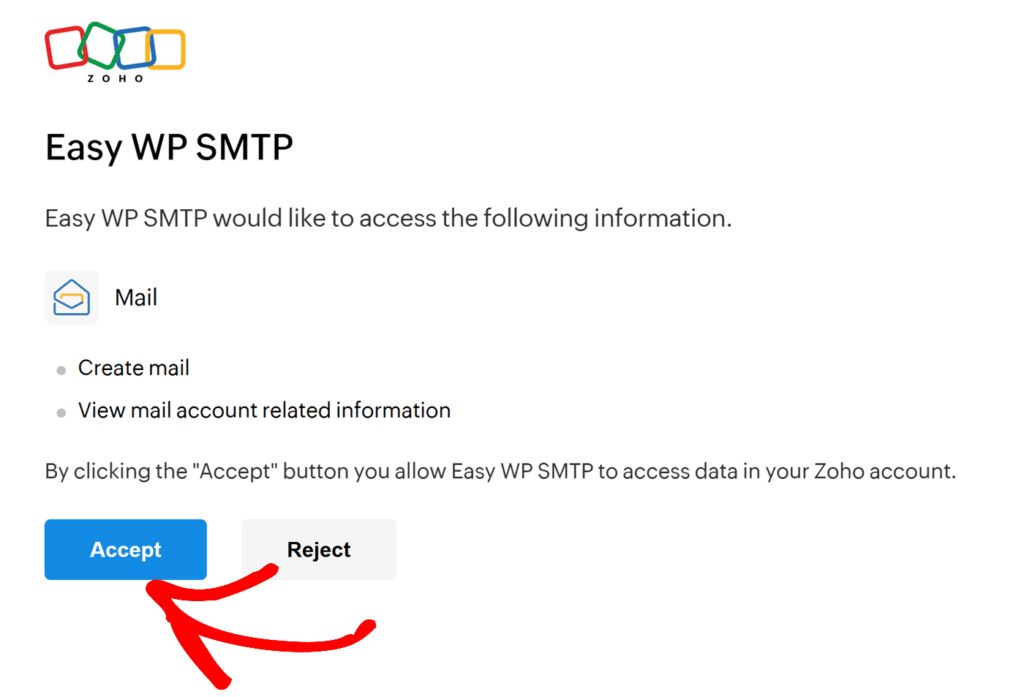
After granting the necessary permissions, you’ll be redirected back to your Easy WP SMTP settings page. You should see a notification that you’ve successfully linked your Zoho account.
Configuring Easy WP SMTP Settings
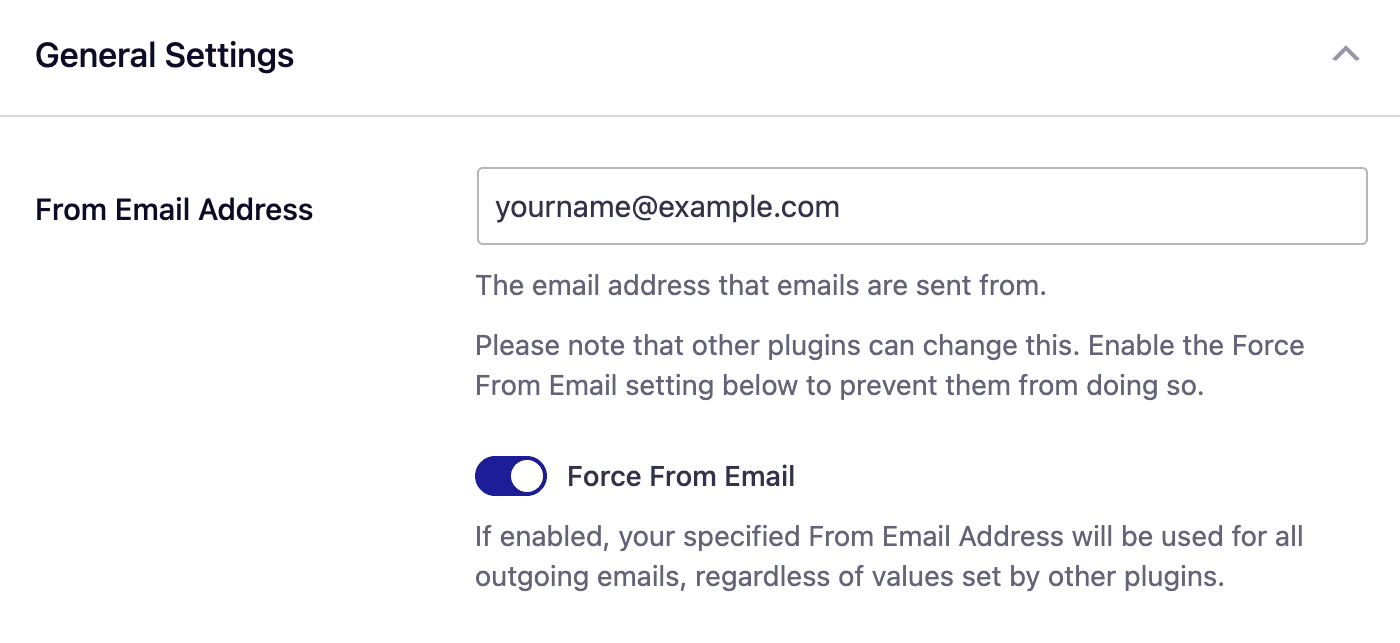
From Email
The From Email will be automatically set to match your Zoho email address and cannot be changed when using the Zoho mailer.
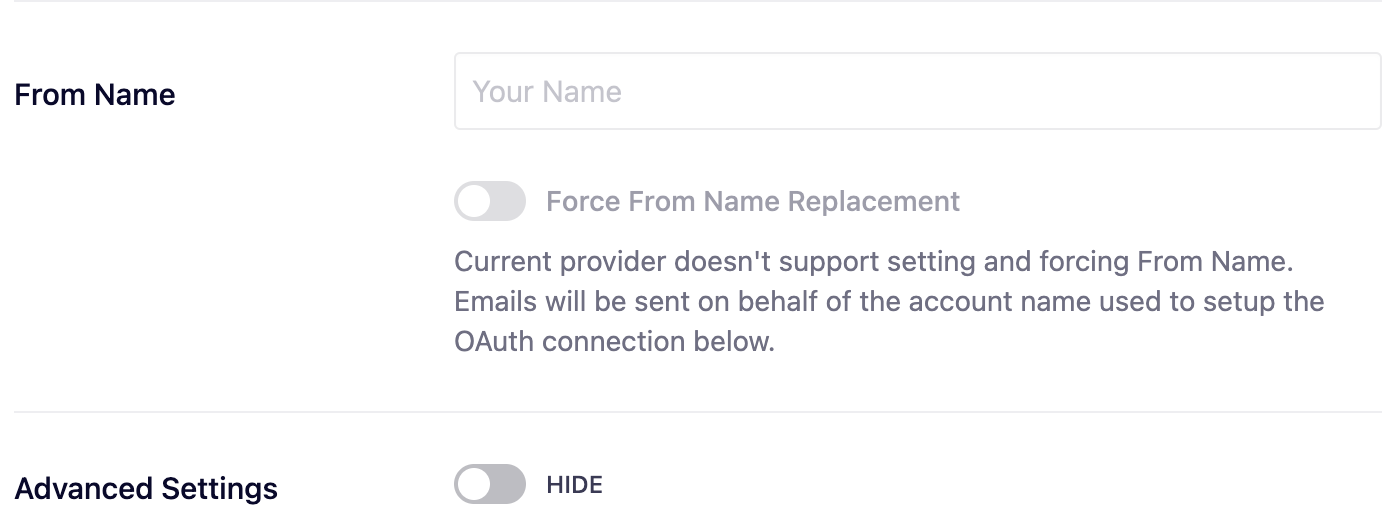
From Name
The From Name is the name that appears in the emails sent from your site. By default, it’s set to your site’s name, but you can change it to whatever you’d like.
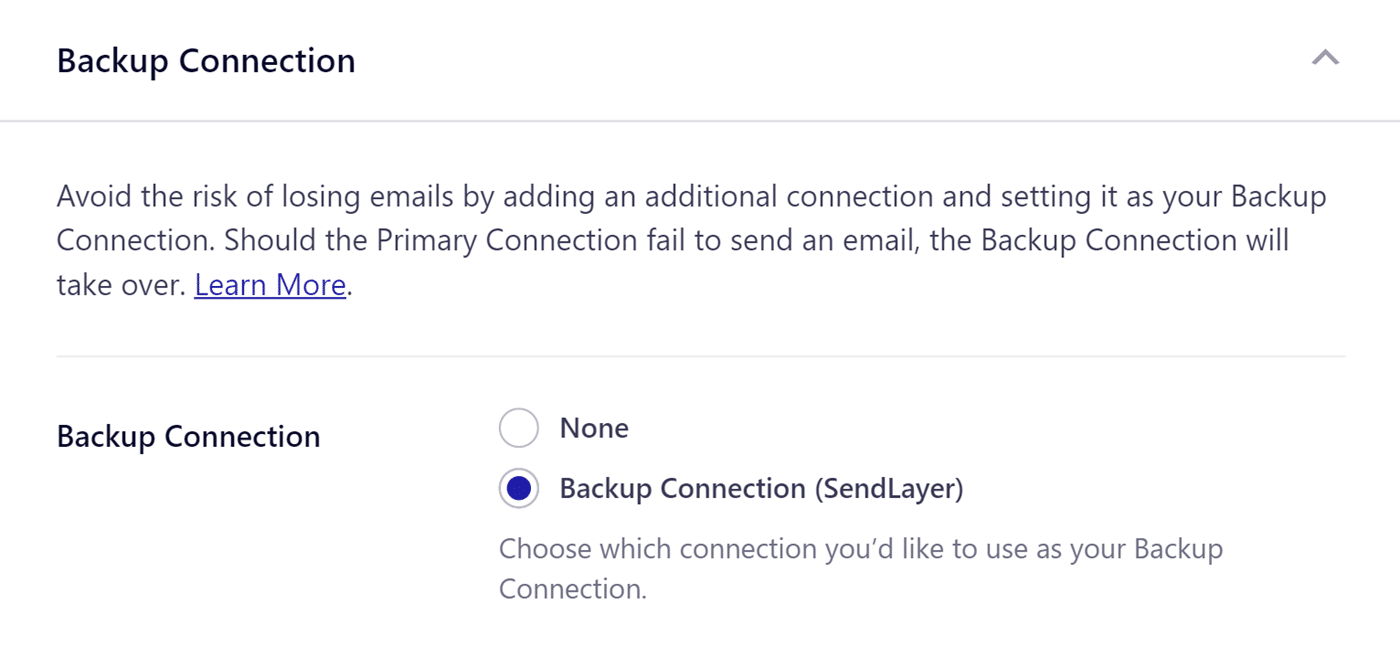
Backup Connection
Configuring a Backup Connection is an optional step in your Zoho mailer setup. However, to further improve email deliverability, we recommend configuring an additional connection to serve as a backup in case your Primary Connection fails.
Note: If you’d like to learn how to send emails through different connections based on specific rules, please refer to our Smart Routing tutorial.
Once you’re done configuring the general settings, be sure to click Save Settings to save your changes.
That’s it! Now you know how to set up Easy WP SMTP with the Zoho mailer.