In this tutorial, we’ll show you how to improve email deliverability with the Mailjet mailer in Easy WP SMTP.
Before you begin, you’ll need to ensure Easy WP SMTP is installed and activated on your WordPress site.
1. Setting Up a Mailjet Account
To get started, you’ll need to sign up for a free Mailjet account if you don’t have one already.
If you already have a Mailjet account, simply log in to Mailjet with your existing account details.
Note: Mailjet offers a free plan that includes up to 6,000 emails per month (with a daily limit of 200 emails). For reliable email delivery, you’ll need to use an email address at your own domain (e.g., [email protected]).
2. Creating Your Sender Identity
To start sending emails with Mailjet, you’ll first need to set up a sender identity.
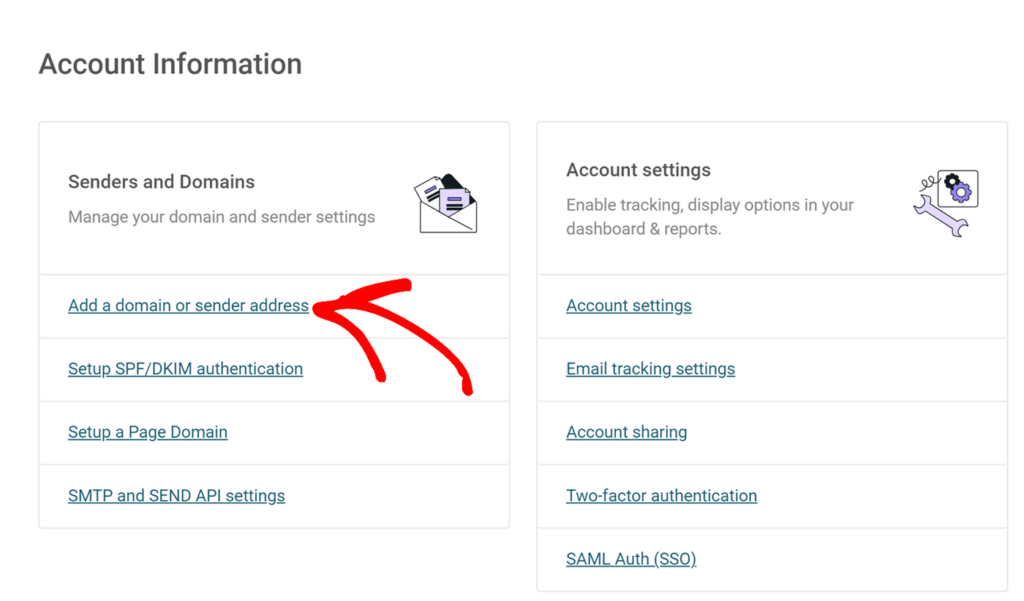
Log in to your Mailjet account and go to your account settings. Under the Senders and Domains section, click on Add a domain or sender address.
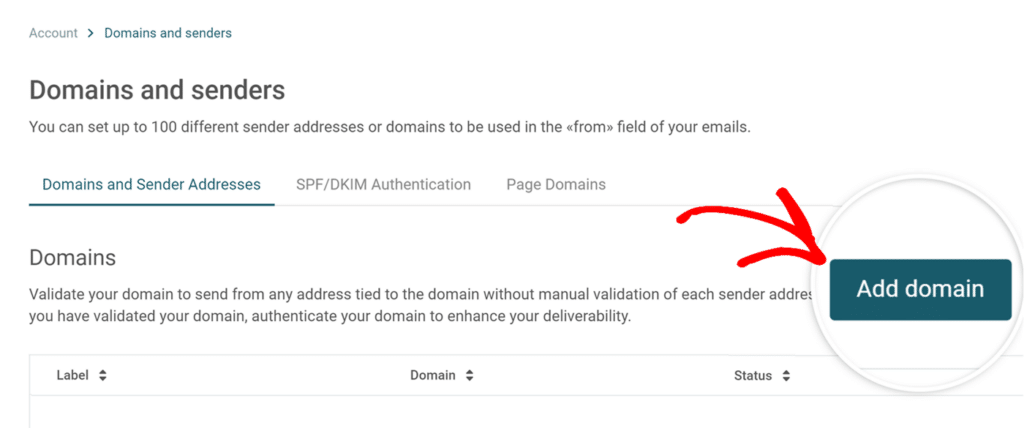
On the Domains page, click the Add domain button.
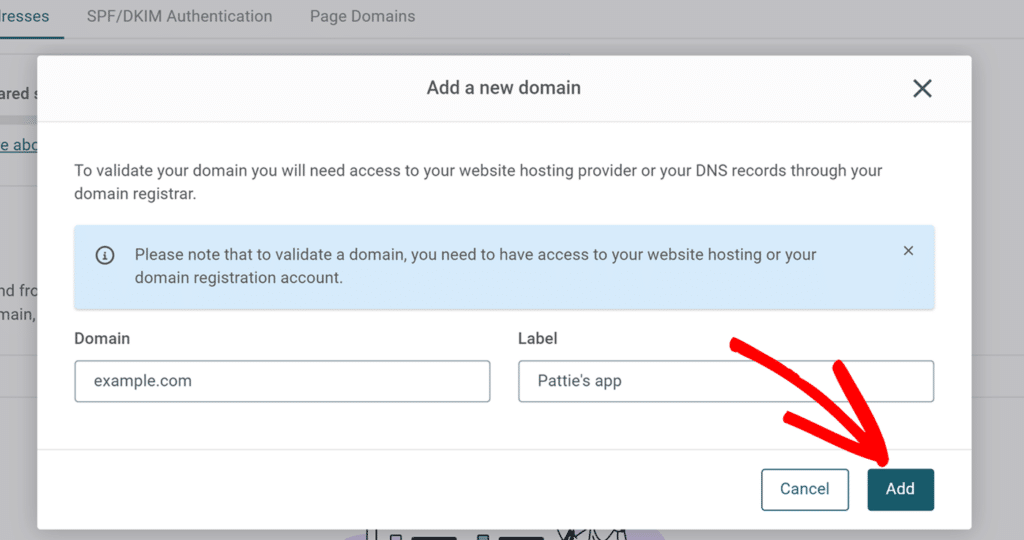
This will open a popup window where you’ll enter your website’s domain (such as example.com) and a label to help you identify this domain. Once done, click Add.
After adding your domain, Mailjet will present you with two validation methods. The first option is to host a temporary file on your website. The second method, which we recommend, is to create a DNS record.
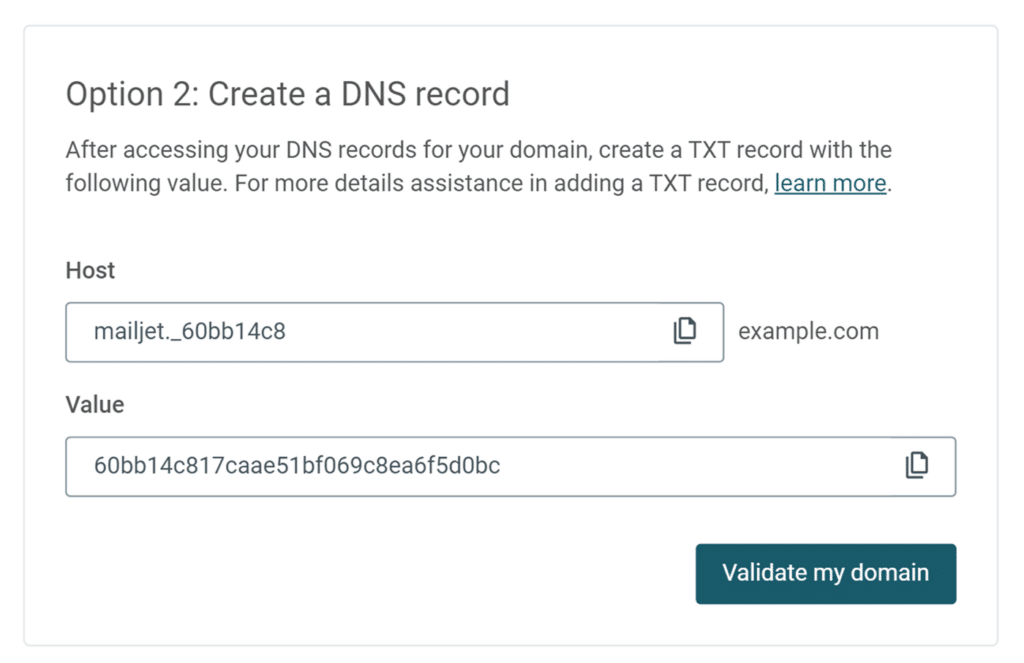
Once you’ve added the TXT record, go back to the Mailjet domain validation page and click Validate my domain.
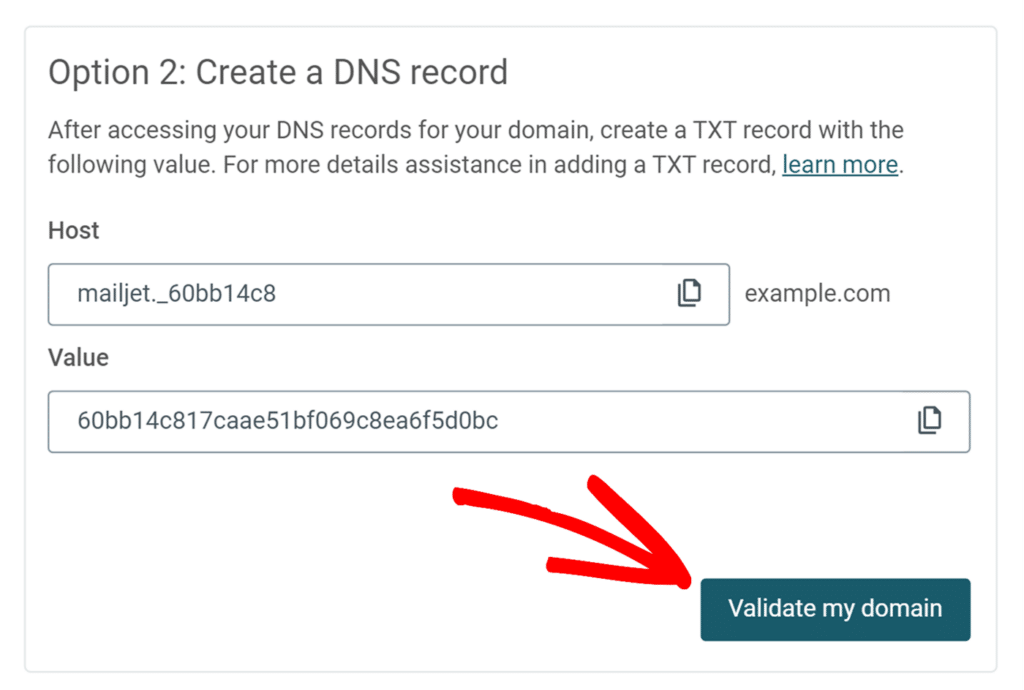
Note: It may take up to 48 hours for DNS changes to take effect, so you may need to check back later.
3. Generating an API Key
Now that you’ve created your Mailjet account and set up your sender identity, you’ll need to generate an API key.
To do so, go to API in the top navigation menu of your Mailjet account.

This will take you to your API Key Management page. Under the Primary API Key section, click Generate Secret Key.
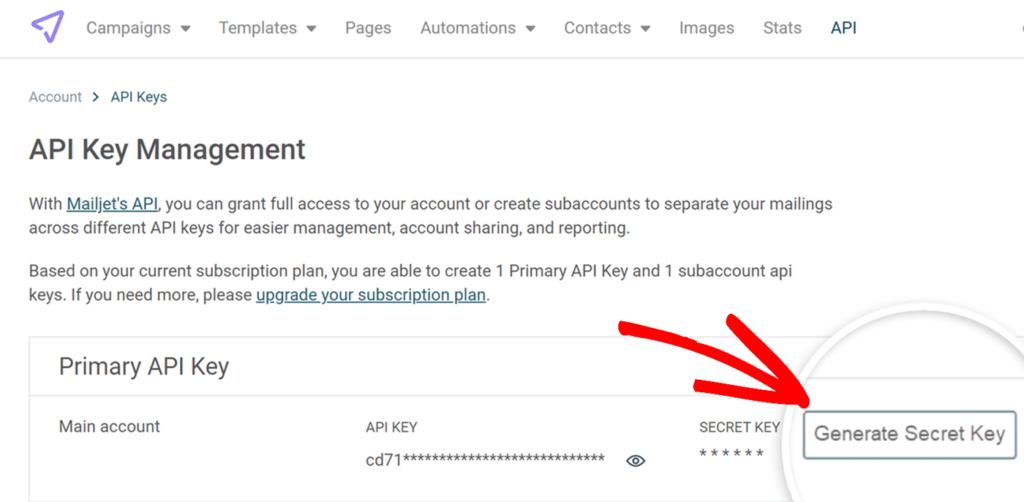
This will open a popup window showing both your API Key and Secret Key. Keep this window open as you’ll need these values in the next step.
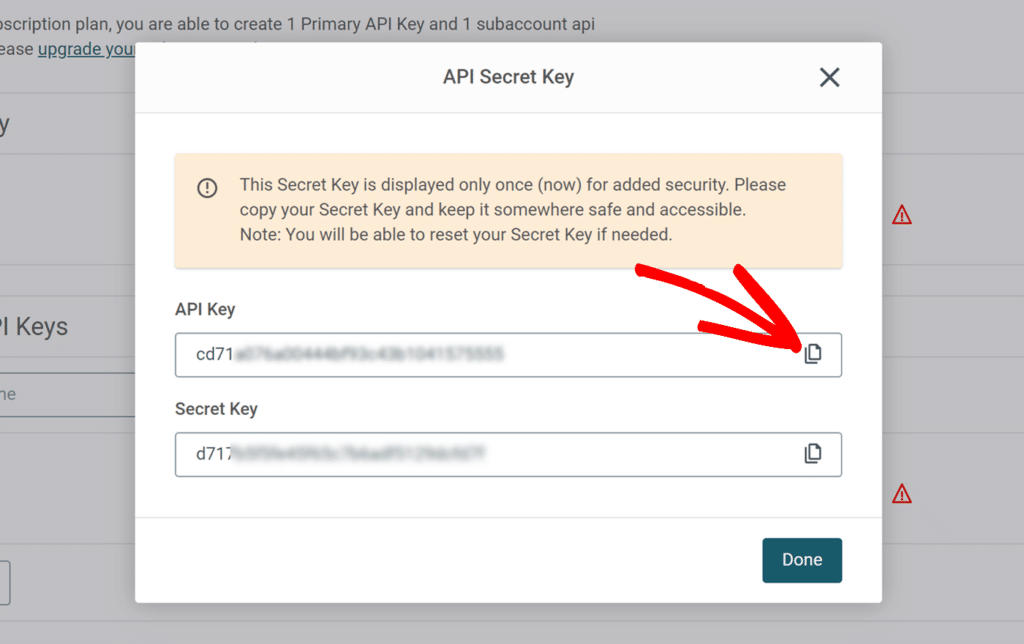
4. Configuring Easy WP SMTP Settings
Once you’ve set up your Mailjet account, you can configure Easy WP SMTP to use Mailjet for sending emails.
Go to Easy WP SMTP » Settings from your WordPress dashboard.

Mailer Settings
Select Mailjet from the list of available mailers. Once you choose Mailjet, more settings related to this mailer will appear.
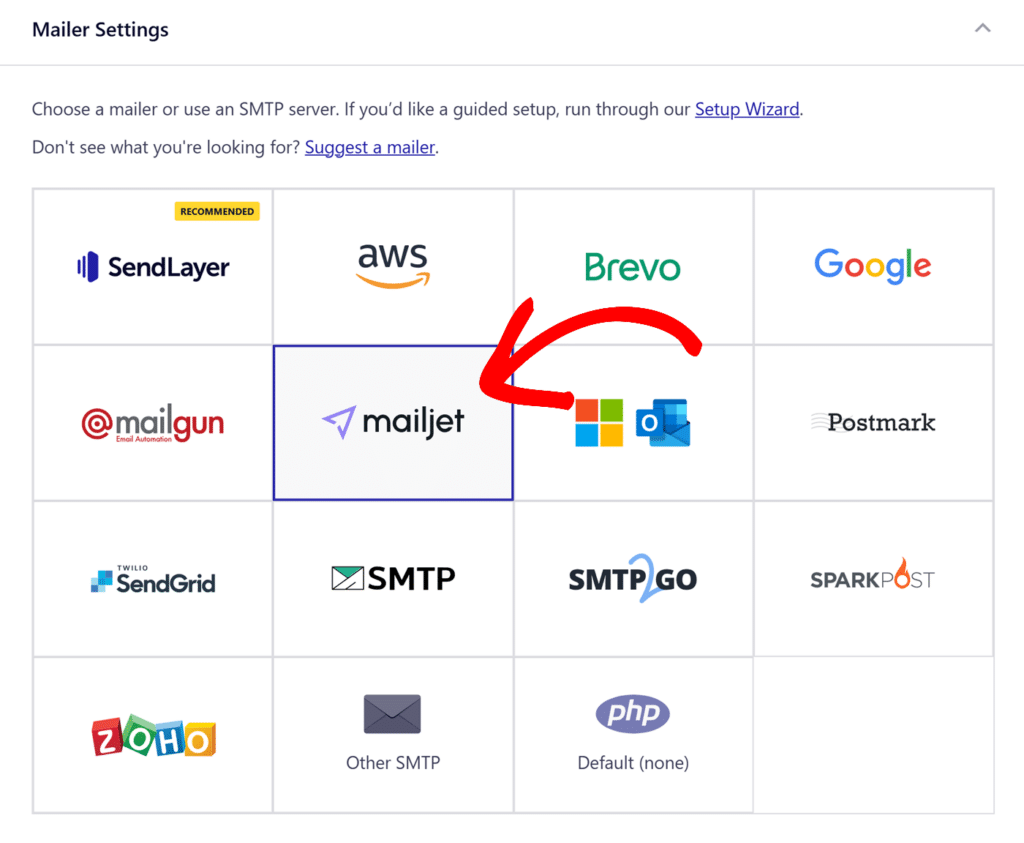
API Key
Once you’ve chosen Mailjet as your mailer, you’ll need to enter both your API Key and Secret Key. Go ahead and switch back to your Mailjet account window and copy both keys.
Then return to your Easy WP SMTP settings and paste them into their respective API Key and Secret Key fields.

General Settings
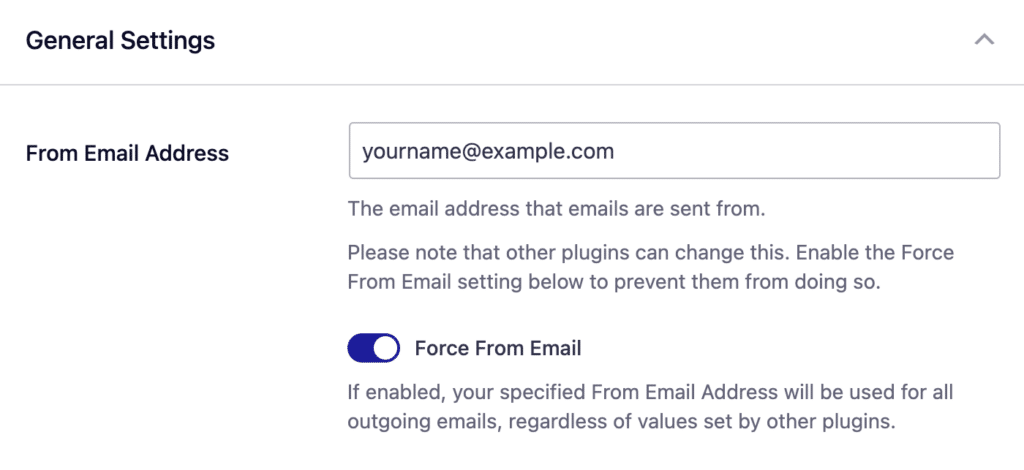
From Email Address
By default, the From Email Address field will be filled with your site’s admin email.
You can use any valid domain-specific email address for the From Email Address (e.g. [email protected]).
You also have the option to enable the Force From Email if you want the From Email Address to be the same site-wide.
From Name
The From Name is the name that appears in the emails sent from your site, letting the recipient know who sent the email. By default, the From Name is set to your site’s name. However, you can change the name to whatever you’d like.
Similarly, you can enable the Force From Name toggle to apply the settings site-wide.

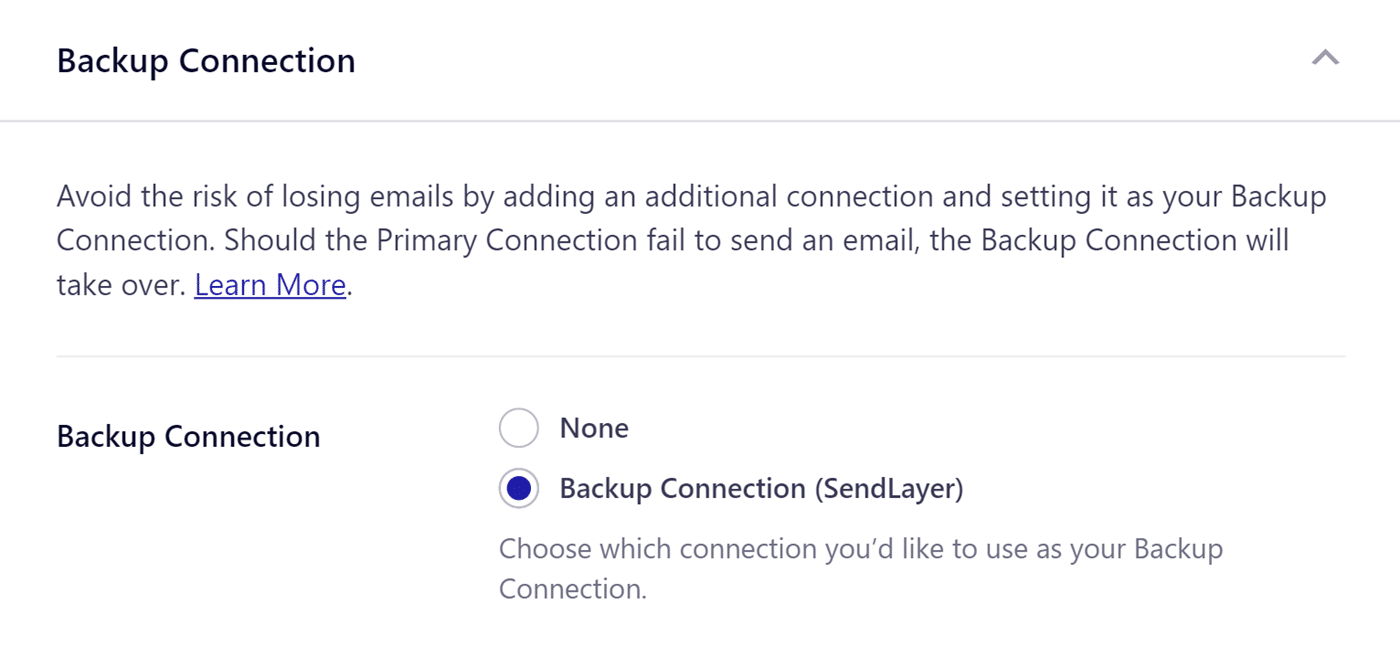
Backup Connection
Configuring a Backup Connection is an optional step in your Mailjet mailer setup. However, to further improve email deliverability, we recommend configuring an additional connection to serve as a backup in case your Primary Connection fails.
Note: If you’d like to learn how to send emails through different connections based on specific rules, please refer to our Smart Routing tutorial.
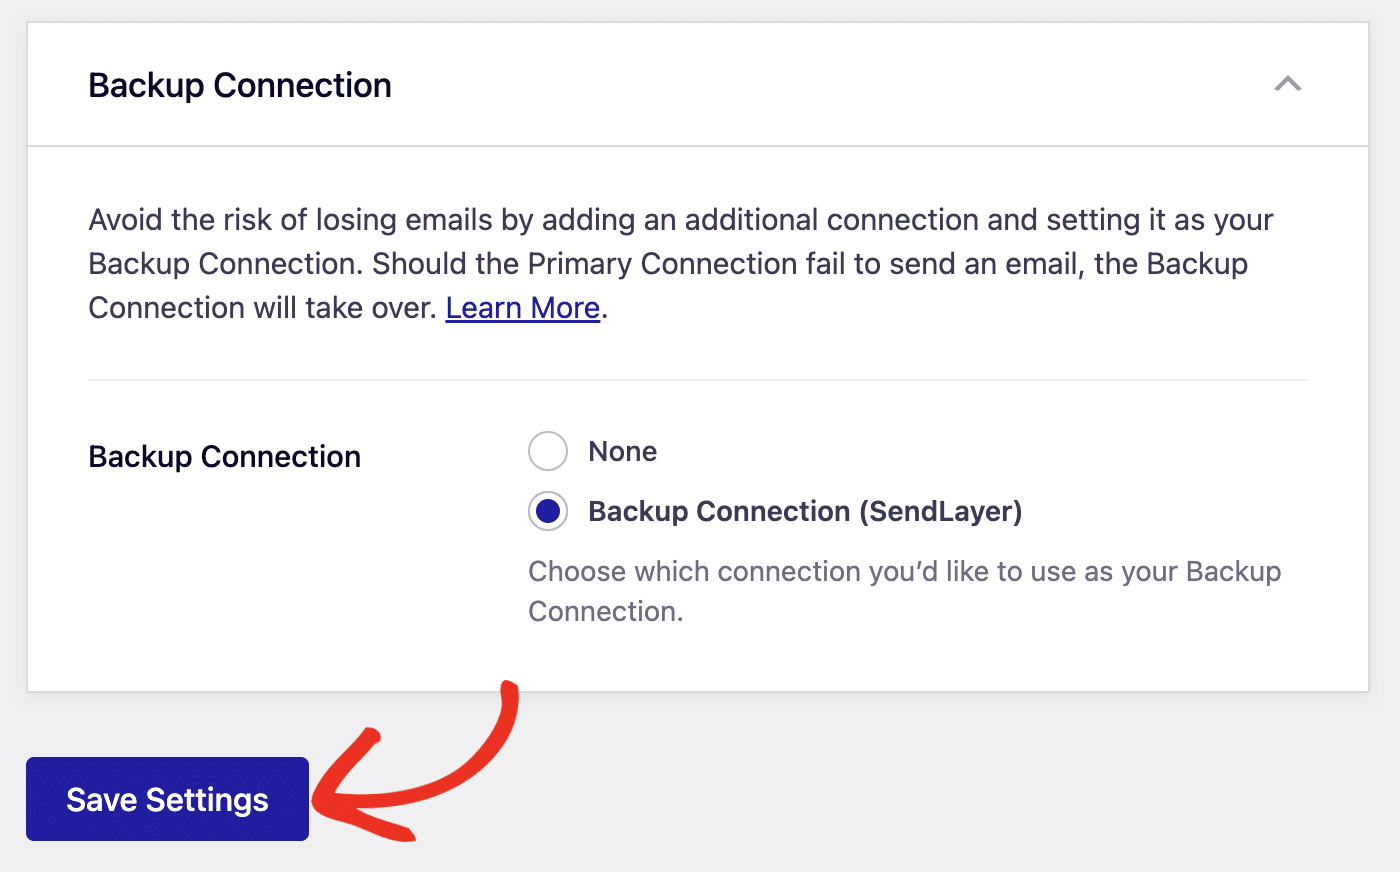
Once you’re done configuring the mailer settings, be sure to click Save Settings to register your changes.
That’s it! You’ve now successfully set up the Mailjet mailer with Easy WP SMTP.