In this tutorial, we’ll cover how to set up email alerts on your site with Easy WP SMTP.
Before getting started, make sure Easy WP SMTP is installed and activated on your WordPress site and that you’ve verified your license.
Configuring Alerts
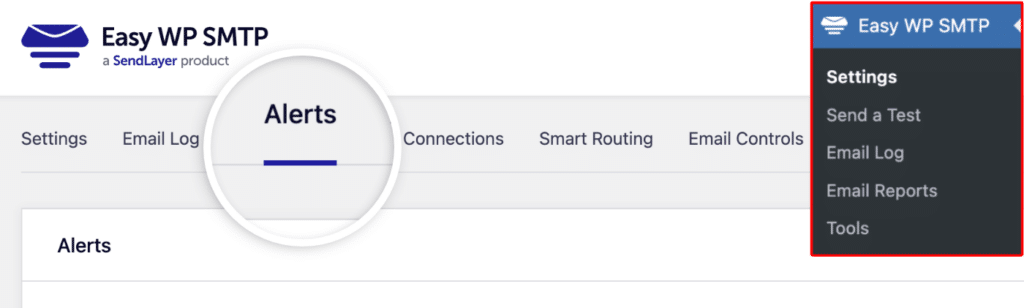
To set up alerts, go to Easy WP SMTP » Settings and click on the Alerts tab.
By default, you’ll get notified through the channels you’ve configured whenever your site fails to send an email. Enabling the Deliverability Verification option will notify you when emails fail to send due to permanent reasons, such as an invalid recipient address.
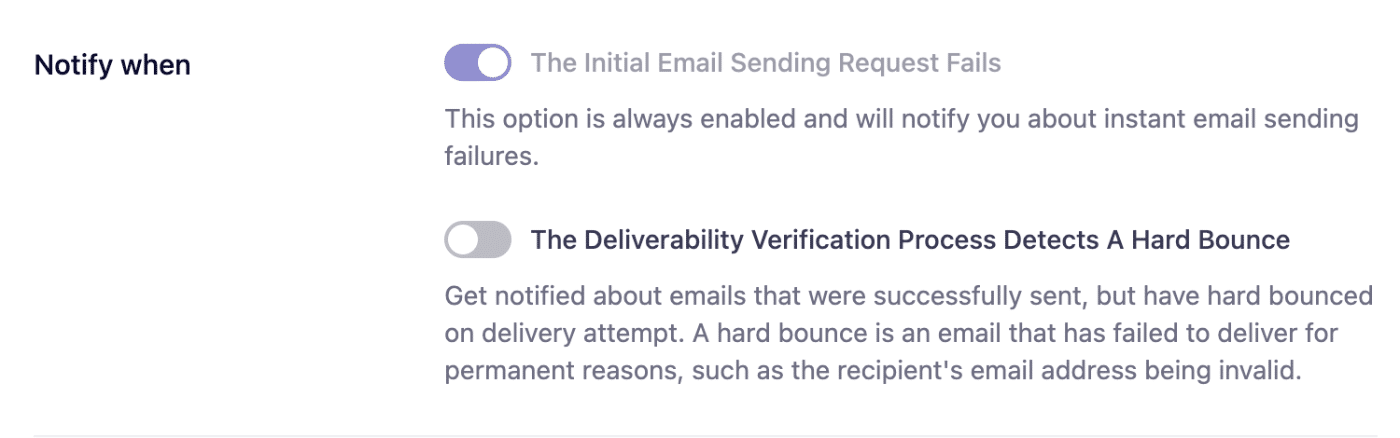
Note: The Deliverability Verification option is only available with transactional email providers like SendLayer.
Below the Notify when section, you’ll find the available integrations to deliver your email alerts:
You’ll need to set up at least one of these service integrations to enable email alerts on your site. In the following sections, we’ll guide you through setting up each service.
Note: We recommend enabling Email Logging on your site to get further information about the errors referenced in each alert.
With the Email option, alerts are sent to up to 3 email addresses. These alerts are delivered via a secure API and don’t depend on your site’s email configuration.
This means you’ll still receive alerts even if your site is unable to send emails.
Note: To view all failed emails, you need to enable Email Logging in Easy WP SMTP.
Setting Up Email Integration
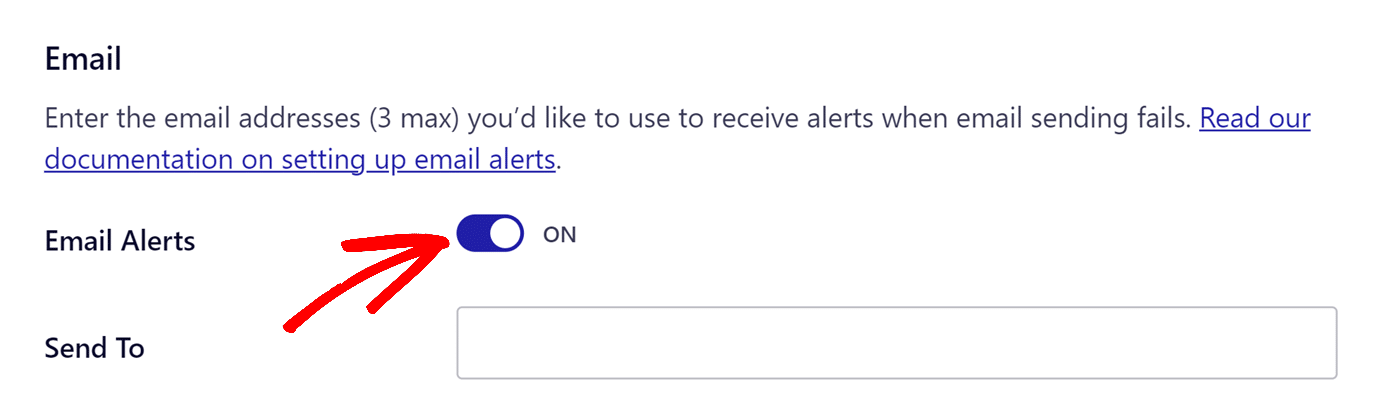
To enable email alerts, ensure the Email Alerts option is toggled to the ON position.
Type the intended recipient address into the Send To field to set an address.
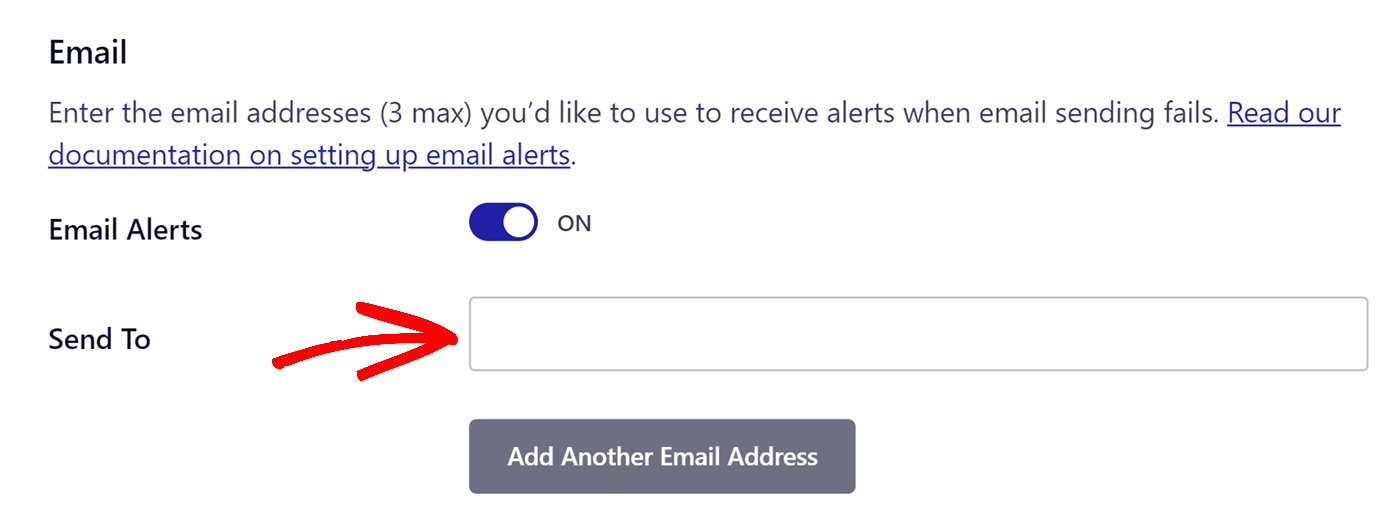
When you’re finished setting up email integration, you can either save your settings right away or continue to add other integrations.
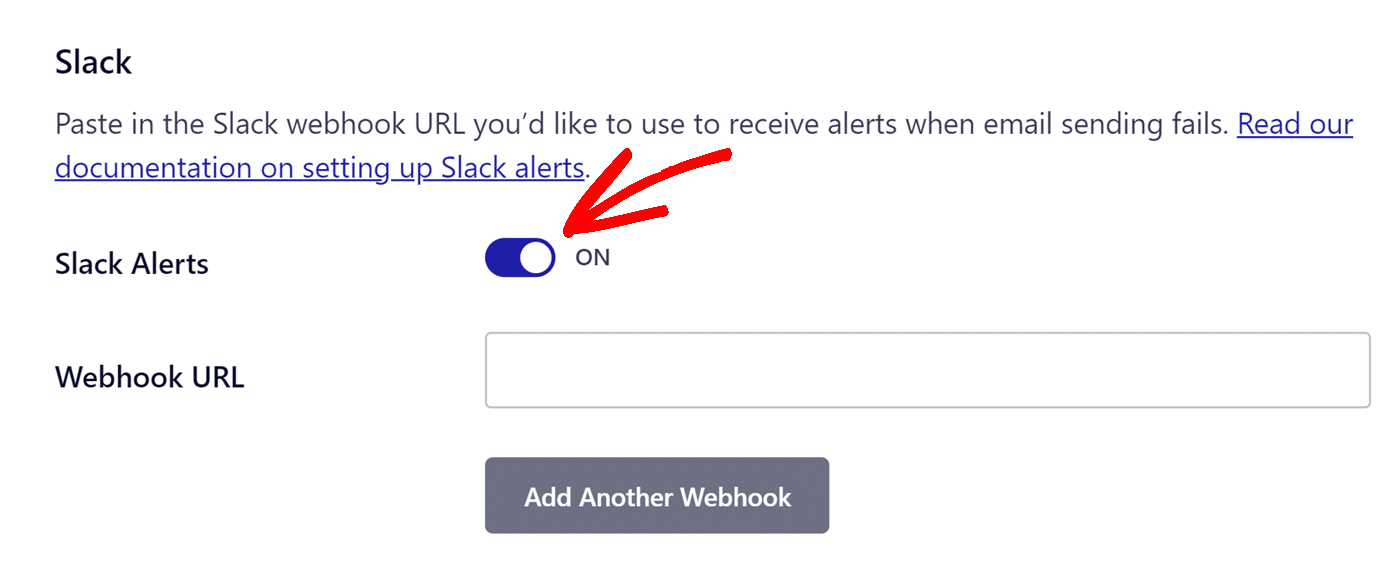
Slack
With Slack integration, alerts are sent to your Slack workspaces or to specific team members. Unlike the Email integration, you can set up as many Slack configurations as needed. Slack integration uses a webhook for communication.
Setting Up Slack Integration
To use Slack integration, you’ll need to create a Slack app and add its webhook URL to your site. Before doing this, ensure the Slack Alerts option is set to the ON position.
Note: For more information, check out our tutorial on setting up Slack alerts.
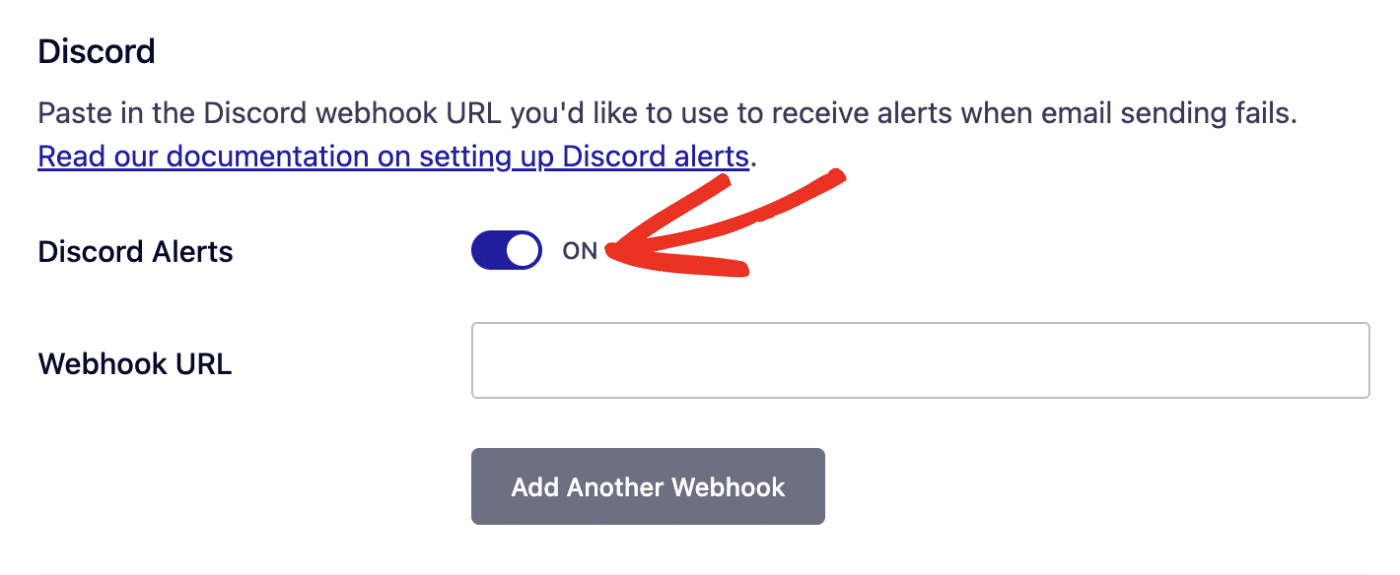
Discord
The Discord integration lets you receive alerts to your Discord server or individual channels on your server. You can create multiple Discord webhook connections on your server.
Setting Up Discord Integration
To get started, you’ll need to create a webhook connection on your Discord server. Then, use the webhook URL to connect our plugin to your Discord.
Start by toggling the Discord Alerts option to the ON position.
Note: For more information, check out our tutorial on setting up Discord alerts.
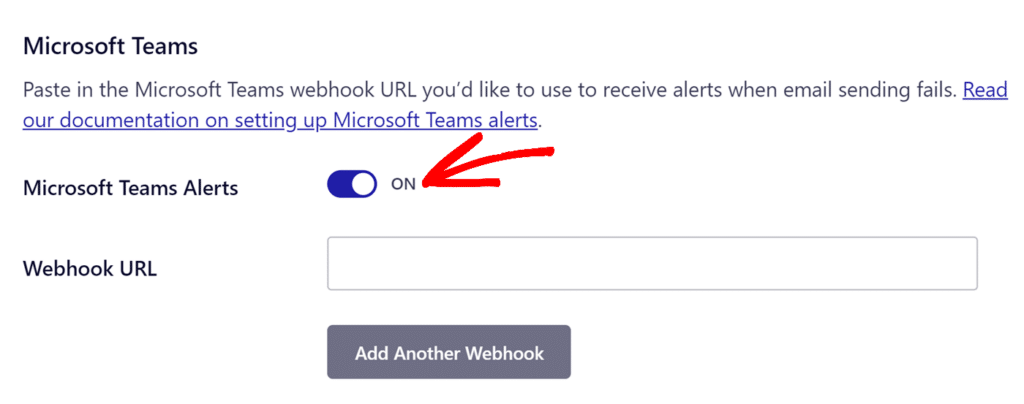
Microsoft Teams
If your team uses Microsoft Teams, you can set up alerts for individual channels in your team’s workspace.
Setting Up Microsoft Teams Integration
To use the Microsoft Teams integration, you’ll need to configure a webhook connection on the channel where you’d like to receive the alert. Then, add the webhook URL you generate from Microsoft Teams to your site.
Start by toggling the Microsoft Teams Alerts option to the ON position.
Note: See our tutorial for details on how to integrate Microsoft Teams with Easy WP SMTP.
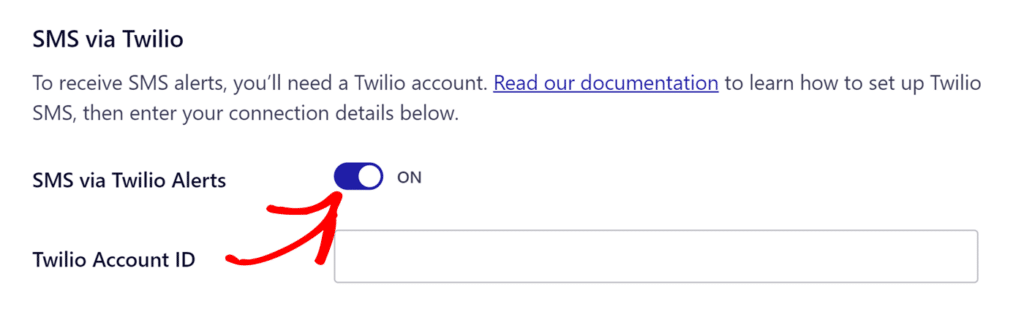
SMS via Twilio Alerts
With Twilio integration, email alerts can be sent from your site to any mobile device. SMS alerts are delivered via your Twilio phone number.
Due to SMS character limits, this service integration can’t provide extensive details. Instead, the message you receive will include the title and log number corresponding to the error that triggered the alert.
Setting Up Twilio Integration
To set up Twilio integration, ensure that you have the SMS via Twilio Alerts option toggled to the on position.
Note: See our tutorial for details on how to set up SMS alerts via Twilio.
Webhooks
With Webhooks integration, your site can send notifications through any service with webhooks support. As with the Slack and Twilio integrations, there’s no limit on the number of webhooks integrations.
Setting Up Webhooks Integration
First, to integrate Webhooks with your site, set the Webhook Alerts toggle to the ON position.
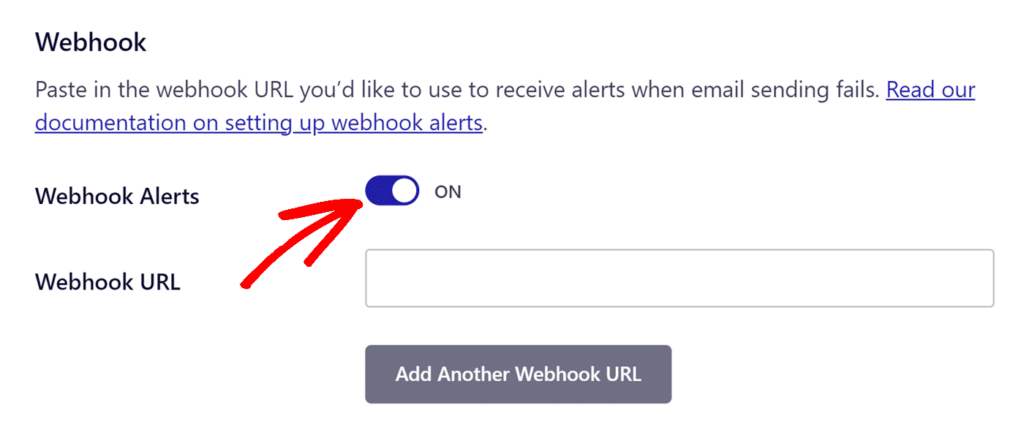
Next, copy the Webhook URL from the service you’d like to utilize and place it in the Webhook URL field.

Once you’ve finished setting up your webhooks integrations, don’t forget to save your settings.
Push Notifications
Our Push Notifications feature lets site owners receive native alerts regarding failed emails on their devices. The notifications work on mobile and desktop devices and is compatible with most modern browsers.
You can set up push notification alerts across multiple devices for your site.
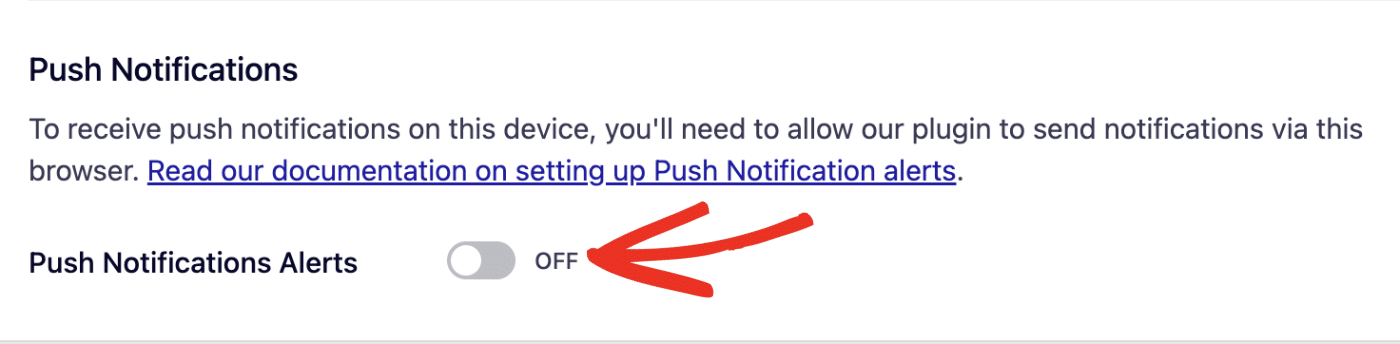
Setting Up Push Notifications
To get started, toggle the Push Notifications Alerts option to the ON position.
Note: See our tutorial for details on how to set up push notification alerts.
The WhatsApp integration enables you to connect Easy WP SMTP to your WhatsApp account and receive notifications for failed emails.
It uses Meta’s WhatsApp API and Webhook connection to facilitate communication.
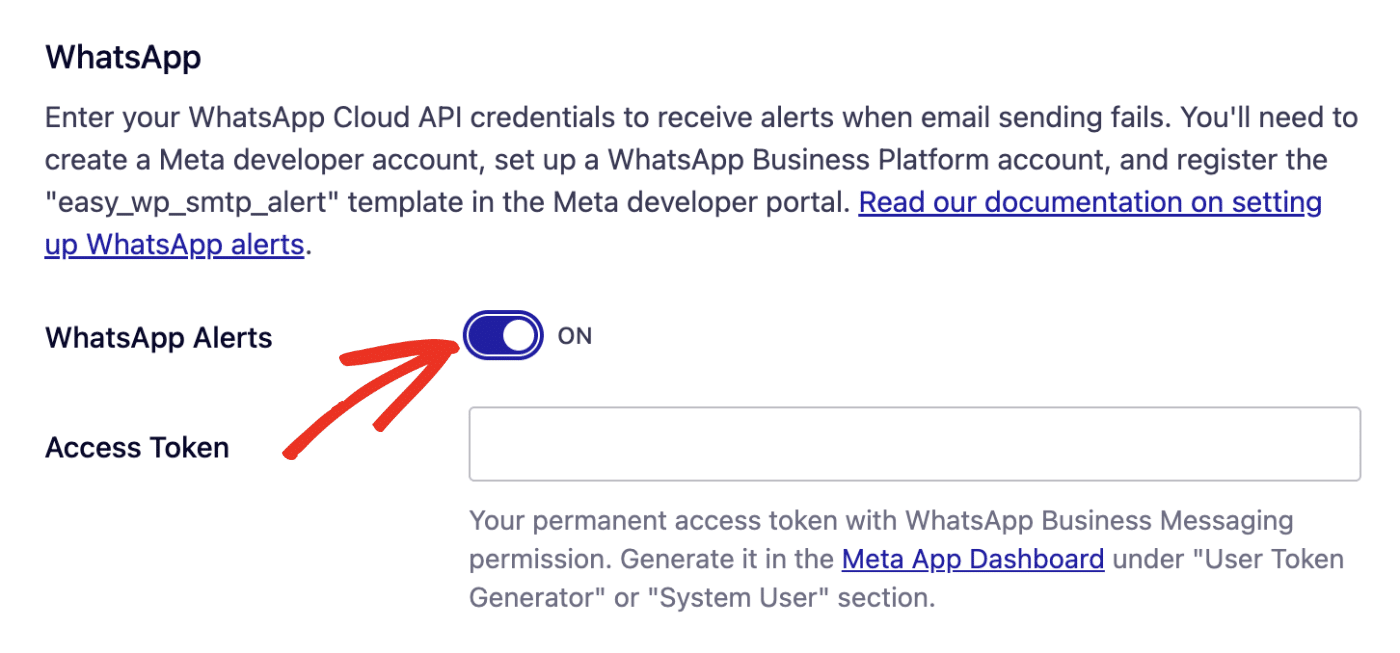
To use the WhatsApp integration, you’ll need to configure a custom app on the Meta developer dashboard.
Start by toggling the WhatsApp Alerts option to the ON position.
Note: See our tutorial for a complete walkthrough on setting up WhatsApp integration in Easy WP SMTP.
Saving Your Settings
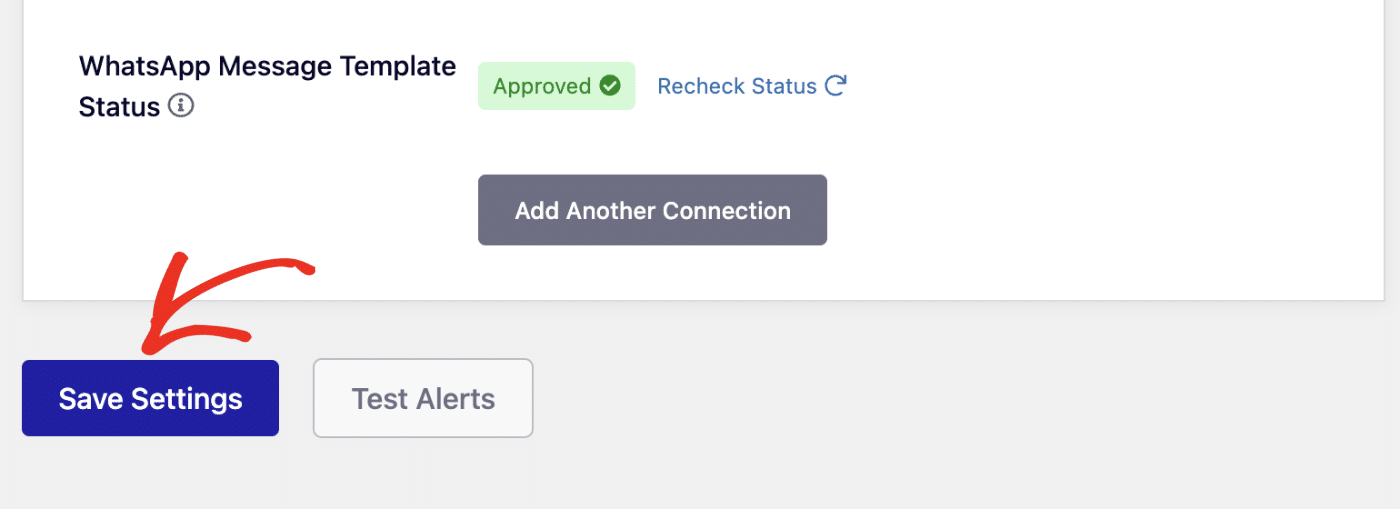
Once you’ve added the services you’d like to use, you’ll need to save your changes to complete the setup.
To do this, click the Save Settings button at the bottom left of the interface.
Testing Email Alerts
After saving your settings, you can test the services you configured to ensure they work correctly. To do so, click the Test Alerts button next to Save Settings.
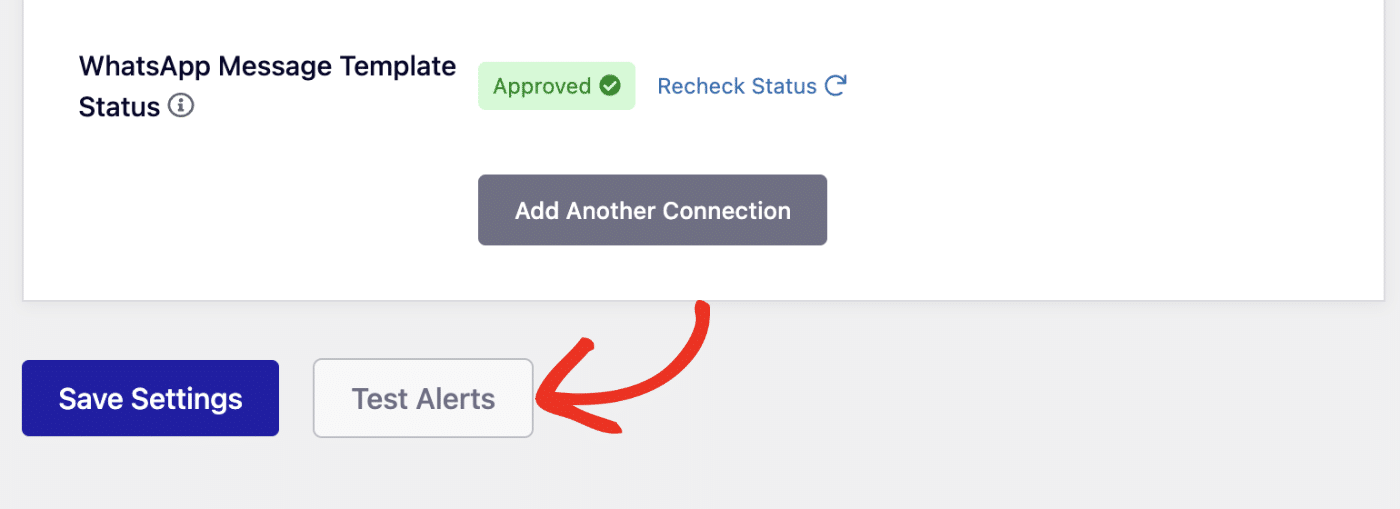
You should see a success notification after clicking on this button.

The alert test will trigger all the services you configured. So, if you set up email alerts, for example, you’ll receive an email with the test results at the email address(es) you added.
That’s it! Now you know how to set up Alerts on your site with Easy WP SMTP.