In this tutorial, we’ll show you how to set up email logs in Easy WP SMTP.
Before you get started, be sure to install and activate the Easy WP SMTP plugin on your WordPress site and verify your license.
1. Enabling Email Logs
To access the email log settings from the WordPress dashboard, go to Easy WP SMTP » Settings and click on the Email Log tab.
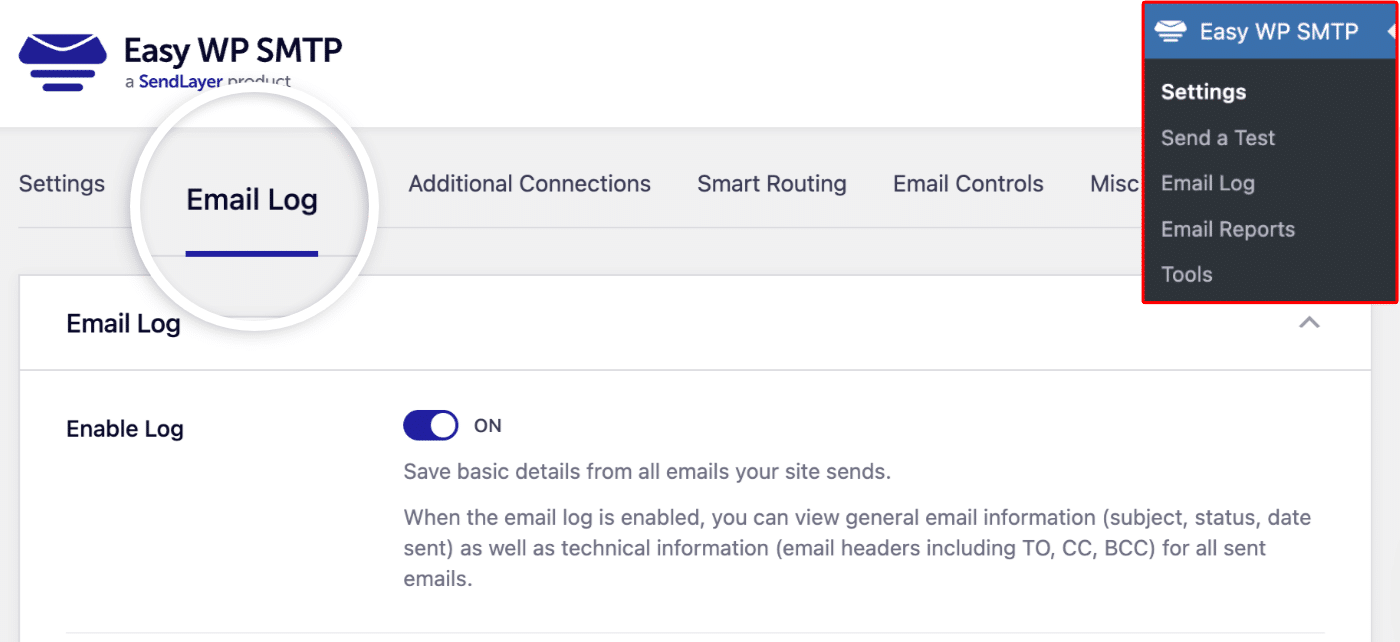
Next, enable email logs by toggling on the Enable Log option.
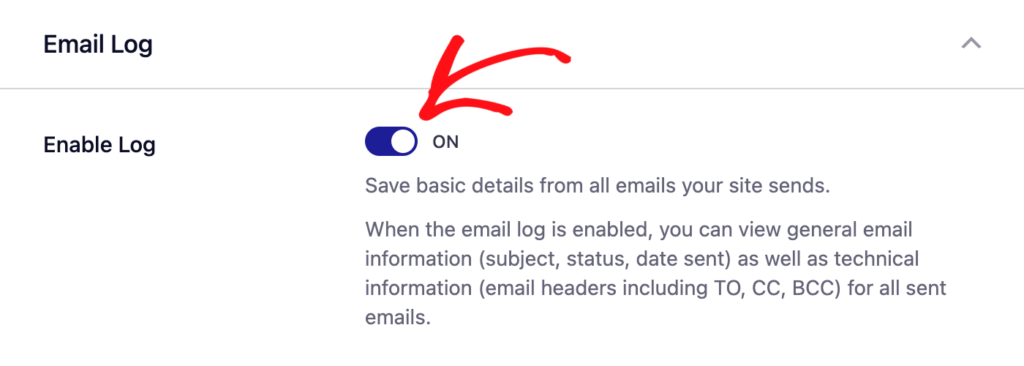
With email logs enabled, every future email sent from your site will be logged with the following details:
- Email status (Delivered, Failed, Sent, Waiting for confirmation)
- Date and time sent
- Subject line
- Recipient email address(es), including CC and BCC
- From email
- Mailer used
- Additional technical details (such as content type, MIME type, etc.)
- Source of the email (WordPress core, a plugin, or theme)
2. Configuring Email Log Settings
Once you’ve enabled email logs, additional settings will appear. We’ll go over each of these settings below.
Log Email Content
With this option enabled, email logs will include the actual content of the emails sent from your site.
The Log Email Content setting needs to be enabled for you to be able to resend emails.
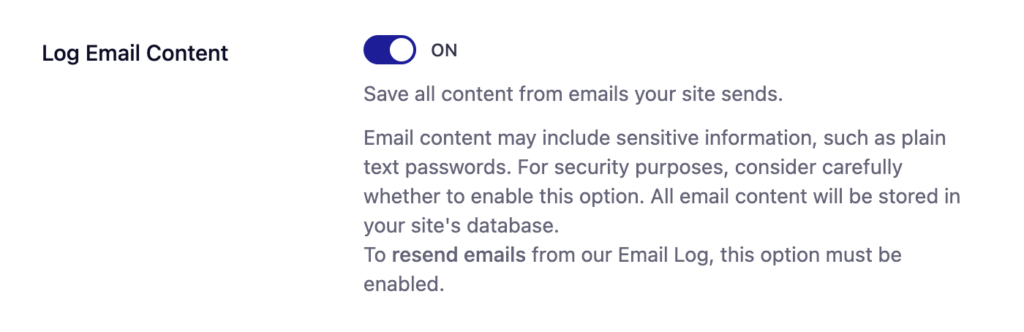
Note: Please consider carefully before enabling email content logging. Email content may include sensitive information, such as user login credentials. This option will store all email content as plain text (not encrypted) in your site’s database.
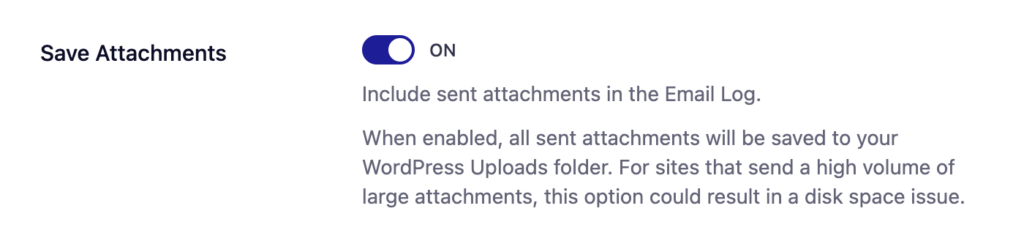
Save Attachments
Enabling this option saves all sent attachments to your site’s WordPress Uploads folder.
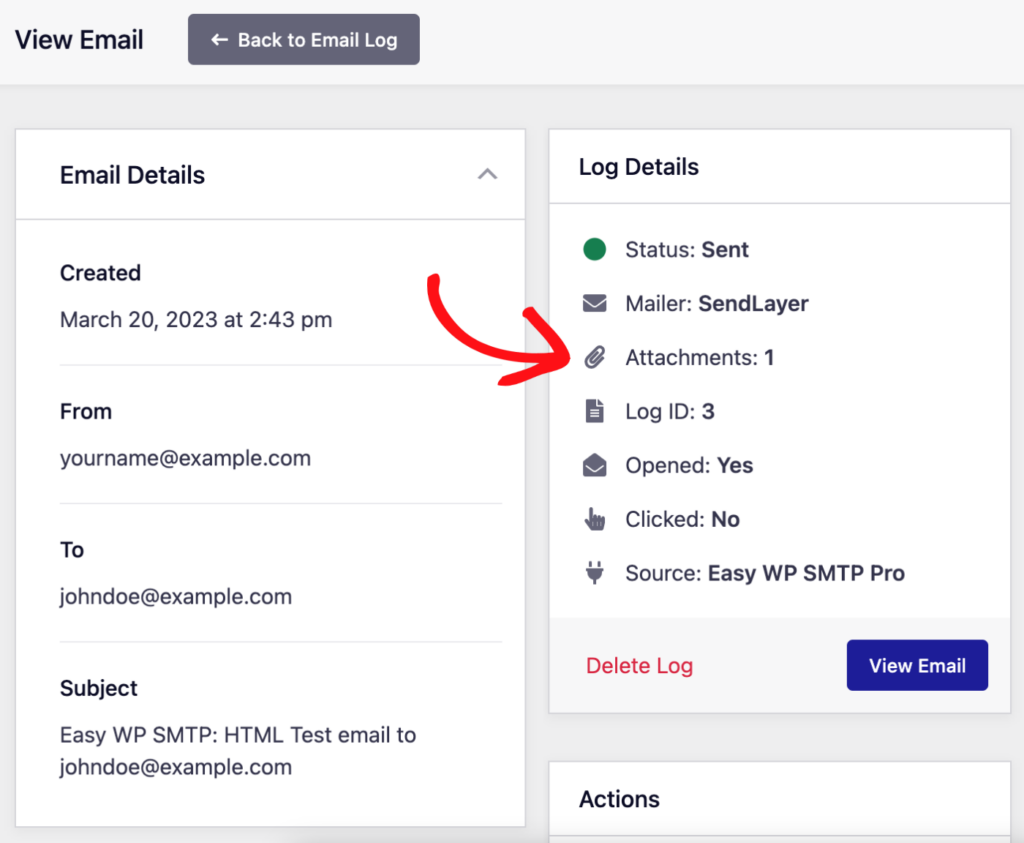
In the log for an individual email, you can see the number of saved attachments in the Log Details section next to Attachments.
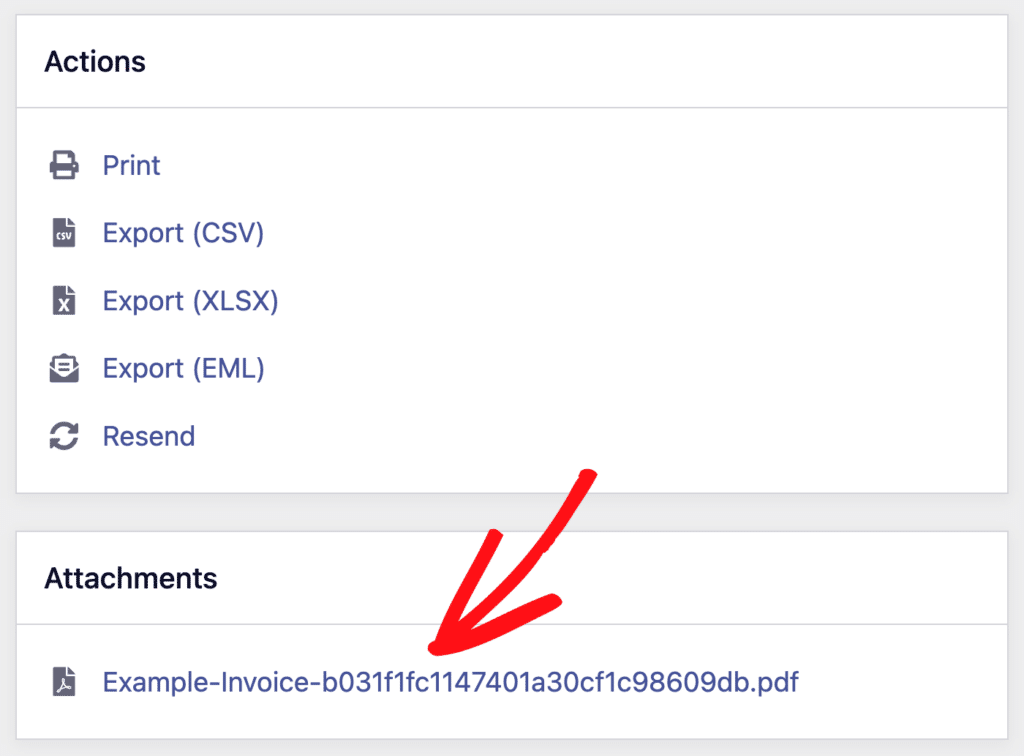
For quick access to the attached files, scroll down to the Attachments section and click on the attachment you’d like to view.
Open Email Tracking
This option allows you to track when a recipient opens an email.
In the log for an individual email, you can see if the recipient has opened the email by checking the Opened section of the Log Details.
Click Link Tracking
This option allows you to track when a recipient clicks a link in an email.
In the log for an individual email, you can see if the recipient has clicked a link in an email by checking the Clicked section of the Log Details.
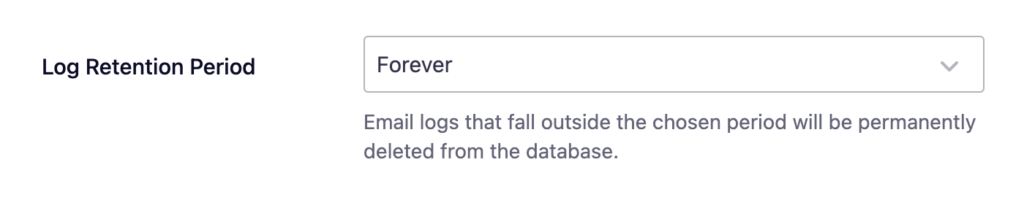
Log Retention Period
The log retention period setting allows you to choose how long logs are stored in your site’s database. This setting is set to Forever by default, but you can change it to however long you’d like.
Once a log reaches the end of the retention period, it will be deleted automatically. Deleted logs can’t be recovered, so make sure you no longer need old email logs before setting up a log retention period.
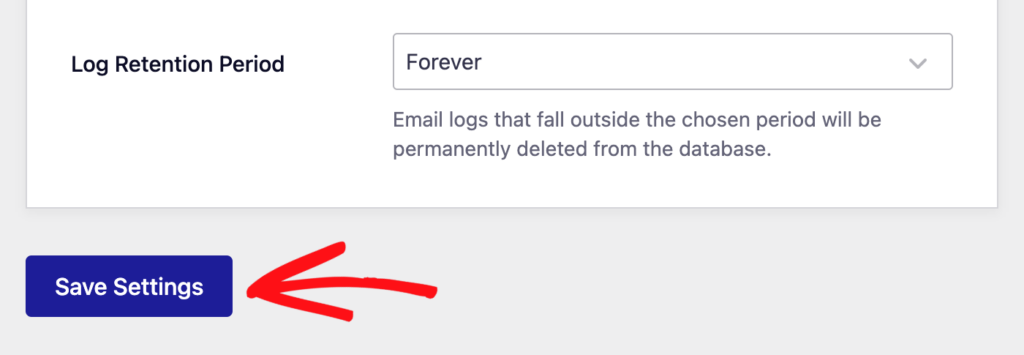
Once you’ve configured your email log settings, be sure to save your settings by clicking Save Settings.
That’s it! You’ve now successfully set up email logs for Easy WP SMTP.