In this tutorial, we’ll cover how to configure a Backup Connection in Easy WP SMTP.
Before getting started, you’ll need to make sure Easy WP SMTP is installed and activated on your WordPress site and that you’ve verified your license.
Why Use a Backup Connection?
A Backup Connection in Easy WP SMTP is used as an additional connection to ensure emails from your website are delivered. If your Primary Connection fails to send emails, the Backup Connection will be used as a substitute to improve email deliverability.
Note: You’ll need to add at least one additional connection on your site to be able to use it as a backup mailer.
Setting Up a Backup Connection
After setting up an additional connection, go to Easy WP SMTP » Settings to access the plugin’s settings page.

In the Settings tab, scroll to the Backup Connection section.
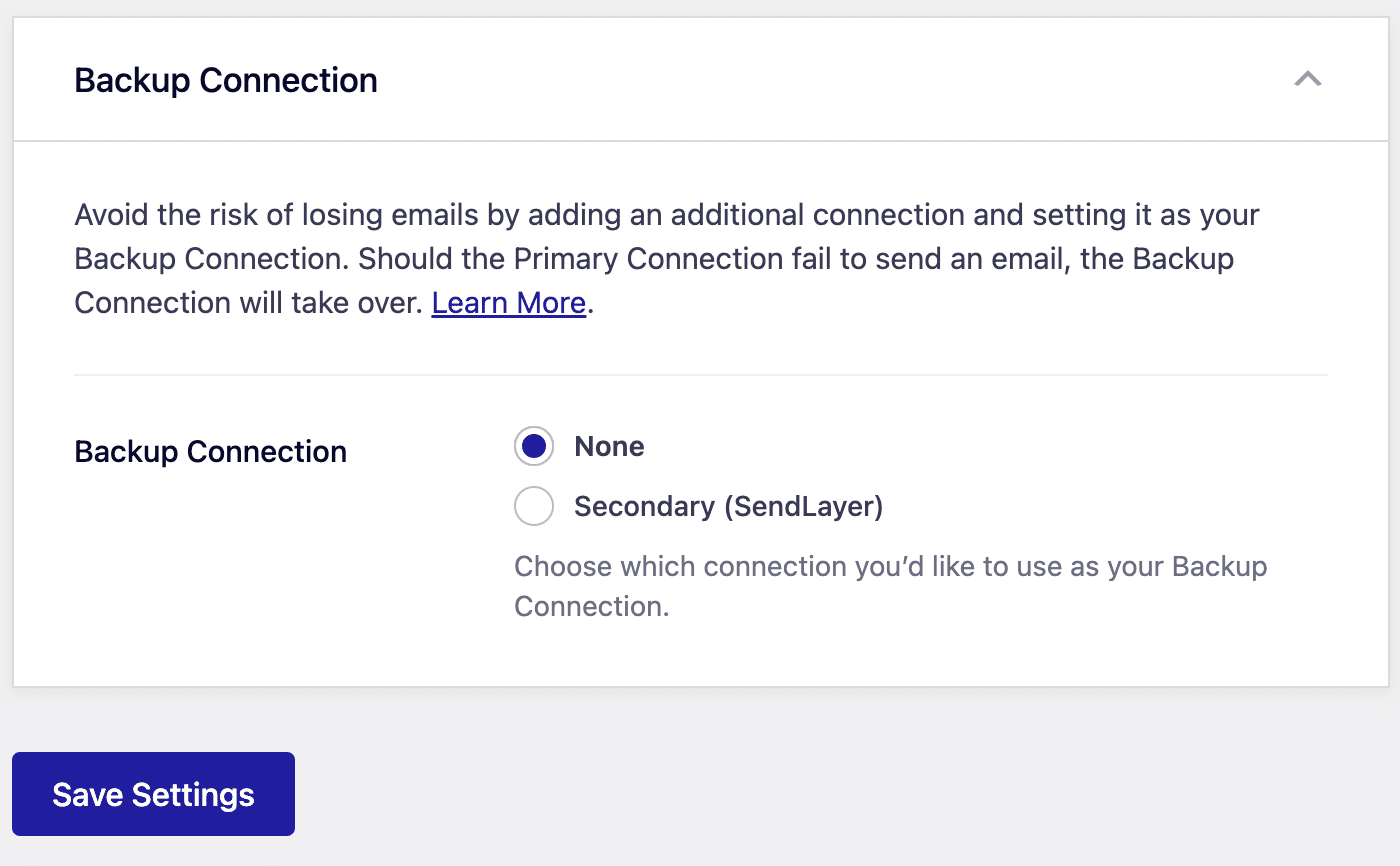
Here, you’ll be able to choose any additional connection you’ve previously configured.
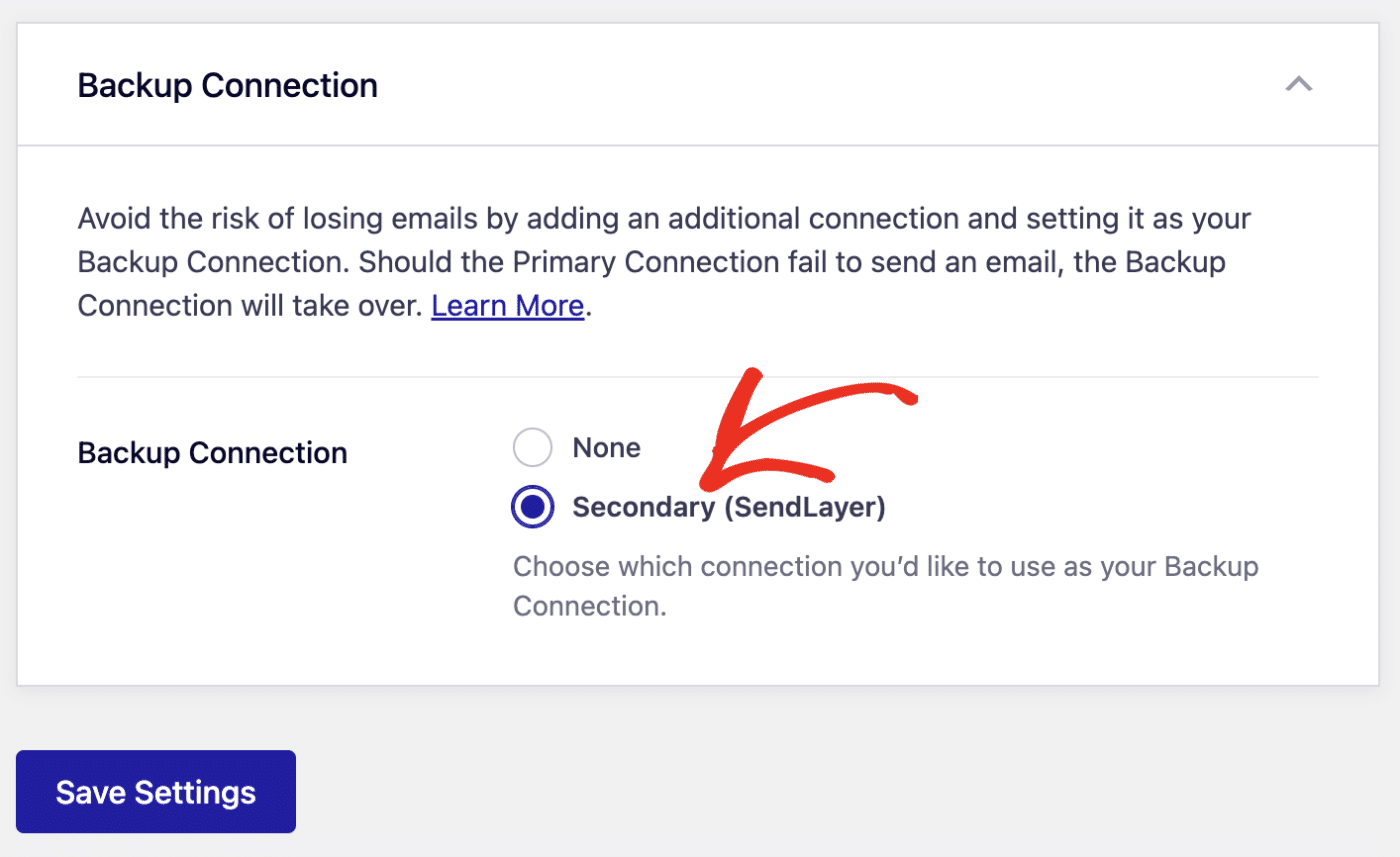
Note: You can add many additional connections in Easy WP SMTP. But you’ll be able to choose only one of them as a Backup Connection.
Go ahead and choose the one you’d like to use as a Backup Connection.
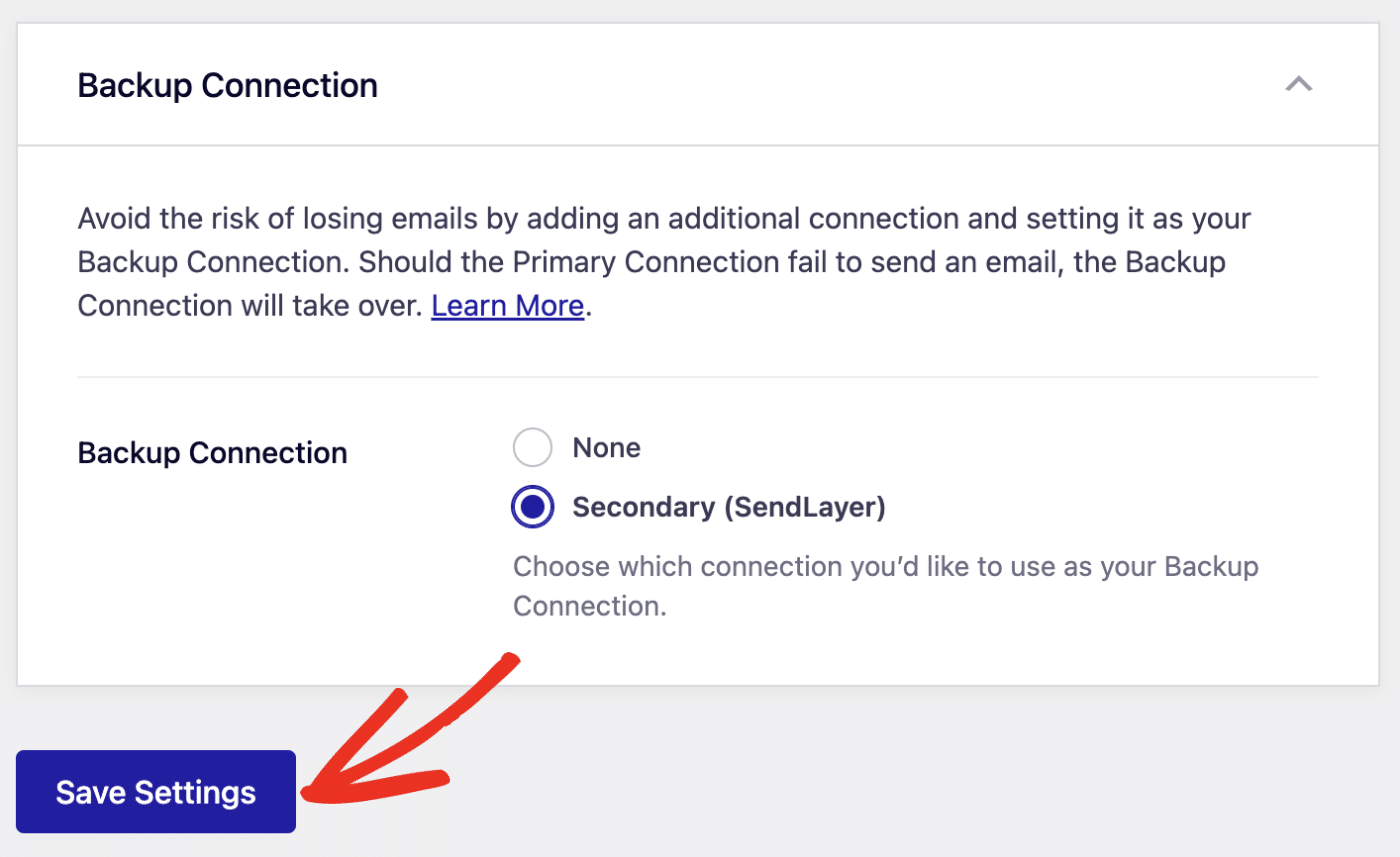
Then click the Save Settings button after making your selection.
Testing the Backup Connection
After you’ve configured additional connections, you’ll be able to choose between the Primary Connection and other additional connections when sending a test email.
For this tutorial, we’ll send a test email using the Backup Connection we configured to ensure it works properly.
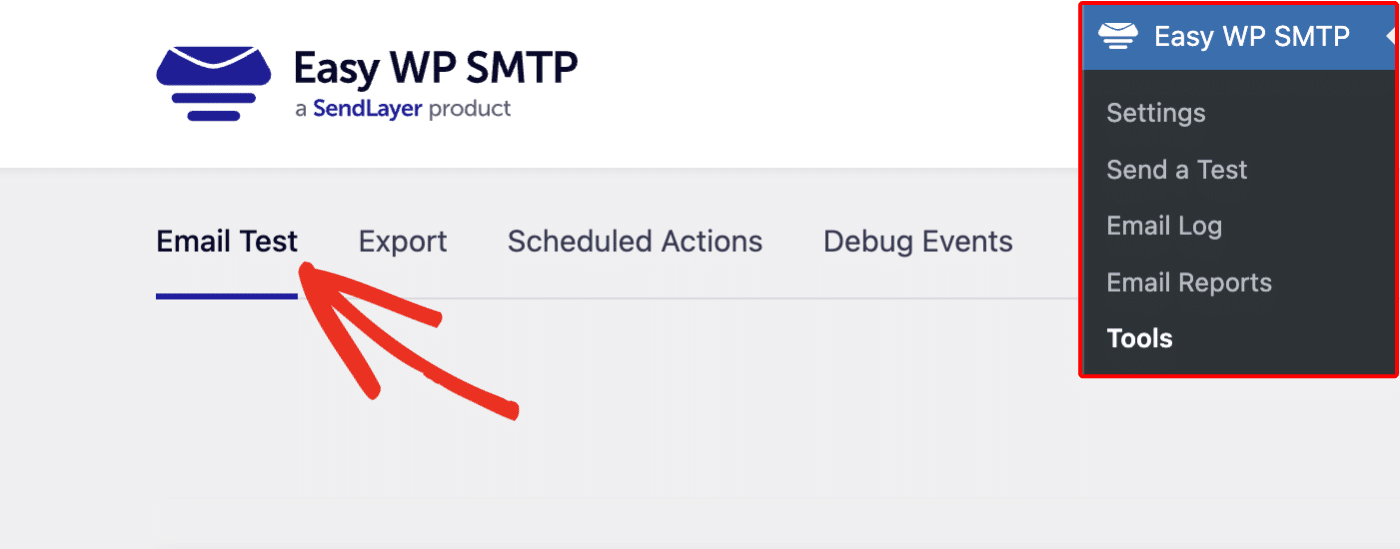
To send a test email, navigate to Easy WP SMTP » Tools and select the Email Test tab.
In the Send To box, enter an email address you’d like to send the test email to.

Next, you’ll see all the mailers you’ve configured on your site under the Connection section. Be sure to choose the option you selected as a Backup Connection.

After that, choose whether to send a plain text or HTML email. We recommend leaving the HTML setting toggled to the ON position.
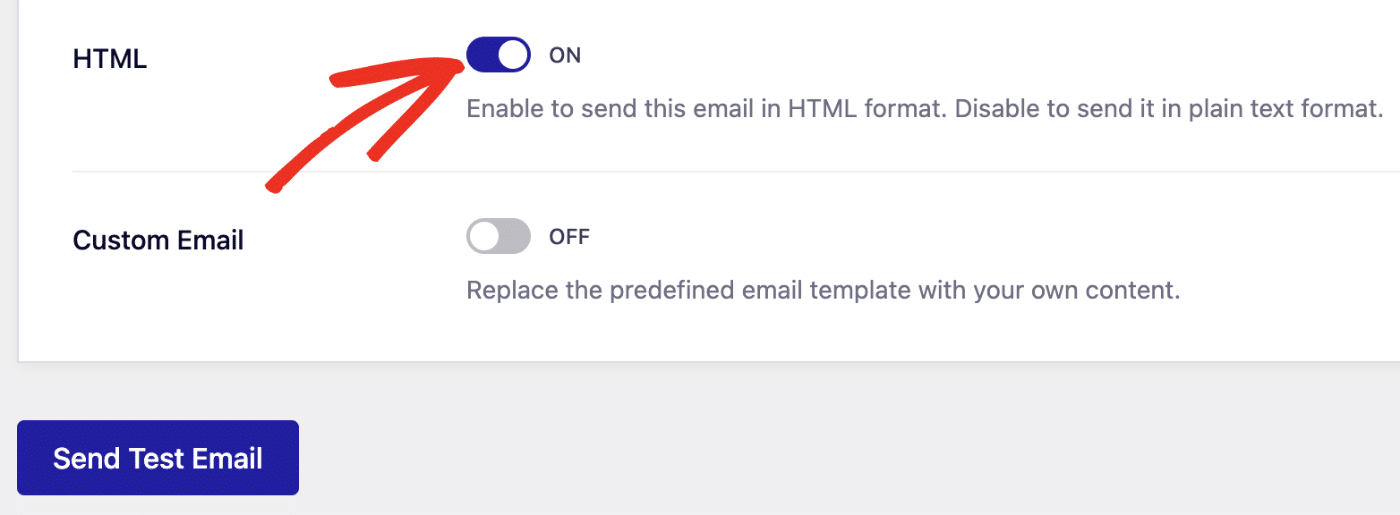
Note: The Custom Email option lets you customize the Subject and content of the email message.
Finally, click the Send Test Email button to send your test email using the Backup Connection.
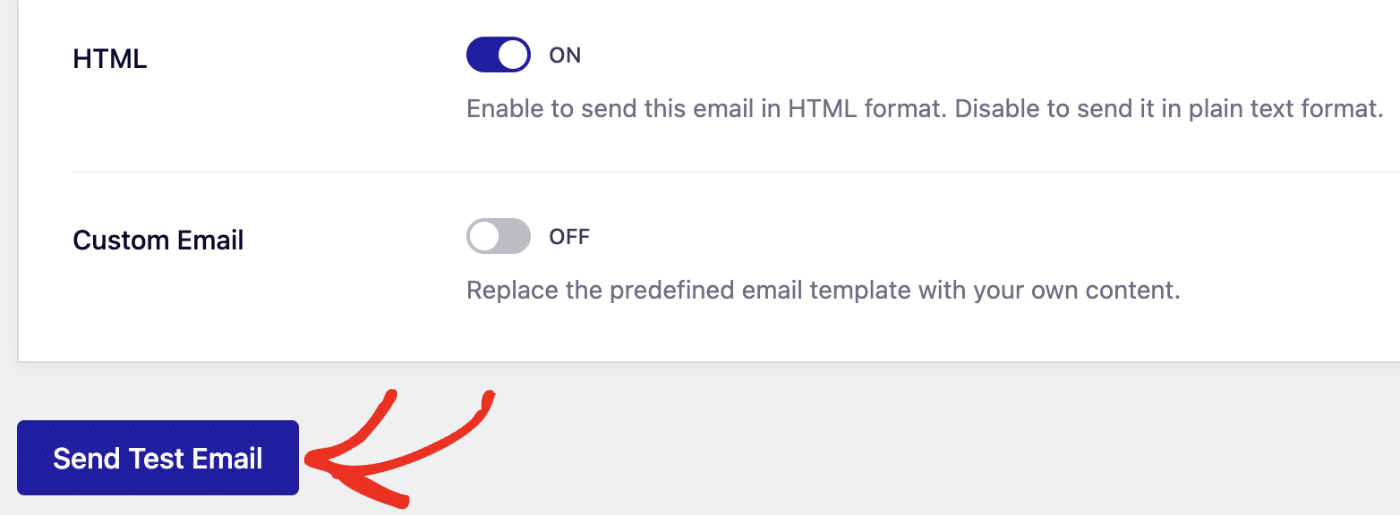
If the test email delivers successfully, the Backup Connection is working.

Your website will use this backup mailer whenever the Primary Connection fails to send an email.
That’s it! You’ve now learned how to configure a Backup Connection in Easy WP SMTP.