In this tutorial, we’ll show you how to configure the Microsoft 365 / Outlook.com mailer with the One-Click Setup feature in Easy WP SMTP to resolve your email delivery issues without any complex configuration.
Requirements: Your site needs to have a valid SSL (HTTPS) certificate enabled. Please see WPBeginner’s tutorial for adding SSL and HTTPS in WordPress.
Changes to Microsoft Authorization
Microsoft is gradually disabling Basic Authentication (username and password) for all Outlook.com, Hotmail.com, and Microsoft 365 email accounts, with complete retirement scheduled for September 2025. If you’re getting authentication errors when trying to send email via SMTP, this is because Microsoft is requiring all apps to use Modern Authentication (OAuth 2.0) to better protect email accounts from unauthorized access. For more details, see Microsoft’s official announcement about retiring Basic Authentication.
Easy WP SMTP’s One-Click Setup automatically handles this change by using Modern Authentication to establish a secure connection with Microsoft. If you’re currently using the Other SMTP mailer option with your Microsoft account credentials, simply switch to the 365 / Outlook mailer option described in this guide to fix the authentication errors and restore your email sending.
Configuring the Easy WP SMTP Plugin
Before getting started, you’ll need to ensure Easy WP SMTP is installed and activated on your WordPress site.
Once you’ve installed and activated the plugin, go to Easy WP SMTP » Settings to access the settings page.

Then, scroll down and select Outlook as your mailer option for the Easy WP SMTP configuration.
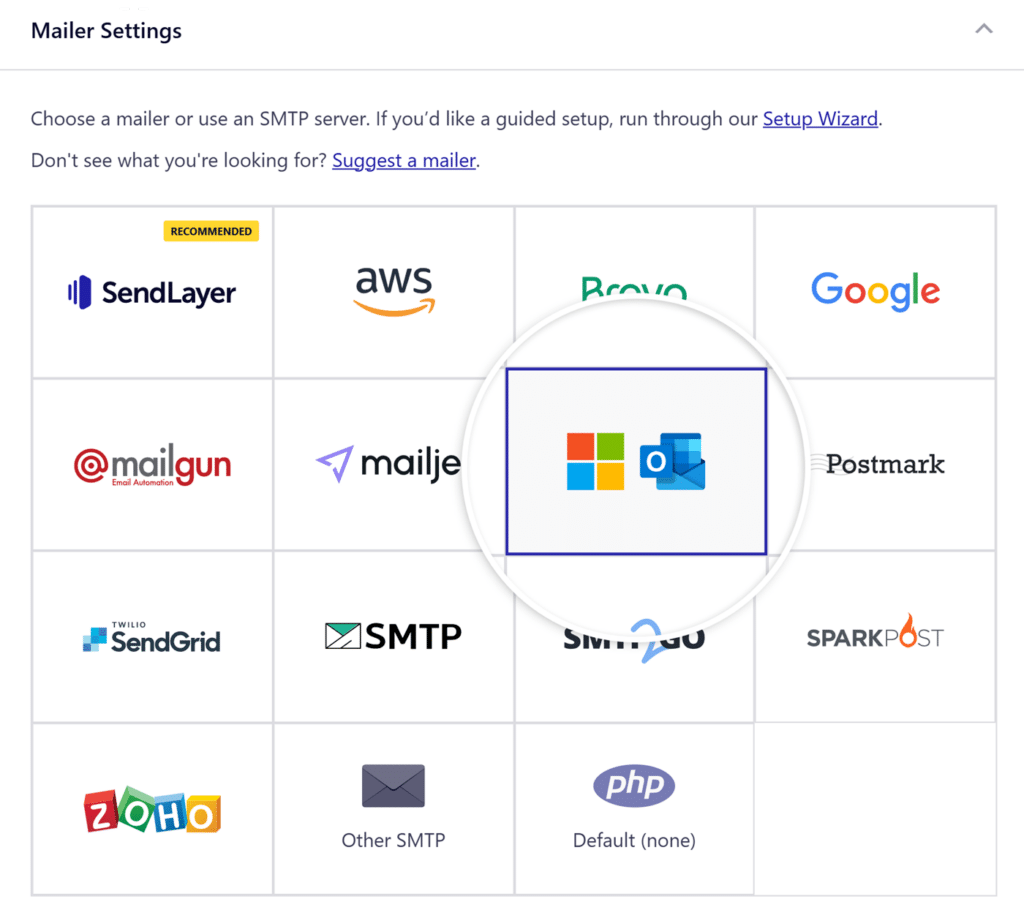
Note: If you prefer or require a custom setup, Easy WP SMTP also supports configuring a custom Microsoft app. To learn more, please refer to our guide on setting up the Outlook mailer in Easy WP SMTP.
Activating One-Click Setup
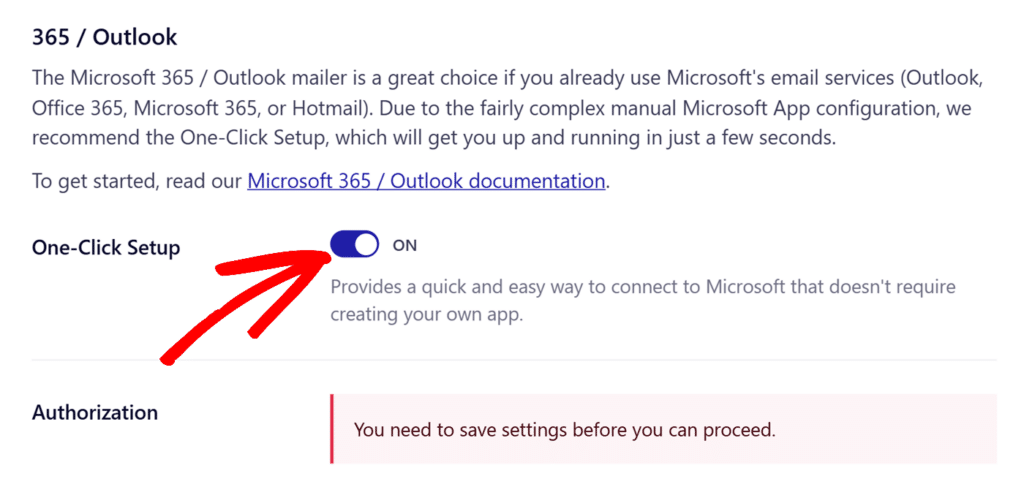
After selecting Outlook as your mailer, you’ll see the One-Click Setup option. To proceed, you’ll need to turn this toggle to the ON position.
Next, scroll to the bottom of the page and click the Save Settings button.
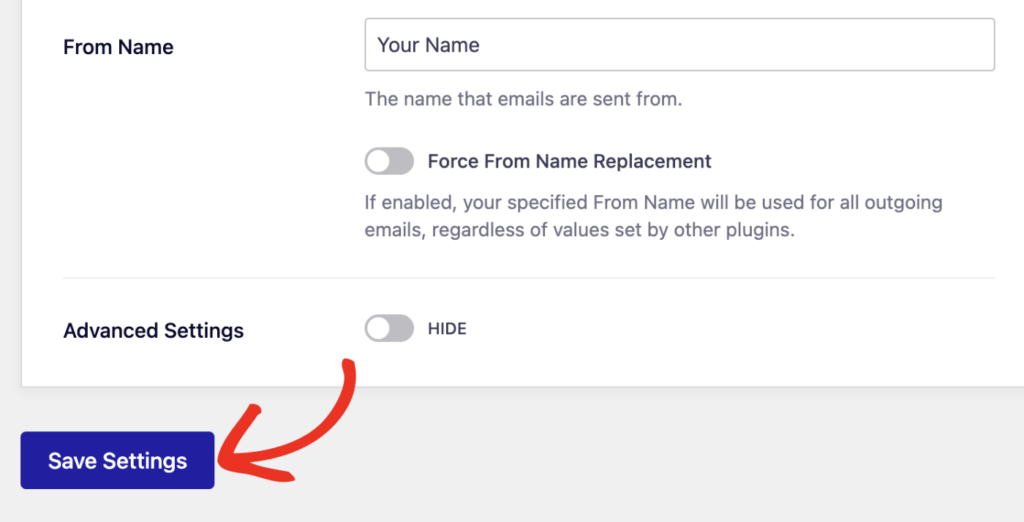
The page will now refresh to show you the new authorization options.
Authorizing Easy WP SMTP With Your Microsoft Account
After the page has been refreshed, scroll down to the One-Click Setup section and click the Sign in with Microsoft button.
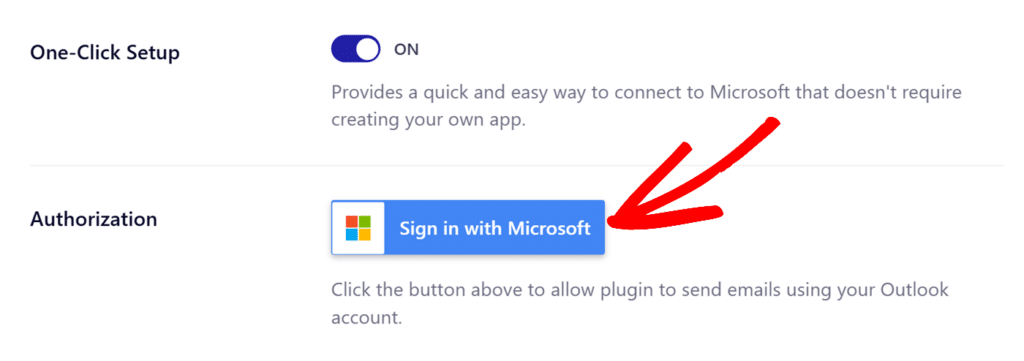
This will direct you to Microsoft’s account login page. Go ahead and log in to the account you’re setting up this mailer with.
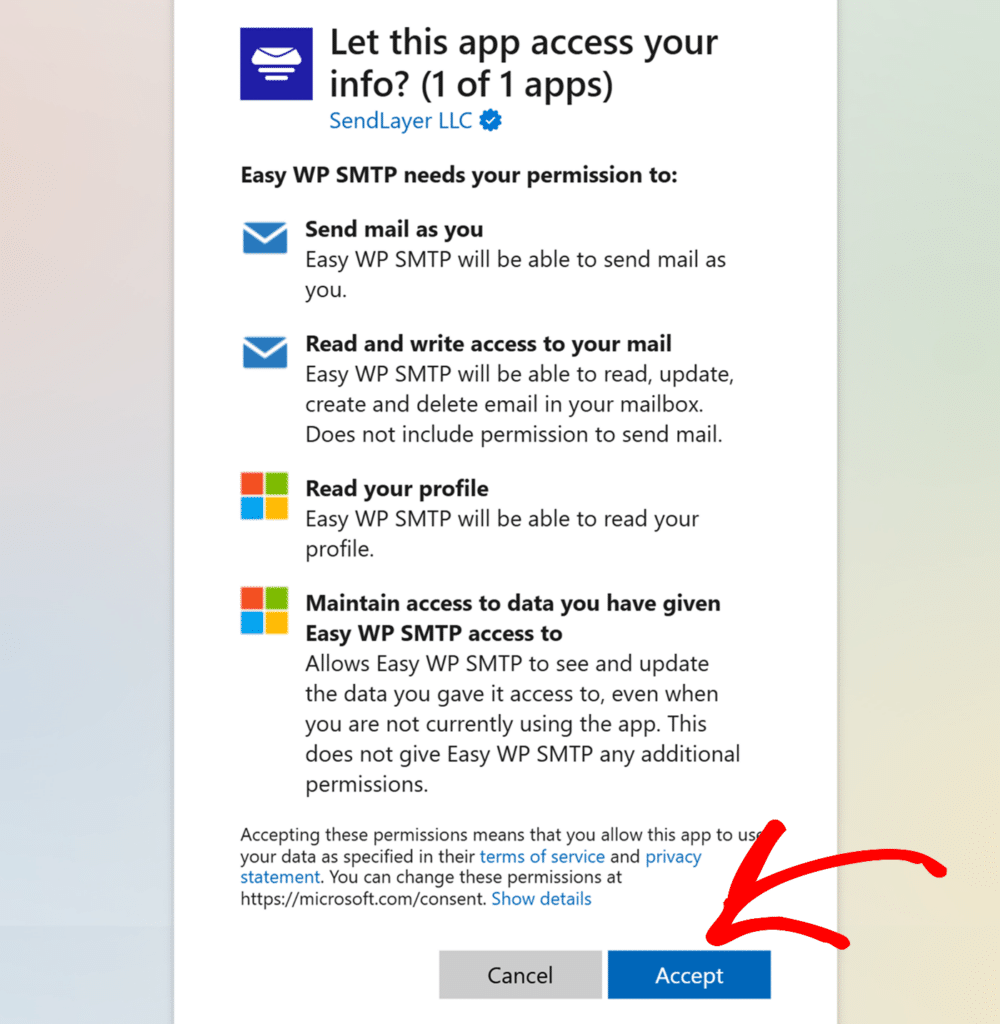
Then, when prompted by Microsoft, click the Accept button to allow Easy WP SMTP access to your Microsoft account.
You’ll then be redirected back to the Easy WP SMTP settings page, where a confirmation message will appear, indicating that you’ve successfully connected your Microsoft account.
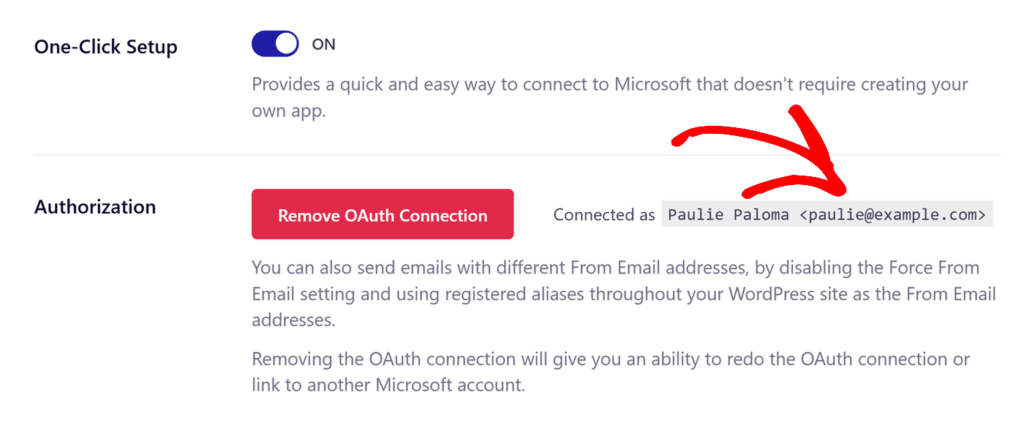
That’s it! You’ve successfully set up the Outlook mailer with the One-Click Setup feature in Easy WP SMTP.