In this tutorial, we’ll cover how to send a test email in Easy WP SMTP to confirm your mailer configuration.
1. Configuring Email Test Settings
After installing Easy WP SMTP and setting up a mailer, go to Easy WP SMTP » Tools and navigate to the Email Test tab.

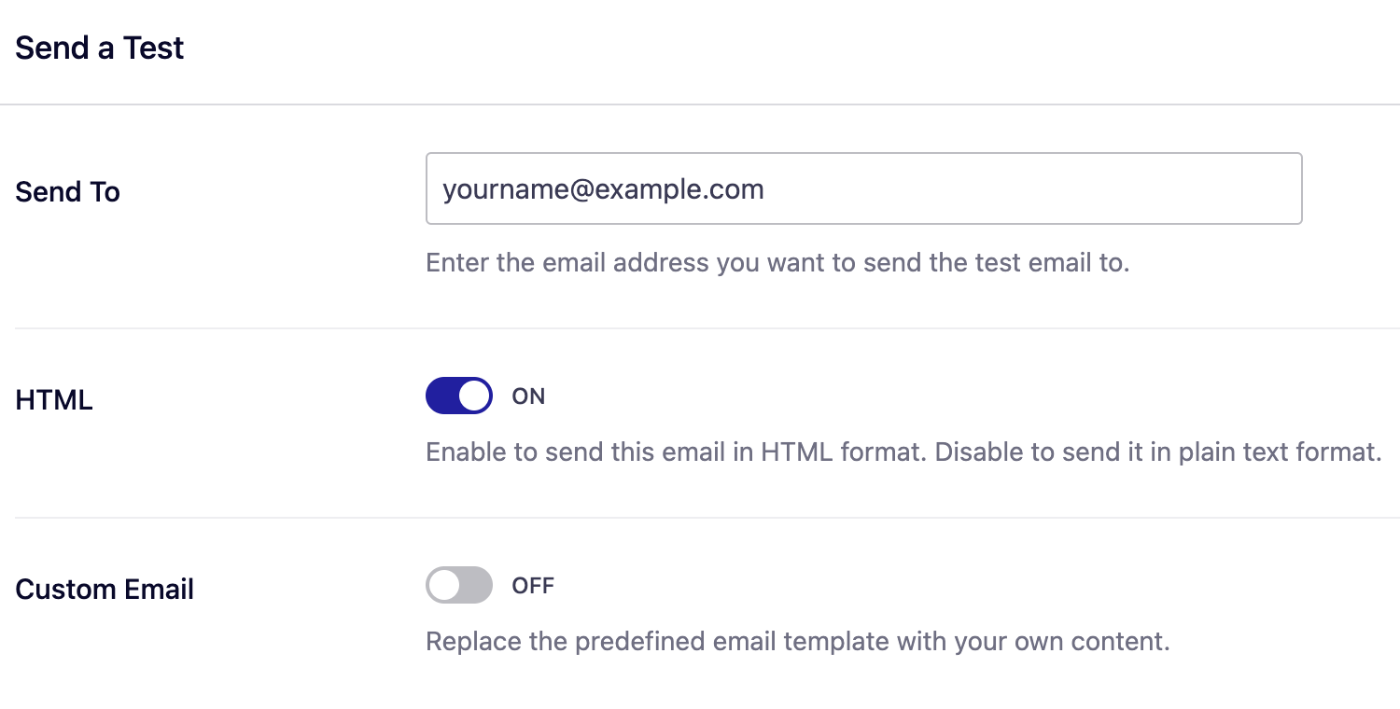
You’ll see a list of settings to configure before sending a test email.

We’ll go over the available options below.
Send To
The Send To field contains the email address you intend to send the test email to.

This field will automatically populate with the email address of the user that’s logged in. However, you can use any email address you want, as long as you can access its inbox to check if the email was delivered successfully.
HTML
The HTML settings allow you to send emails in HTML format. By default, it will be set to ON. We recommend using the default HTML settings.

Setting it to OFF allows you to send plain text emails.
Custom Email (Optional)
The Custom Email settings let you modify the predefined test email template.

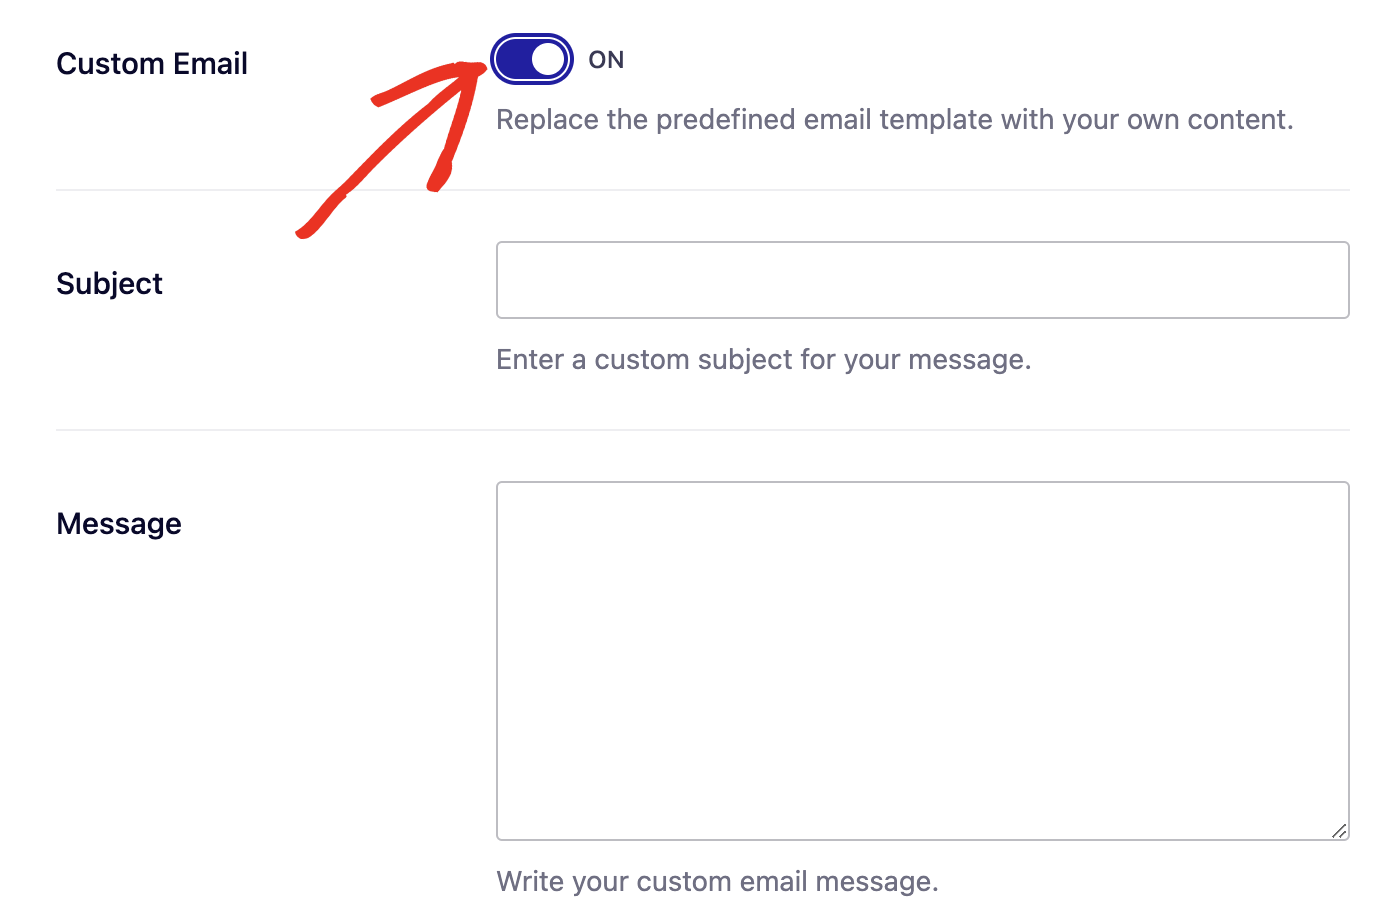
When you toggle it ON, additional options will appear for you to customize the Subject and Message of your test email.

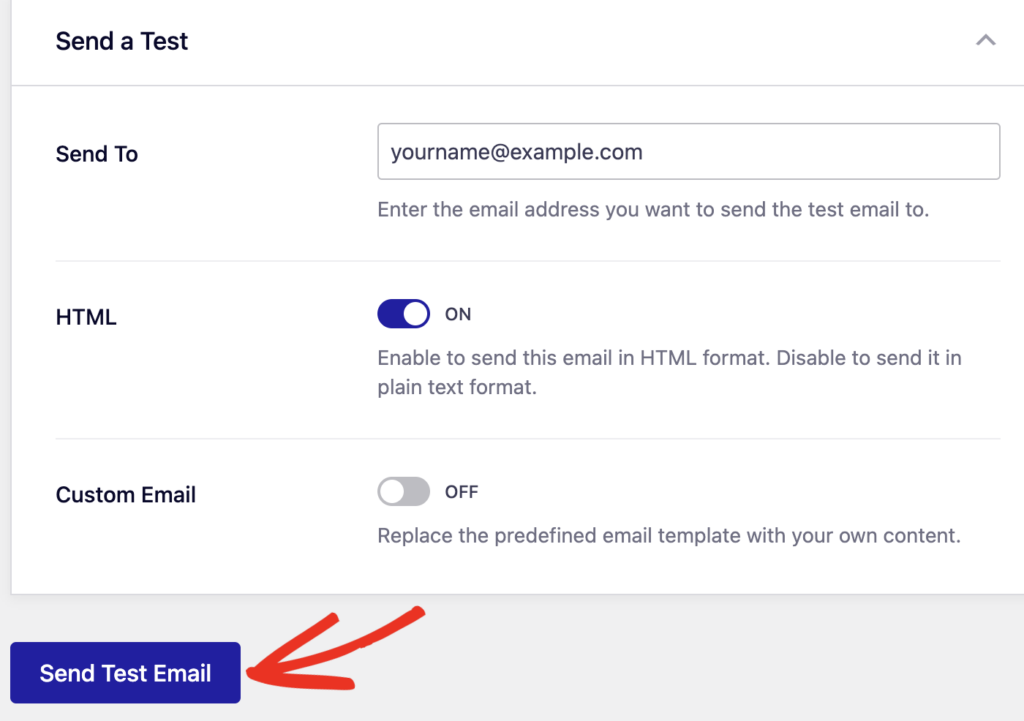
After configuring your test email settings, click the Send Test Email button to send your email.

2. Viewing Test Email Message
If the test email sends successfully, you’ll see a success notification at the top of the settings page.

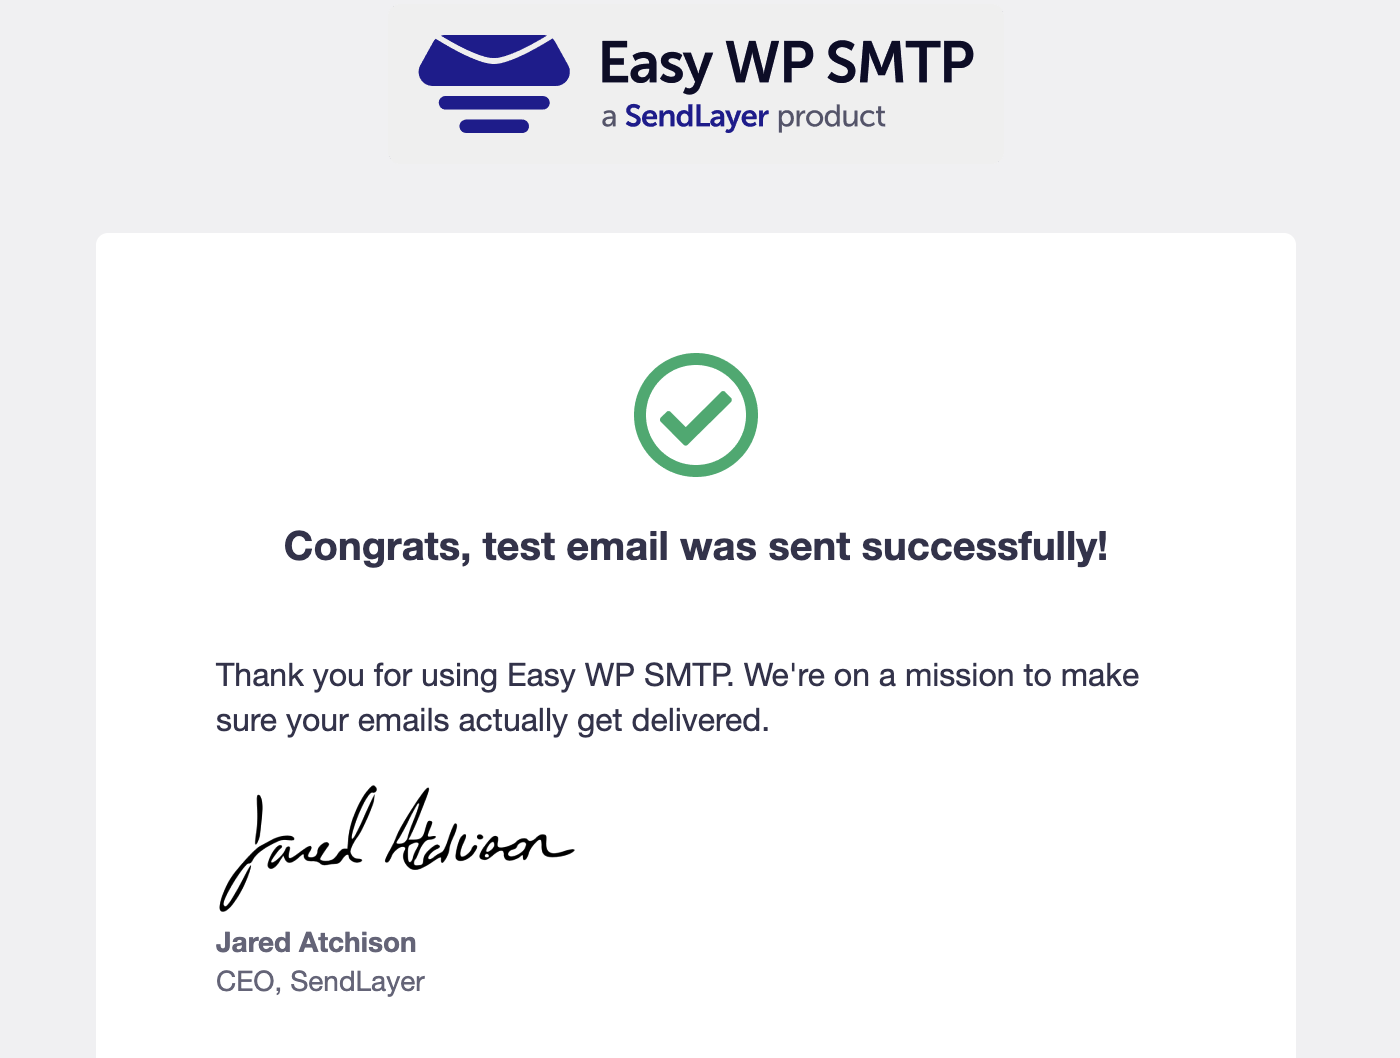
To confirm the test email, check the inbox of the email address you entered in the Send To field. You should receive a confirmation message.

That’s it! You now know how to send a test email in Easy WP SMTP.