Forms are essential for online communication in businesses. Whether you’re collecting customer inquiries, feedback, or sales leads, the data you gather through forms is invaluable. But what happens to this data once it’s submitted? How can you ensure it’s safely stored and easily accessible when you need it?
This guide will walk you through the process of saving custom form data into your WordPress database. We’ll explore why it’s crucial, how to do it effectively, and the best practices to keep your data secure and organized.
Why Save Form Data in Your WordPress Database?
Saving form submissions directly to your WordPress database offers several advantages:
- Data Security: Keep sensitive information within your controlled environment.
- Easy Access: Quickly retrieve and review submissions without digging through emails.
- Data Analysis: Analyze trends and patterns in submissions over time.
- Backup and Recovery: Ensure important data isn’t lost if email systems fail.
- Improved Customer Service: Quickly access customer information for faster response times.
By storing form data in your database, you’re creating a valuable resource that can inform business decisions and improve customer relationships.
How To Save Custom Form Data into the Database in WordPress with Easy WP SMTP
While many form plugins offer built-in data storage, Easy WP SMTP Pro provides a robust solution for saving all emails sent from your WordPress site, including form submission notifications, directly to your database.
This makes it an excellent tool for ensuring you have a complete record of form submissions, lead magnets, or other WordPress notifications, even if they’re primarily handled via email. Here’s how to set it up:
1. Install and Activate Easy WP SMTP
Email logging is a feature that’s available in Easy WP SMTP Pro. To get started, head over to the pricing page and choose a suitable license for your needs.
To get started with Easy WP SMTP, you’ll first need to install and activate the plugin. First download the zip file for the plugin from the Downloads tab of your accounts page.
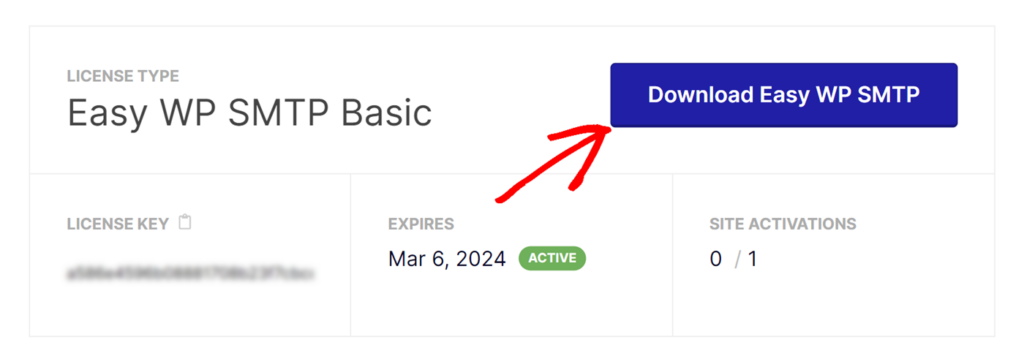
You can do this by going to the Plugins » Add New section in your WordPress dashboard and clicking the Upload Plugin button.

Select the Easy WP SMTP zip file you just downloaded and click the Install Now button.

After the plugin has finished installing, make sure to activate it. Once activated, you’ll see a new menu item in your WordPress dashboard for Easy WP SMTP settings.
2. Choose Your Email Service Provider
After activation, the Easy WP SMTP Setup Wizard will launch automatically. If it doesn’t, you can start it manually by going to Settings » Easy WP SMTP in your WordPress dashboard and clicking the Setup Wizard button.
In the Setup Wizard, you’ll see a list of supported email service providers. Choose your preferred provider from the list.
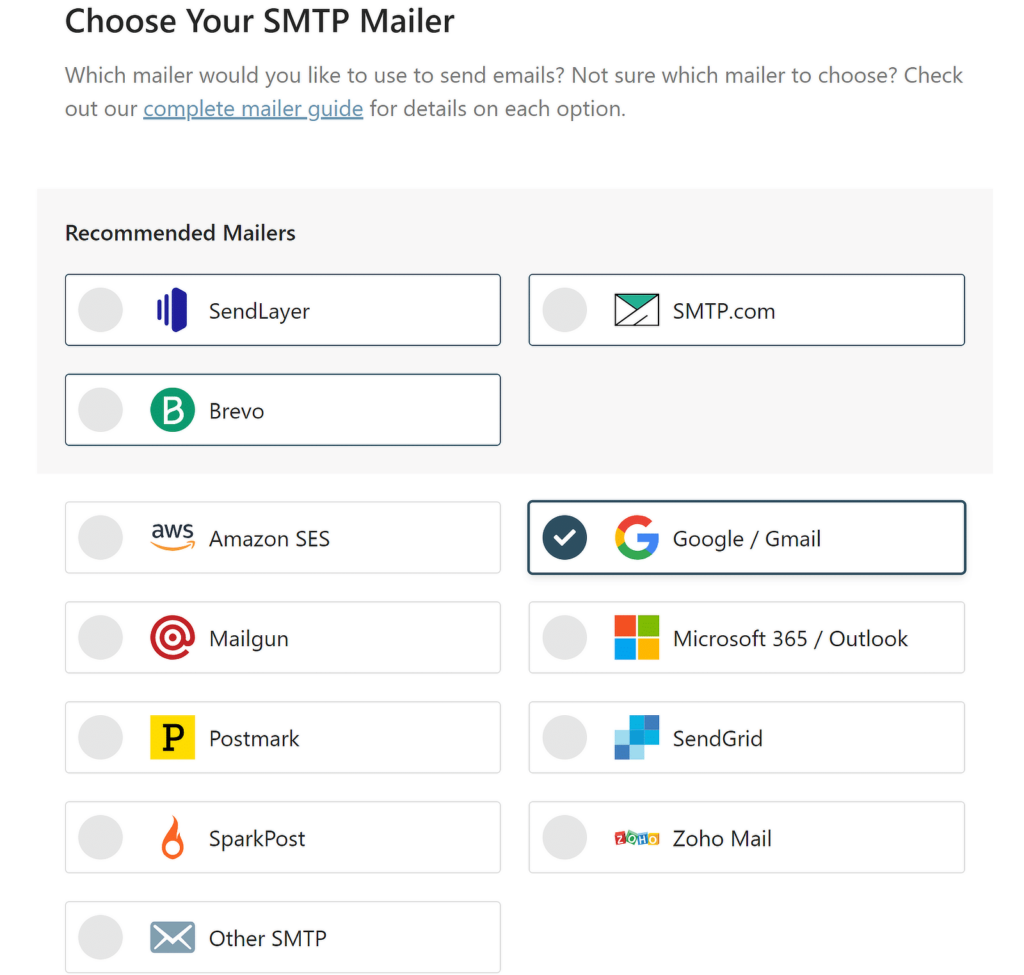
Easy WP SMTP works with various email services, including recommended options like SendLayer, SMTP.com, and Brevo and popular providers including Gmail and Outlook.
We advise using WP Mail SMTP with a transactional mailer such as SendLayer, Brevo, SMTP.com, Mailgun, SparkPost, Postmark, or an alternative for optimal email tracking. these providers support additional email statuses that give you more information about the status of the emails sent from your site.
3. Configure SMTP Settings
Once you’ve selected your email provider, you’ll need to enter the SMTP details they’ve provided. This typically includes:
- SMTP Host: The server that will send your emails
- SMTP Port: The connection port for your email server
- Encryption: Usually SSL/TLS or STARTTLS
- Authentication: Your login credentials for the email service
Follow the on-screen instructions to enter these details. The wizard will guide you through the process specific to your chosen email provider.
4. Enable Email Logging
In the next step of the wizard, you’ll have the option to enable email logging. This is a crucial feature that allows Easy WP SMTP to store your form emails in the WordPress database. Make sure to check the box to enable email logging.
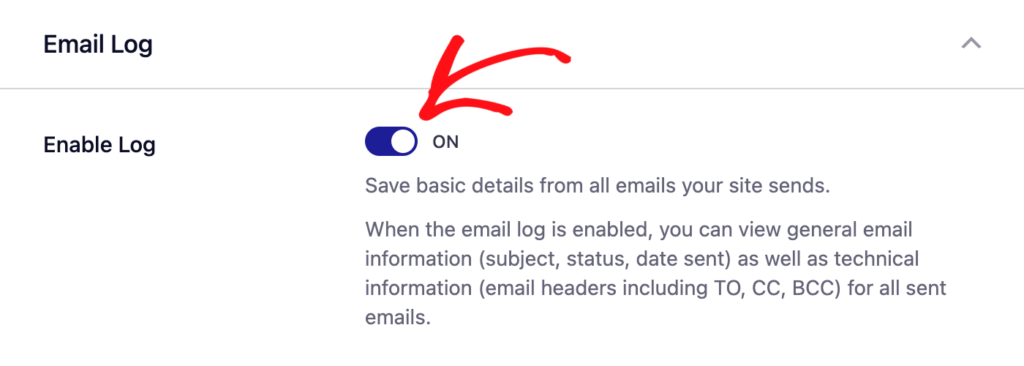
Additionally, you should enable the option to log email content. This ensures that you capture the full details of form submissions, not just the fact that an email was sent.

5. Set Up Additional Features
Activating additional features of Easy WP SMTP can give you even more control over your form data and emails sent from your WordPress site:
- Email tracking: This allows you to monitor when emails are opened and links are clicked.
- Weekly email summaries: Get an overview of your site’s email performance.
- Failed email alerts: Receive notifications if emails fail to send.

Consider enabling these features as they can provide valuable insights into your form submissions and overall email performance.
6. Test Your Configuration
Once the Setup Wizard is complete, it’s crucial to test your configuration. Easy WP SMTP provides a built-in email test feature. Send a test email and verify that:
- The email is sent successfully
- It appears in your email log
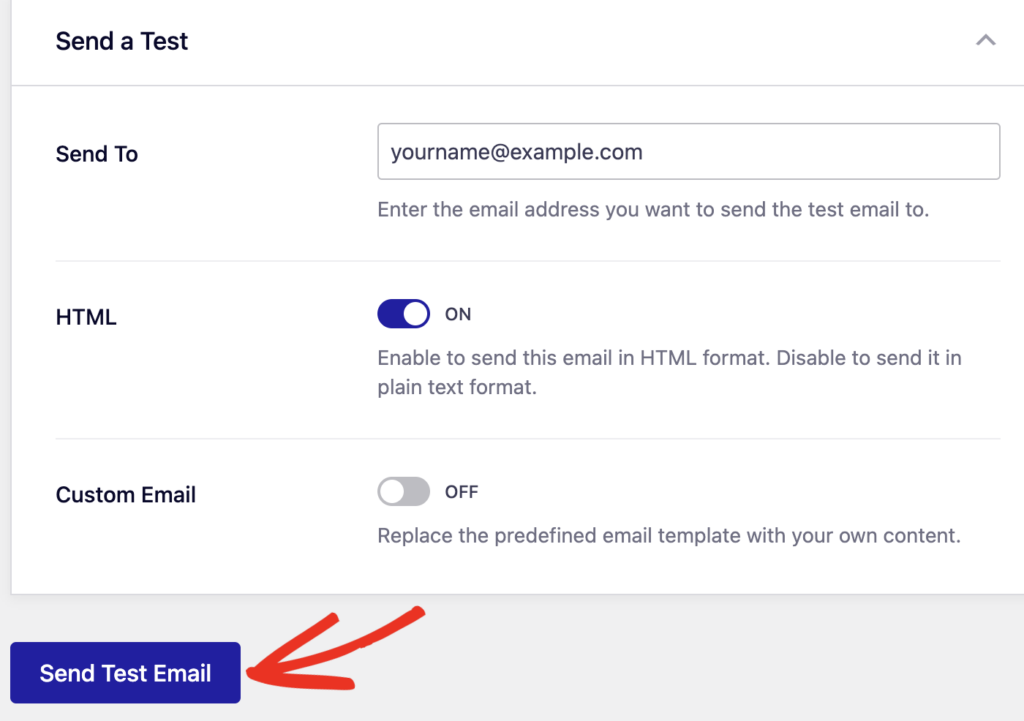
This confirms that both your SMTP settings are correct and that email logging is working as expected.
8. Access Form Data in Stored Form Emails
To view your stored form emails, go to Easy WP SMTP » Email Log in your WordPress dashboard. Here, you’ll see a list of all logged emails, including all your form submissions.
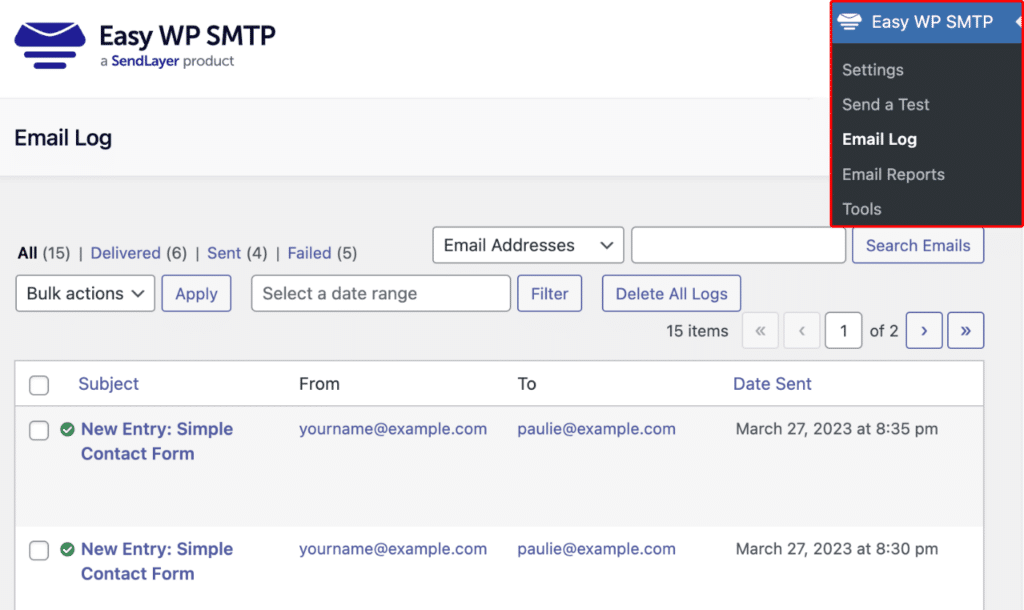
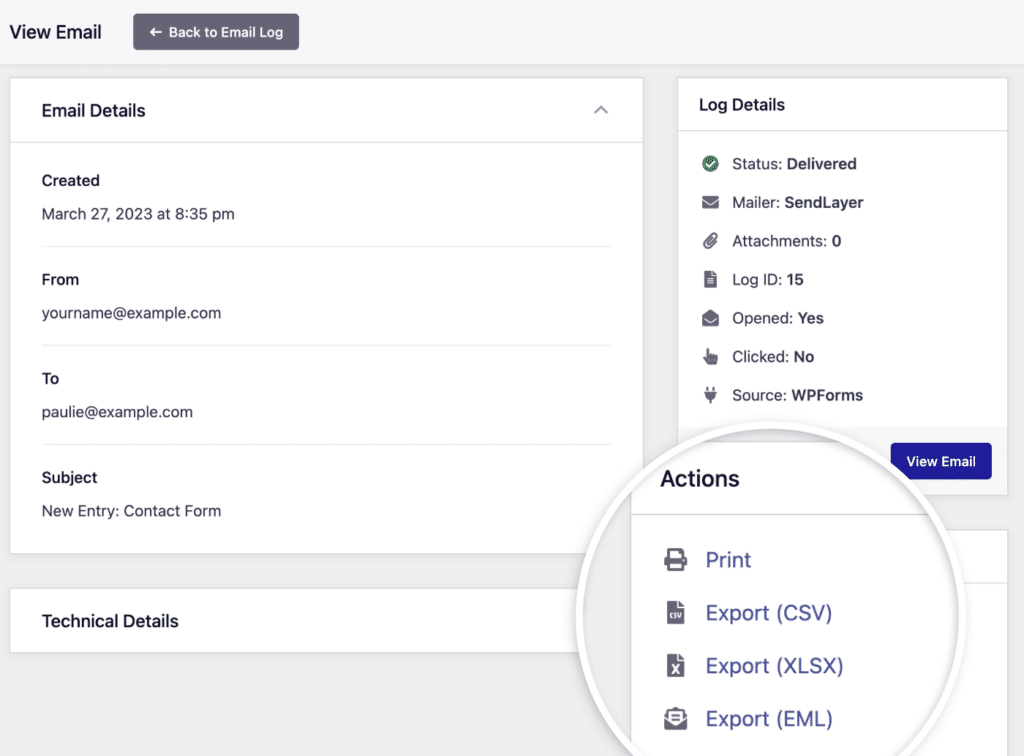
You can use the search and filter options to find specific form submissions quickly. Click on an individual log entry to view the full content of the form submission email, including all the details submitted through your form.
Using Easy WP SMTP for storing form emails in your WordPress database offers several advantages:
- Comprehensive Storage: All form submission emails are automatically saved, creating a backup of your form data.
- Easy Access: Quickly search and retrieve form submissions from the email log interface.
- Improved Deliverability: While storing emails, Easy WP SMTP also ensures reliable delivery of form notifications.
- Data Analysis: Use the logged data to analyze submission patterns and response times.
- Compliance Support: Maintain records of all form communications for regulatory compliance.
- Backup Solution: Even if your form plugin’s database storage fails, you’ll have a copy of the submission in your email log.
By implementing Easy WP SMTP, you create a robust system for both sending and storing form-related emails.
This approach ensures that no form submission goes unrecorded, providing you with a reliable and accessible history of all form interactions on your WordPress site.
Frequently Asked Questions
Here are answers to some commonly asked questions about saving form data in WordPress:
Is it better to save form data to the database or send it via email?
Saving to the database is generally more secure and allows for easier management and analysis of submissions. However, it’s often good practice to do both – save to the database and send an email notification.
How long should I keep form submissions in my database?
This depends on your specific needs and any applicable regulations. Generally, it’s good practice to keep data only as long as it’s useful and necessary, and to have a clear retention policy.
How can I prevent spam submissions from cluttering my database?
Use anti-spam measures like CAPTCHA, honeypot fields, or IP blocking. Many form plugins have built-in anti-spam features.
Can I export my form data from the database?
Yes, Easy WP SMTP and most form plugins provide export functionality. You can usually export to formats like CSV or Excel for further analysis.
That’s it! Now you know how to save custom form data to your WordPress database
Next, are your WordPress emails failing? Take a look at our guide to common email delivery failures in WordPress and get some tips for how to fix them.
