If you’re planning an event, building a dedicated website is one of the smartest moves you can make.
A good event website makes it easy for people to register, get tickets, or find important details without any confusion.
People expect quick and easy access to information, and a well-built site makes it simple for them to RSVP, buy tickets, or learn about the schedule.
If you’re serious about attendance and engagement, follow the steps and tips in this guide to create an event website that’s actually helpful.
Step 1: Planning Your Event Website
Before you build your event website, it’s important to figure out exactly what you want it to do. Think about who will visit your site. Is it for potential attendees, sponsors, or maybe both?
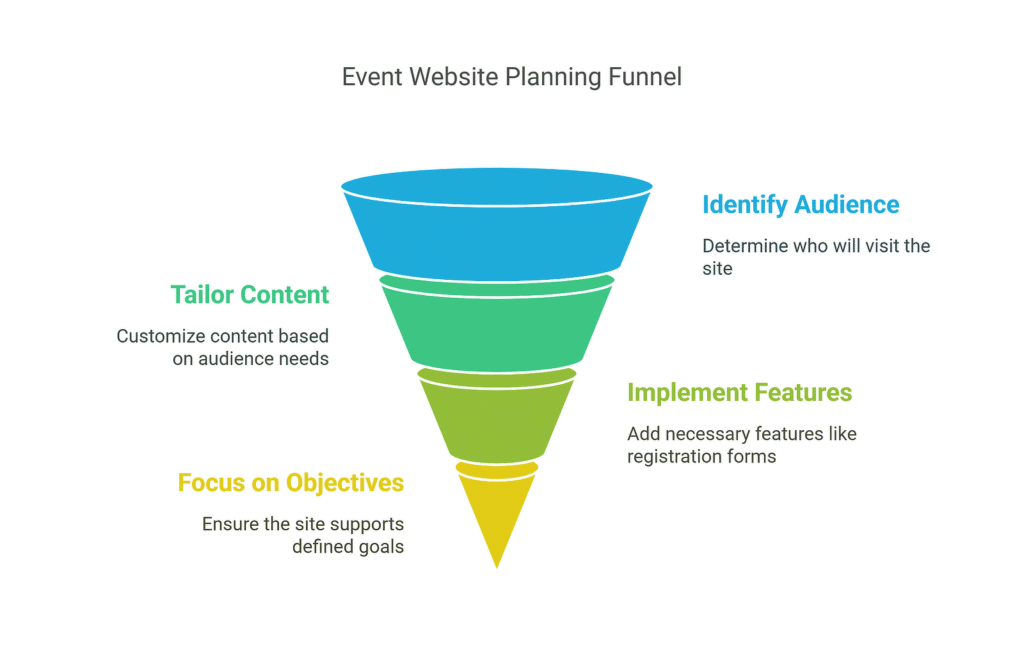
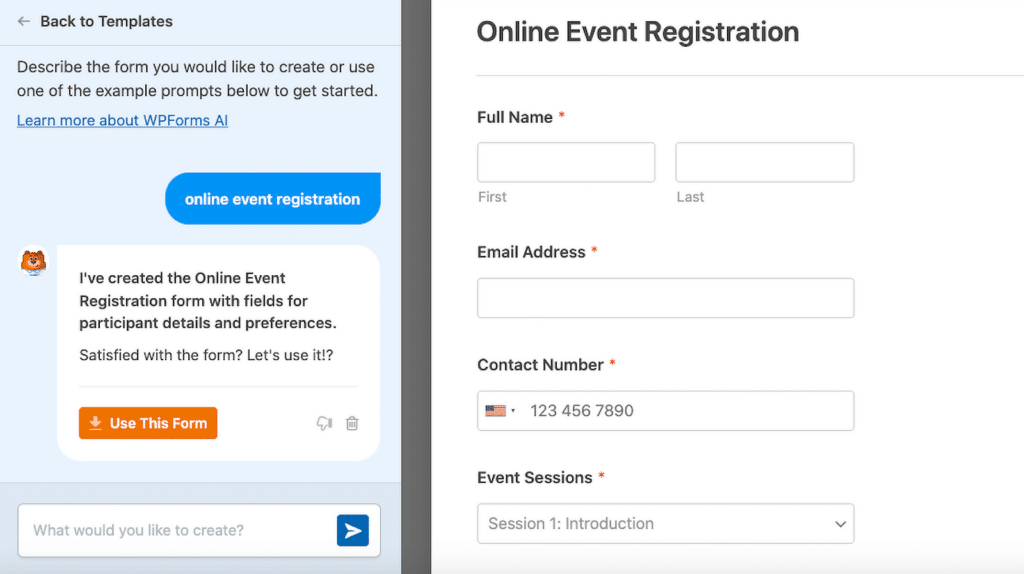
Knowing your audience helps decide what details you include and how you present them. For example, if you want people to buy tickets, your site needs a simple registration form that you can create using WPForms.
If attracting sponsors is your main aim, you’ll focus on highlighting benefits for them. Clearly defining these goals early makes your website more effective at supporting your event’s success.
Step 2: Choosing a Website Builder
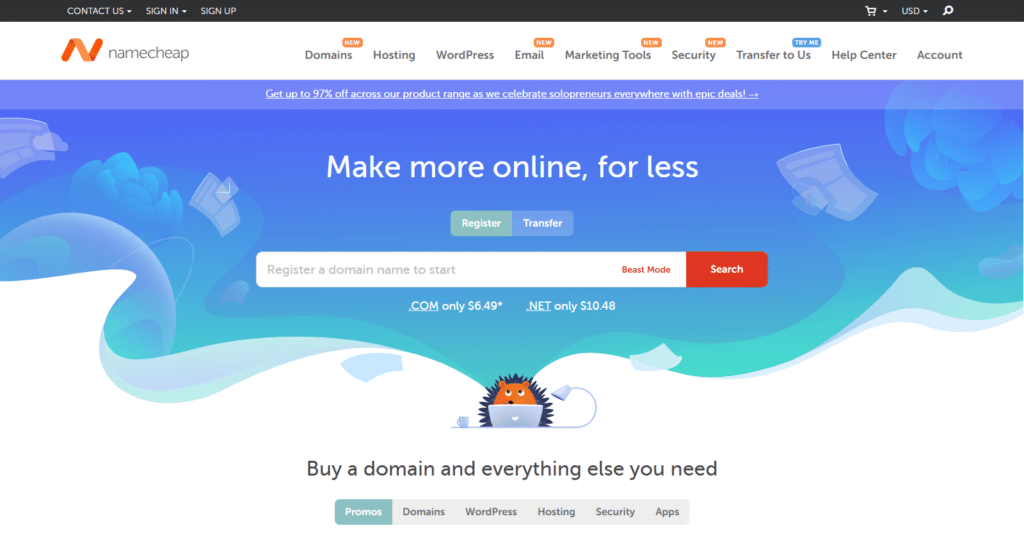
Before you create your event website, you’ll first need a domain name. This is your web address, like your event’s home on the internet. I’ve had good experiences getting affordable domain names from platforms like GoDaddy and Namecheap.
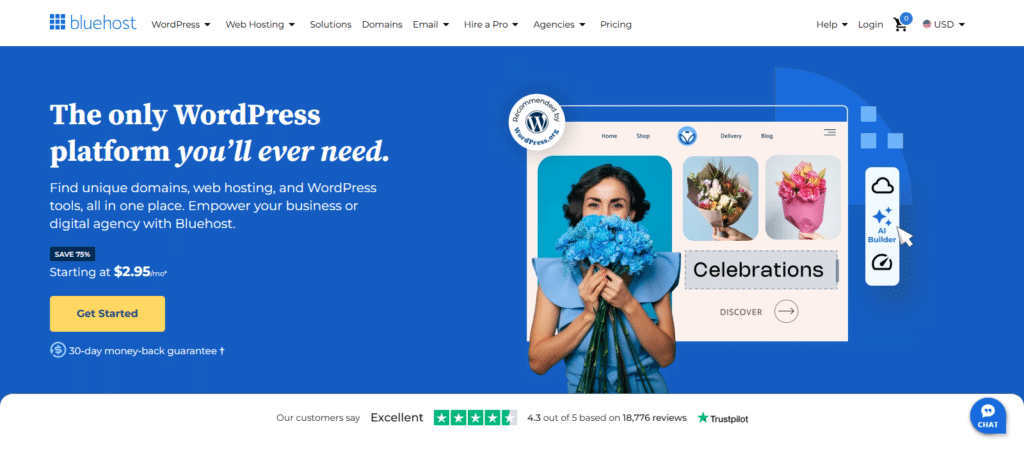
Next, you’ll need web hosting. Hosting is like renting space online where your website actually lives. Companies like Bluehost, SiteGround, and Hostinger offer easy and affordable hosting plans.
After that, you’ll choose a platform to build your website. I’ve worked with several, including WordPress, Wix, Squarespace, and Eventbrite. Here’s a quick comparison based on my experience:
| Platform | Ease of Use | Customization |
| WordPress | Easy | High |
| Wix | High | Medium |
| Squarespace | High | Medium |
| Eventbrite | Very High | Low |
From my experience, WordPress is usually the best choice. It gives you great control over the look and feel of your event site and easily integrates with ticketing plugins like Sugar Calendar.
Step 3: Designing Your Event Website
When creating your event website, making it easy to use and matching it with your event’s theme is important. I’ve built a few event websites myself, and one plugin I always recommend to save time is SeedProd.
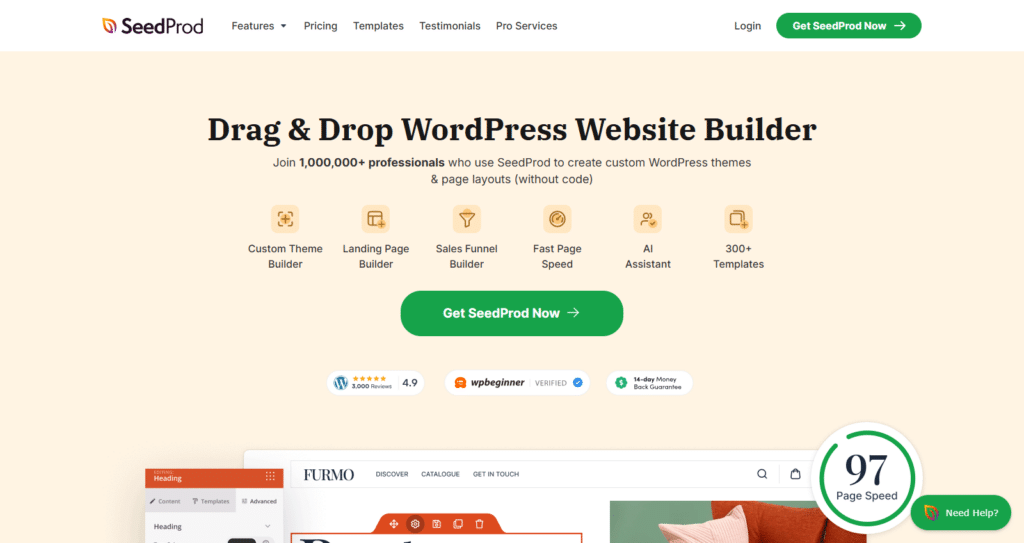
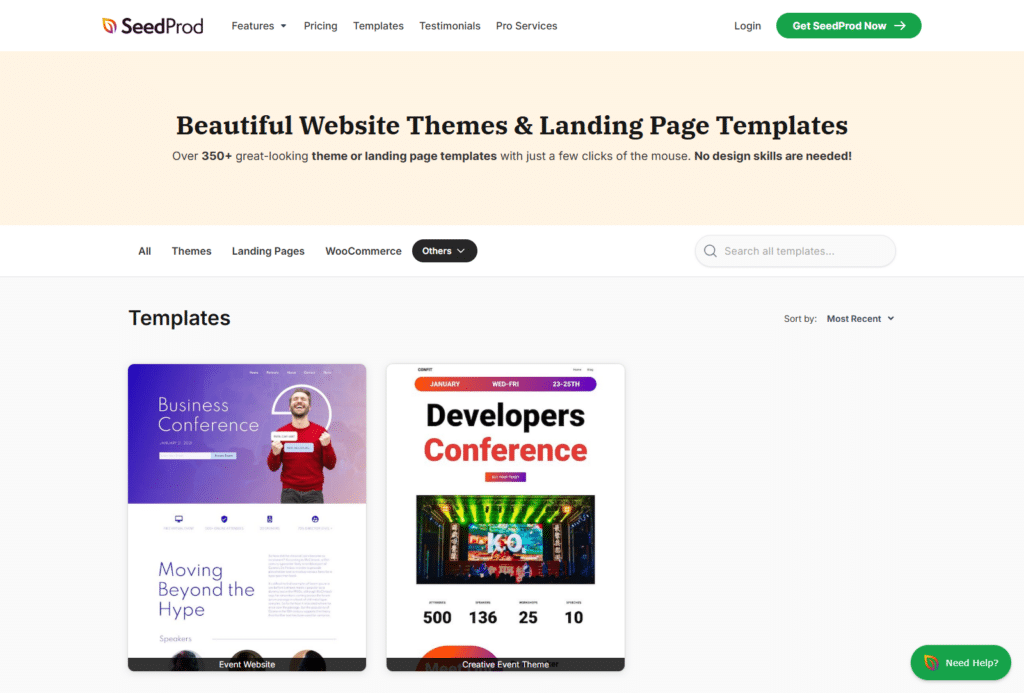
It offers ready-made templates specifically designed for events, which helps you get started fast without needing any design skills. For instance, it lets you add special features like countdown timers, registration forms, and ticket sales buttons.
You can also connect it easily with your email marketing tools to grow your attendee list. Pricing starts at $39.50 per year, which I find very reasonable considering how much time it saves me and the professional look it gives to event pages.
Step 4: Creating Your Event in WordPress
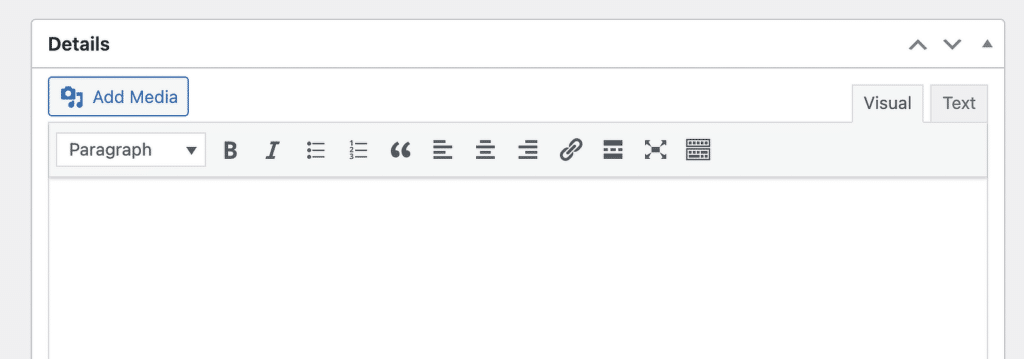
Once your event website is set up, it’s time to actually create your event. I prefer using Sugar Calendar because it’s easy to understand and doesn’t need technical skills. First, you’ll enter your event’s name, date, time, and description to get things started.
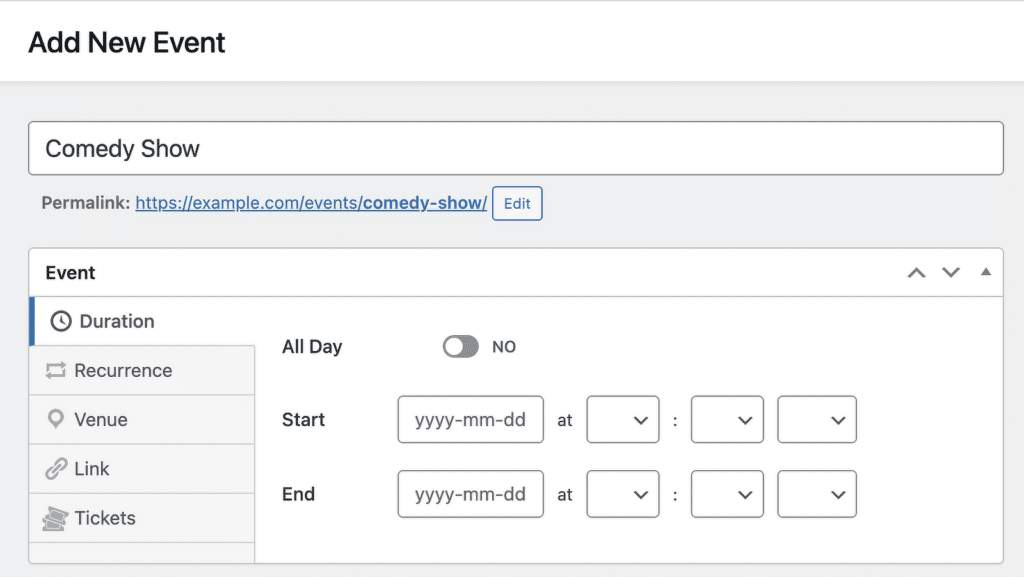
If you want, you can add extra information like the location and even pictures to show visitors what your event is about. I always make sure to write a clear description that tells people exactly what they can expect.
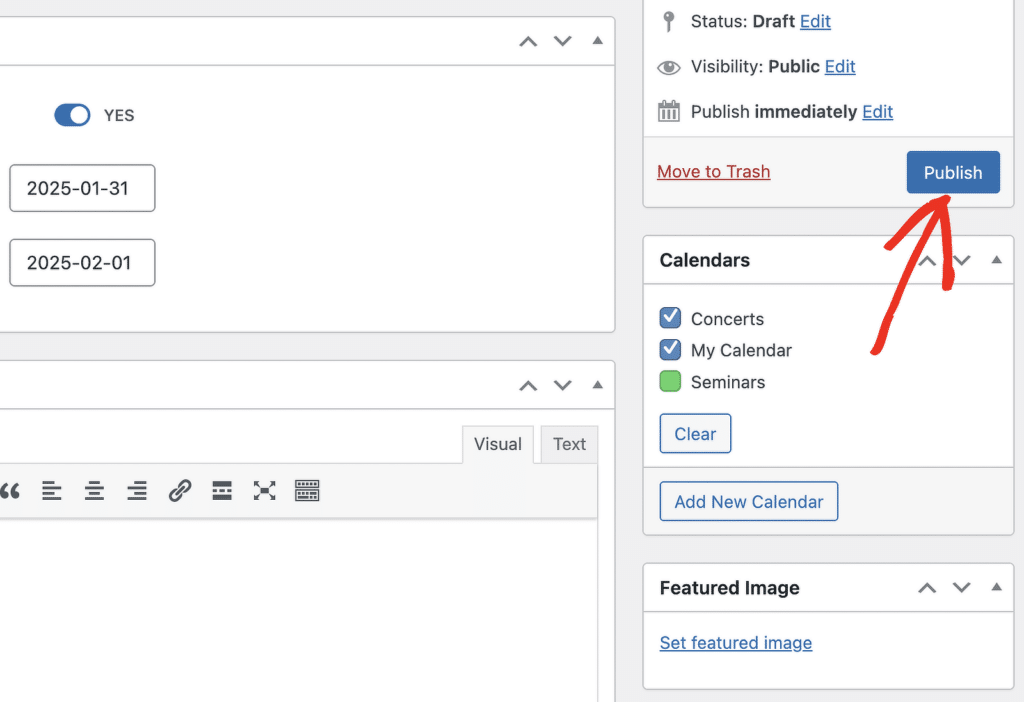
Once all your details look good, click Publish and your event will appear on your website right away. After publishing, your visitors can view event details, and you can start accepting registrations.
You can check out this guide for step-by-step instructions on how to create a Sugar Calendar event and add it to your calendar. Make sure that you also focus on the email deliverability for those people signing up for your event.
For instance, if you want to email notifications for people that have signed up for your event to actually reach their inboxes, make sure to connect your WordPress website with a reliable SMTP service using Easy WP SMTP.
Step 5: Promoting Your Event Online
Once your event website is live, the next step is to get people to visit it. Having a great website is important, but without traffic, it won’t do much good. The key is to make sure the right audience knows about your event, and there are plenty of ways to spread the word.
I’ve seen event promotions work best when they use a mix of different strategies. Social media is a big one because it’s free, and it allows you to reach people where they already spend time. Paid ads can also be helpful, especially if you want to attract a specific audience.

Working with influencers or sponsors can help expand your reach quickly. If you’re hosting an industry event, connecting with experts who have a strong following can boost credibility and attract more attendees. The more people you can get talking about your event, the more visitors your website will get.
FAQs — How To Create a Website for an Event
What is the best platform to create an event website?
The best platform to create an event website is WordPress because you can add a ton of functionality using many different plugins. It offers full control, customization, and integration with event management tools.
How much does it cost to create an event website?
The cost of an event website depends on the platform and features you need. Here’s a breakdown:
- Domain Name: $10–$20/year
- Hosting: $5–$30/month
- WordPress Theme: Free–$100 (one-time)
- Event Management Plugin: $49–$199/year
- Ticketing System: Some charge per ticket, while others offer flat pricing
A basic event website can cost around $100–$300 upfront, with ongoing hosting and plugin fees.
What pages should an event website have?
An event website should have these key pages:
- Homepage: Quick event details and a call-to-action
- About: Information about the event, speakers, or hosts
- Schedule: Timetable of sessions, speakers, or performances
- Tickets/Registration: A page for attendees to sign up or buy tickets
- FAQ: Answers to common attendee questions
- Contact: A way for visitors to ask questions or get support
How do I sell tickets through my event website?
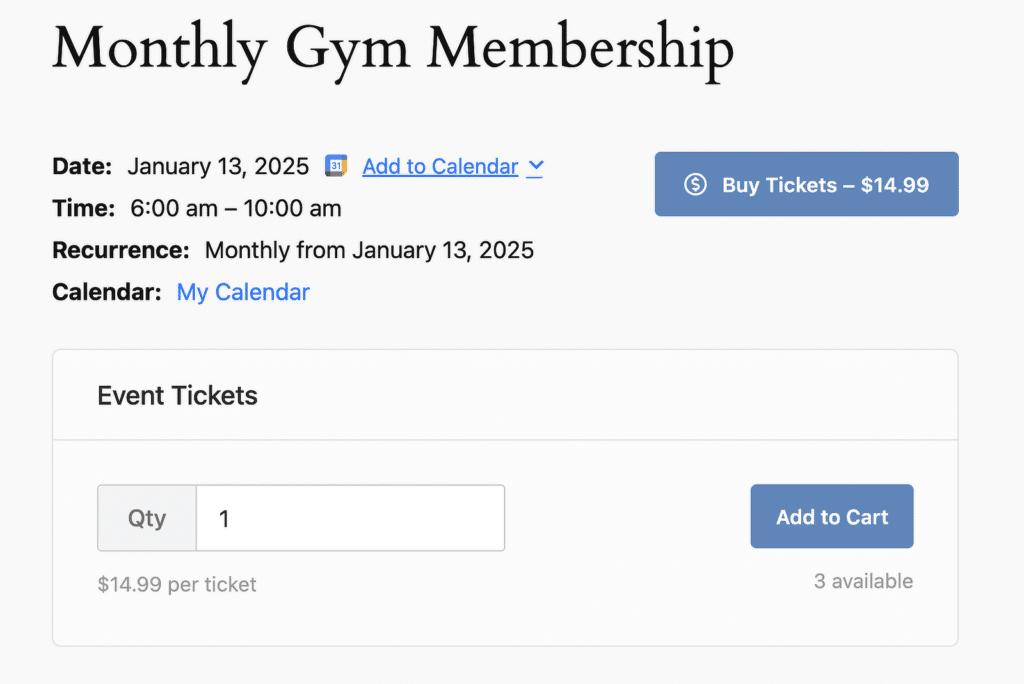
To sell tickets on your event website, use Sugar Calendar. It allows you to create events, set ticket prices, and collect payments.
It also integrates with Stripe and PayPal, making checkout easy for attendees. After purchasing, buyers get an automated confirmation email.
What features should an event website include?
An event website should have:
- Registration Forms: To collect attendee info (use WPForms)
- Ticket Sales: A way to sell tickets online (use Sugar Calendar)
- Countdown Timer: To create urgency
- Speaker or Performer Info: Showcase who’s attending
- Social Media Integration: Encourage sharing and engagement
- Mobile-Friendly Design: Make sure it works on all devices
That’s it! Now you know how to create a website for events.
Next, a website isn’t something you set up once and forget about. It requires regular care to stay secure, fast, and functional. Check out these essential website maintenance tasks to keep your website running smoothly.
