In this tutorial, we’ll show you how to improve email deliverability with the SMTP.com mailer in Easy WP SMTP.
1. Setting Up Your SMTP.com Account
To get started, you’ll need an account with SMTP.com. This account will connect your WordPress site and make sure your emails are delivered successfully. If you already have an SMTP.com account, just log in. If not, create a new account now.
When creating a new account, you’ll need to complete a few more steps to prevent spam. Check your email for an activation link from SMTP.com and click on it to agree to SMTP.com’s usage policy.
Then, SMTP.com will review your account, which can take up to 24 hours. They may also ask for more information, so keep an eye on your email.
Once your SMTP.com account is approved, you can start setting up the mailer. Keep your SMTP.com account page open in your browser as you’ll need it in the next step.
2. Setting Up Your Site’s DNS Settings
Authentication helps to ensure your emails are considered legitimate and are delivered successfully. SMTP.com uses a record called SPF to help with authentication. You’ll need to add this SPF record to your website’s DNS settings and also set up a DKIM record.
Note: For more details on the DNS records, you can check out SMTP.com’s knowledge base for details on the DNS records it provides.
SMTP.com makes it simple to access the records needed for authentication by providing a user-friendly onboarding process. To start, go to their onboarding portal and log in using your SMTP.com account information.
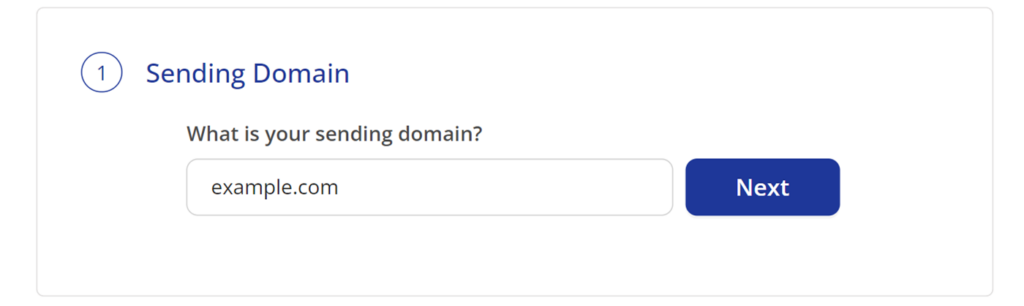
Sending Domain
To start, you’ll need to specify your sending domain, which should be your website’s domain. To verify this, enter the domain in the What is your sending domain? field and click Next.
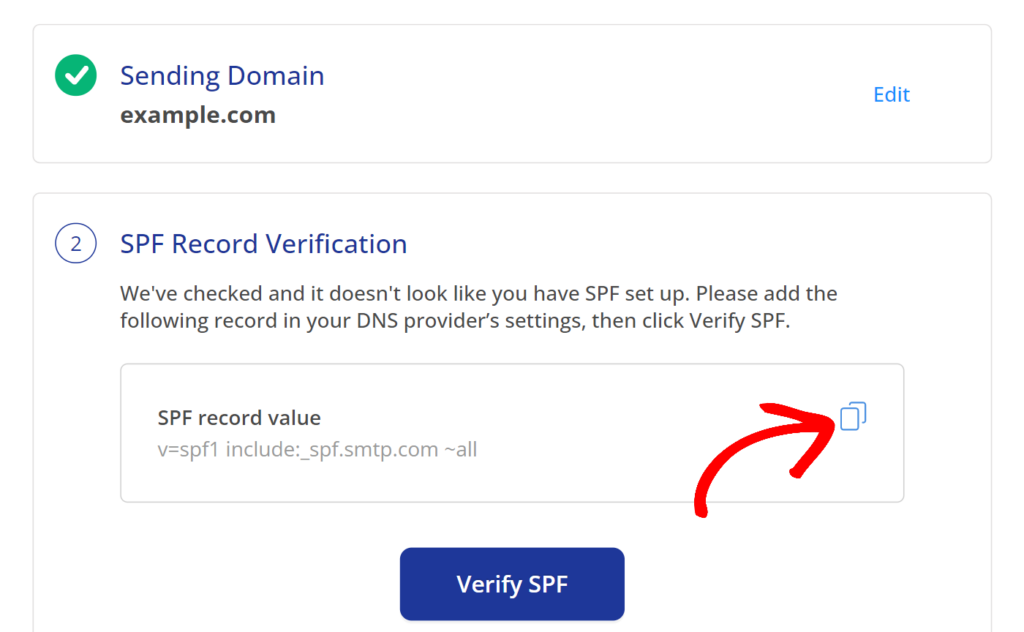
Adding the SPF Record
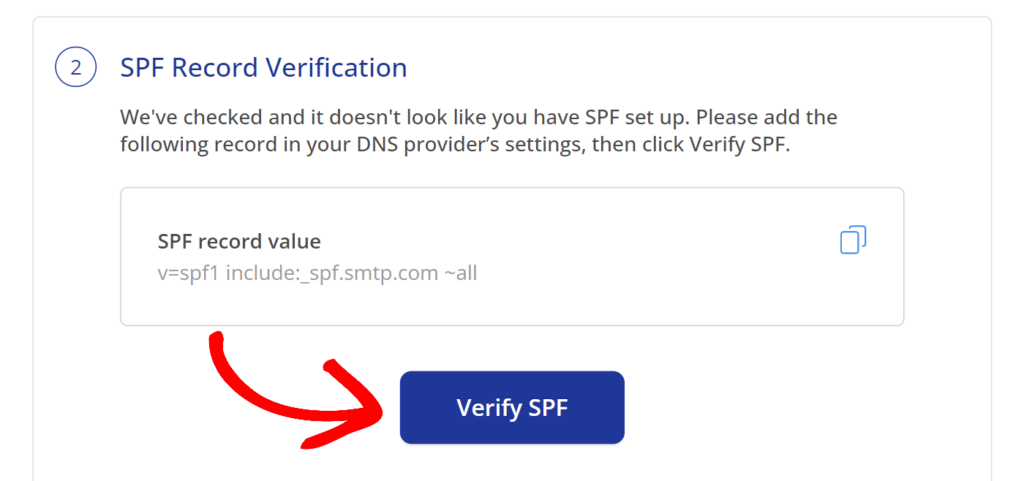
After adding the sending domain, you’ll then see the SPF record that you need to add to your site’s DNS settings. Click the copy icon to copy the SPF Record.
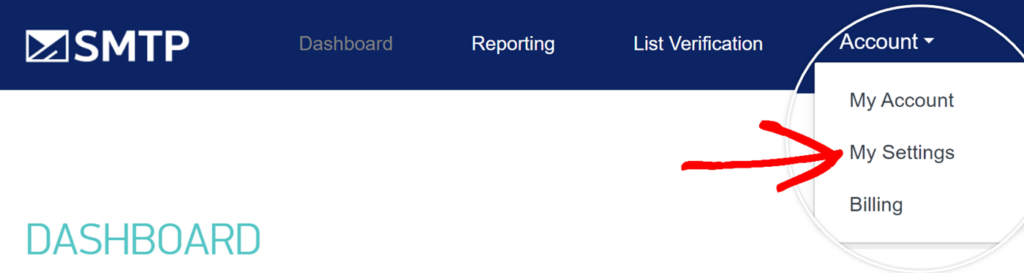
You can also locate the SPF record in your SMTP.com account dashboard by going to the top menu and clicking on Account » My Settings.
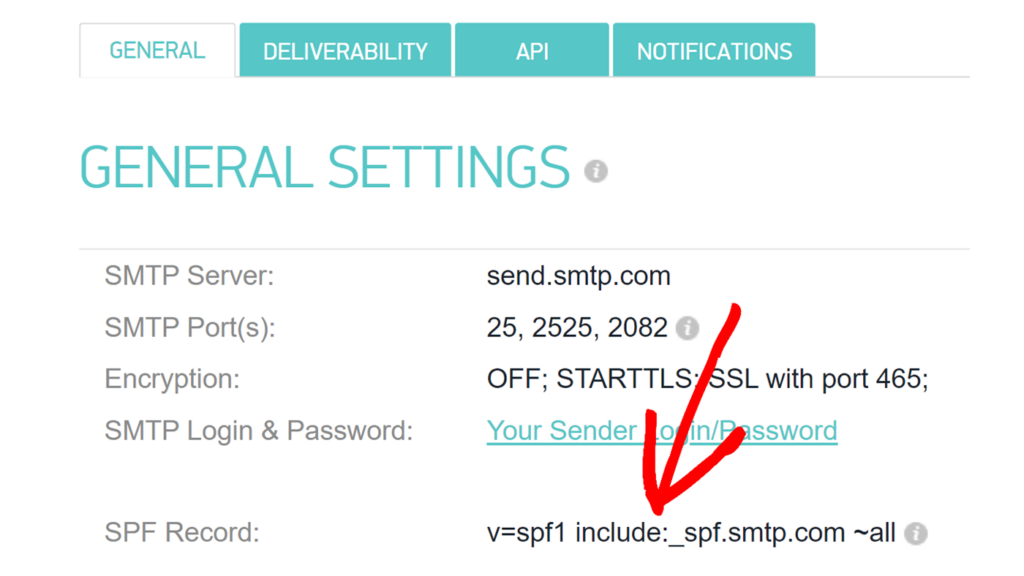
In the GENERAL tab, you should see the following SPF record:
v=spf1 include:_spf.smtp.com ~all
After you’ve added the SPF record, make sure to also set the TTL (Time To Live) to 1 day if you have the option to change it in your site’s DNS settings. Then, go back to the onboarding portal and click Verify SPF.
After you have made the changes to your DNS settings, you can then add the DKIM record for your website.
Note: It may take up to 48 hours for the changes to take effect, so you may need to check back at a later time.
Setting Up the DKIM Record for Your Domain
Before sending emails from your domain, you need to add a DKIM record to your domain’s DNS settings.
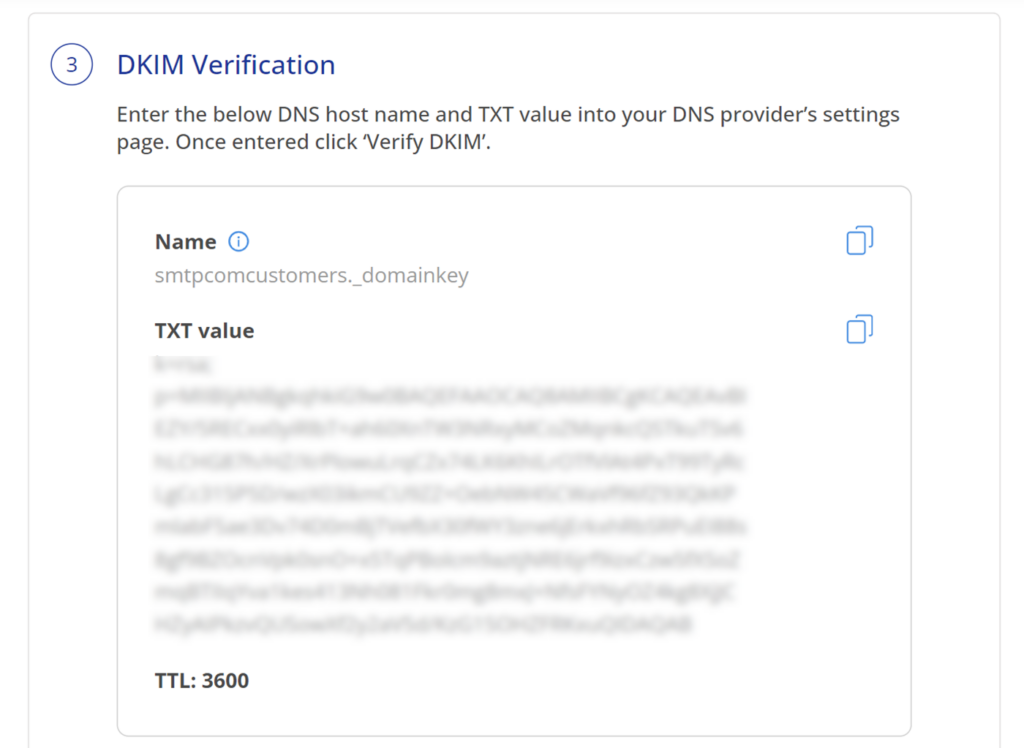
For SMTP.com, this record is a TXT record with the following details:
- Name: smtpcustomers._domainkey
- TXT Value: copied from SMTP.com’s onboarding portal
- TTL: 1 hour or 3600 seconds, depending on the units used in your DNS settings
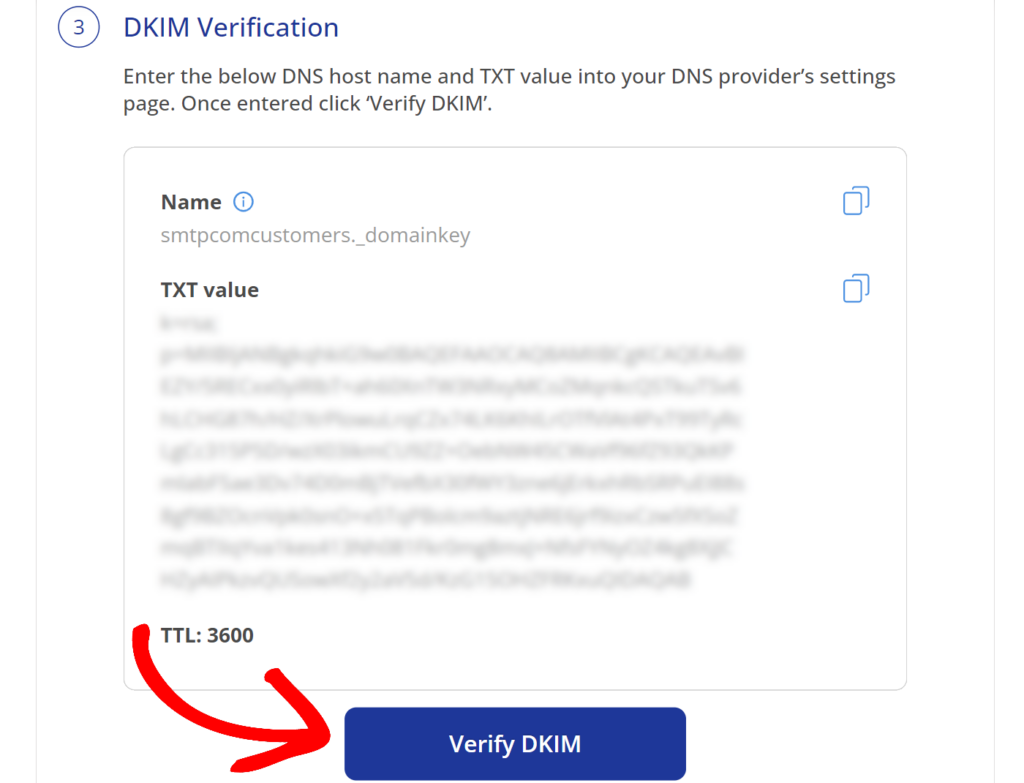
These details can be found in the DKIM Verification section of the onboarding portal.
SMTP.com suggests setting the TTL value to 3600 seconds, but this might not be possible based on your domain provider. In such cases, you should use your provider’s default value.
After you’ve added the DKIM record, go back to the onboarding portal and click on Verify DKIM to check its status.
Remember that it may take up to 48 hours for the changes to your domain’s DNS settings to show up on your domain.
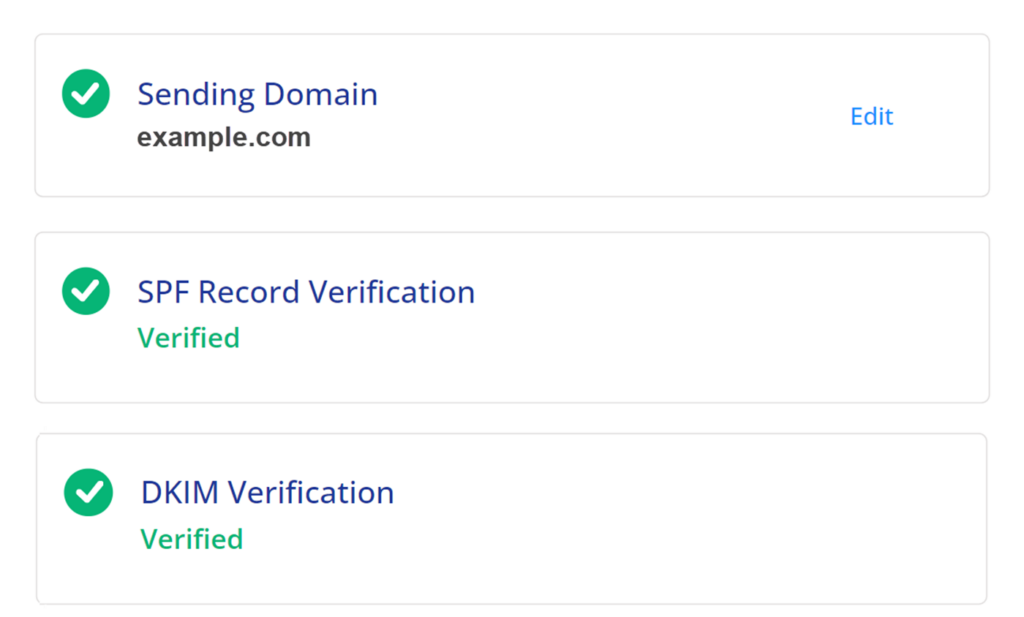
Once the changes have taken effect, you should see a Verified status displayed under each record.
Note: For more information on DKIM records on SMTP.com, check out their DKIM documentation.
3. Configuring Easy WP SMTP Settings
Once you’ve set up your site’s domain settings, you can go ahead and configure your Easy WP SMTP settings. To access the settings from the WordPress dashboard, go to Easy WP SMTP » Settings.
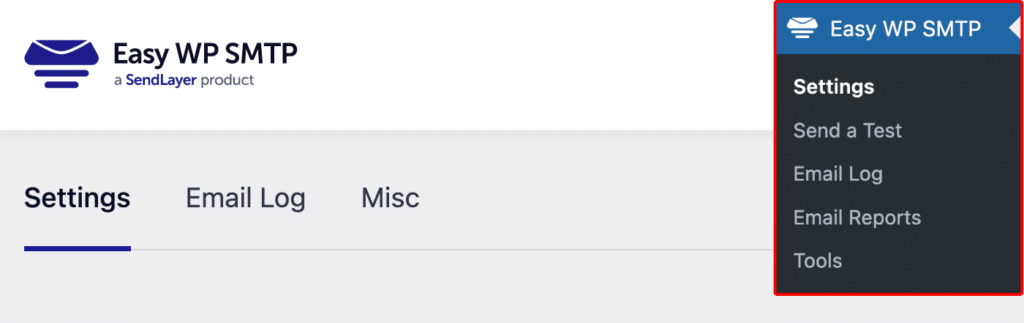
In the next steps, we’ll go through each of the settings located on this page.
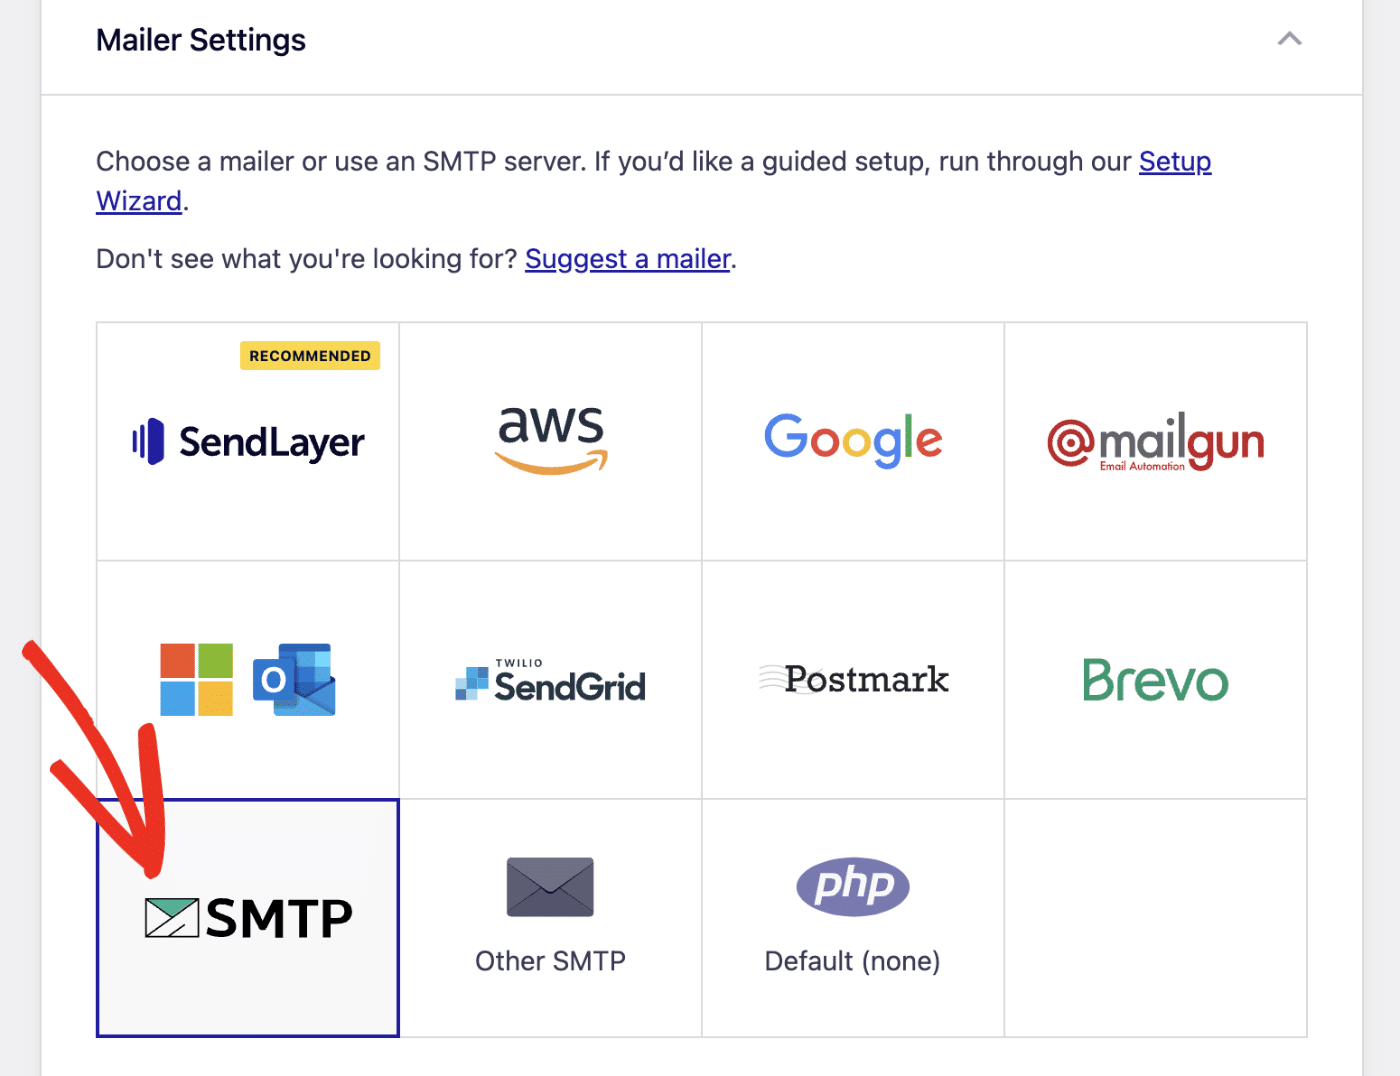
Mailer Settings
Select the SMTP.com option from the list of available mailers. Once you choose SMTP.com, more settings related to this mailer will appear.
API Key
The next step is to enter the API Key and Sender Name from your SMTP.com account in the Easy WP SMTP settings.
To find the API Key, go to the Easy WP SMTP section of the settings and click on the Get API Key link.
This will take you to the API page in your SMTP.com account. Copy the full value in the Key column, then go back to the Easy WP SMTP settings, and paste it into the API Key field.

Sender Name
Scroll down to the Sender Name field after adding the API key. Click on Get Sender Name to open the Senders page of your SMTP.com account. Here, copy the value under the Name column.
After copying the Name value, switch back to your Easy WP SMTP settings and paste it into the Sender Name field.

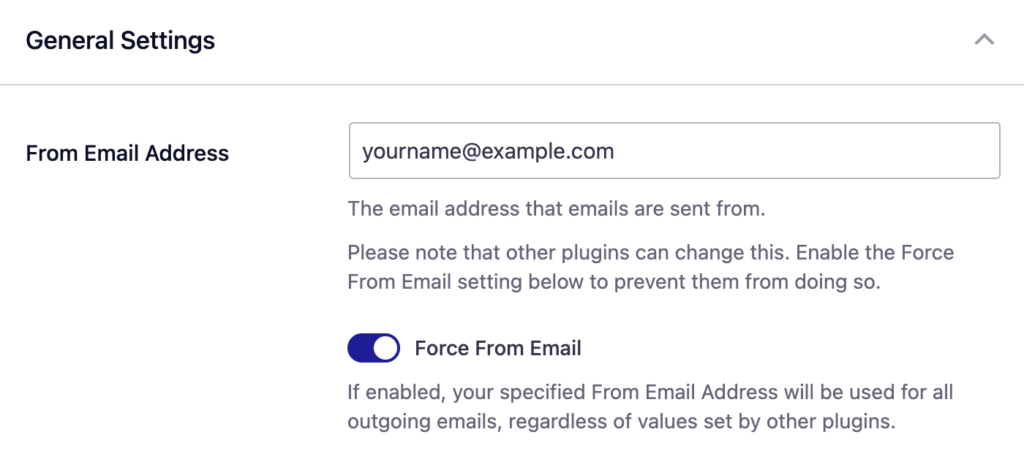
General Settings
From Email Address
The From Email is the email address that your WordPress site’s emails are sent from. For emails to deliver correctly, this email address must match the sending domain you verified in your SMTP.com account. For example, if you authorized example.com as your domain, the From Email must contain @example.com.
We also strongly recommend enabling the Force From Email toggle. If it’s enabled, your From Email will be used for all emails sent from your site, ignoring values set by other plugins.
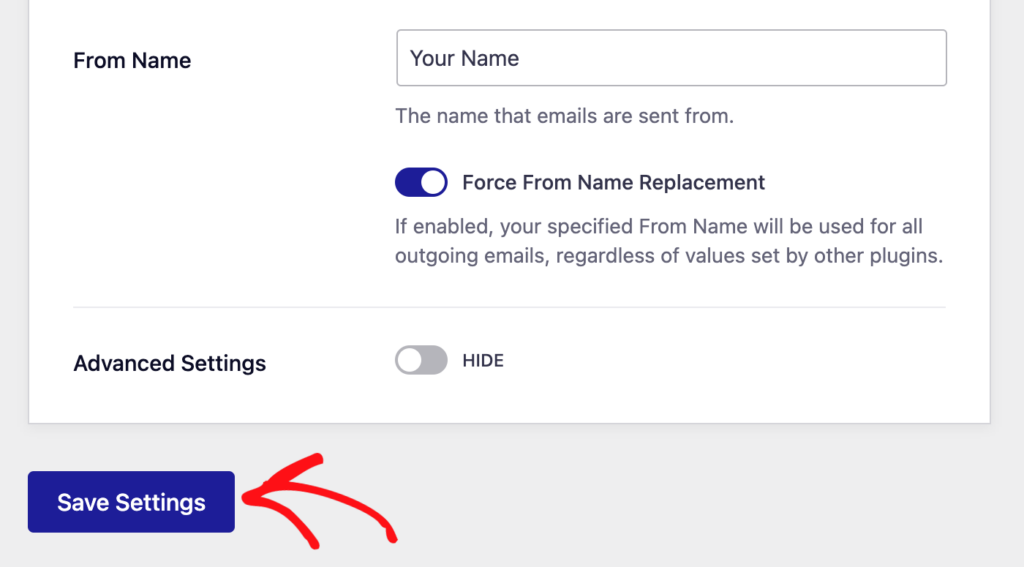
From Name
The From Name is the name that appears in the emails sent from your site, letting the recipient know who sent the email. By default, the From Name is set to your site’s name. However, you can change the name to whatever you’d like.
Similarly, you can enable the Force From Name toggle to apply the settings site-wide.

When you’re done with the configuration, be sure to click the Save Settings button to save your settings.
That’s it! You’ve now successfully set up the SMTP.com mailer with Easy WP SMTP.