In this tutorial, we’ll cover how to use the SendLayer mailer with Easy WP SMTP.
1. Setting Up a SendLayer Account
To connect your WordPress site with SendLayer, you’ll need an active SendLayer account. If you don’t already have one, follow SendLayer’s guidelines for setting up a new account.
Once you’ve established a SendLayer account, log into your SendLayer dashboard. You’re now ready to start the mailer setup process, which we’ll go through in the following steps.
2. Authorizing a Domain in SendLayer
To use SendLayer for email sending, you’ll need to authorize your domain. This authorization process proves to email servers that you’re the verified owner of the sending domain and that the emails are being sent from a trustworthy source.
For a step-by-step explanation of the domain authorization process, see SendLayer’s guide to authorizing a domain.
3. Configuring Easy WP SMTP Settings
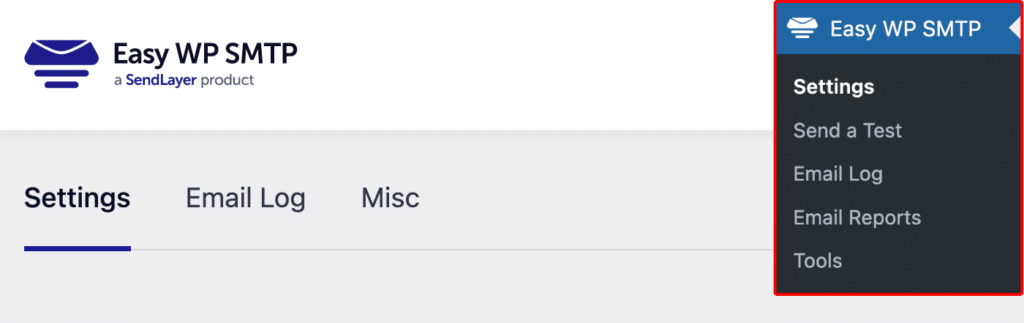
Once you’ve authorized your domain in SendLayer, you can go ahead and configure your Easy WP SMTP settings. To access the settings from the WordPress dashboard, go to Easy WP SMTP » Settings.
In the next steps, we’ll go through each of the settings located on this page.
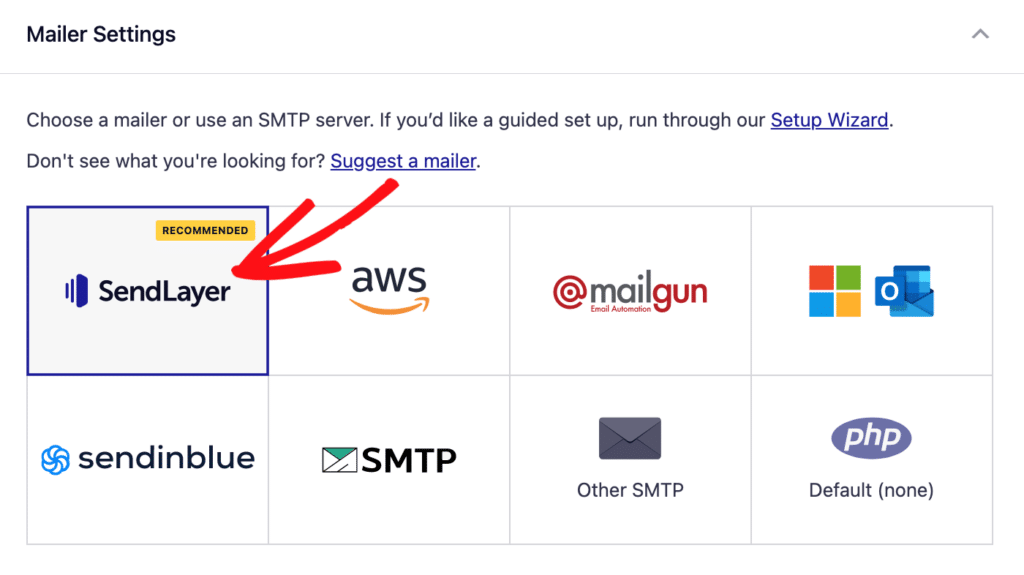
Mailer Settings
Select the SendLayer option from the list of available mailers. Once you choose SendLayer, more settings related to this mailer will appear.
API Key
Go to your SendLayer dashboard to locate your SendLayer API key. For details on locating your API key, check out SendLayer’s guide to managing API keys.
Once you’ve obtained your API key, paste it into the API Key field.

General Settings
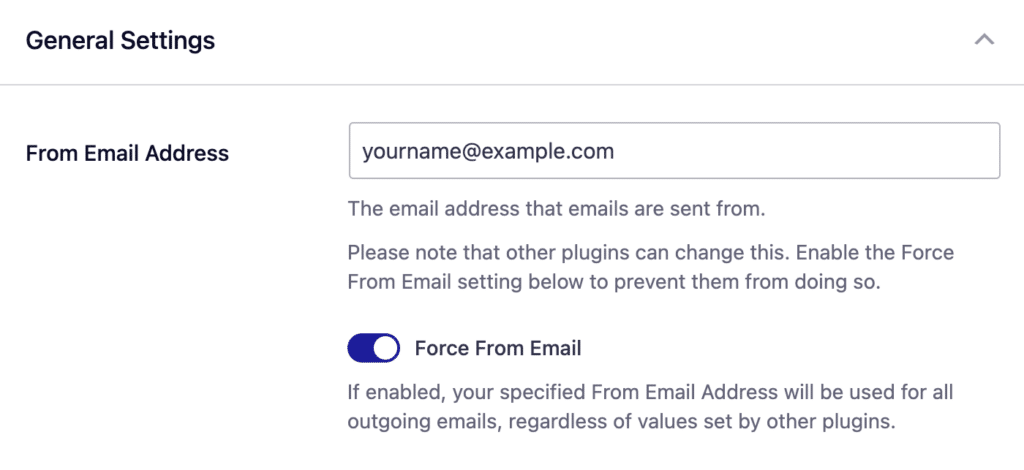
From Email
The From Email is the email address that your WordPress site’s emails are sent from. For emails to deliver correctly, this email address must match the sending domain you authorized in SendLayer. For example, if you authorized example.com as your domain, the From Email must contain @example.com.
We also strongly recommend turning on the Force From Email box. If enabled, your From Email will be used for all emails sent from your site, ignoring values set by other plugins.
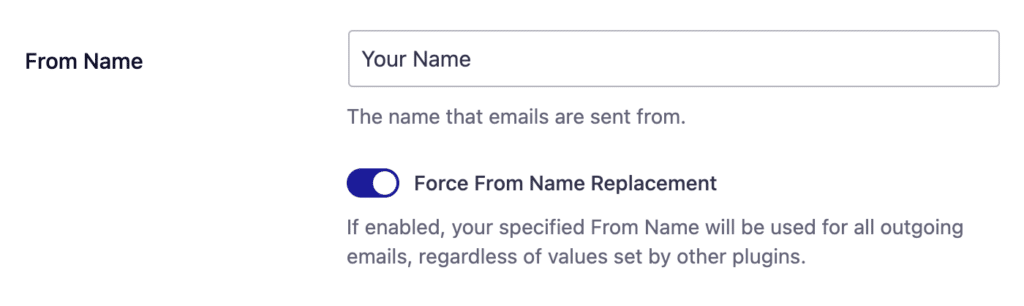
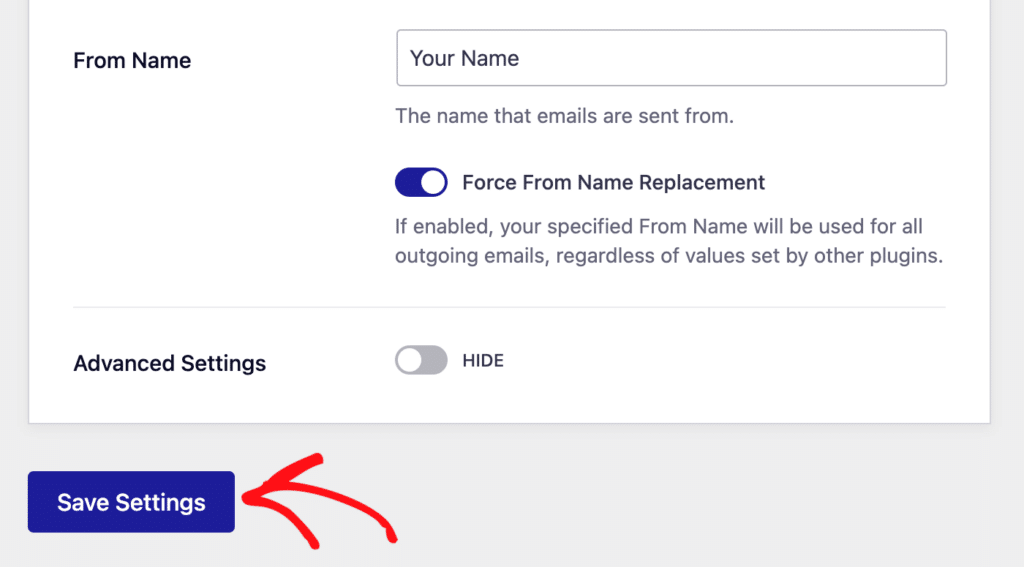
From Name
The From Name is the name that appears in the emails sent from your site, letting the recipient know who sent the email. By default, the From Name is set to your site’s name. However, you can change the name to whatever you’d like.
Similarly, you can enable the Force From Name toggle to apply the settings site-wide.
When you’re done with the configuration, be sure to save your settings by clicking the Save Settings button.
That’s it! You’ve now successfully set up the SendLayer mailer with Easy WP SMTP.