In this tutorial, we’ll cover how to use the Outlook mailer with Easy WP SMTP.
Requirements: Your site needs to have a valid SSL (HTTPS) certificate enabled. Please see WPBeginner’s tutorial for adding SSL and HTTPS in WordPress.
1. Getting Started With Easy WP SMTP
Once you’ve installed and activated Easy WP SMTP, go to Easy WP SMTP » Settings to access the settings page.

Under the Settings tab, you’ll find the Mailer Settings section. We’ll cover how to complete the configurations below.
Mailer Settings
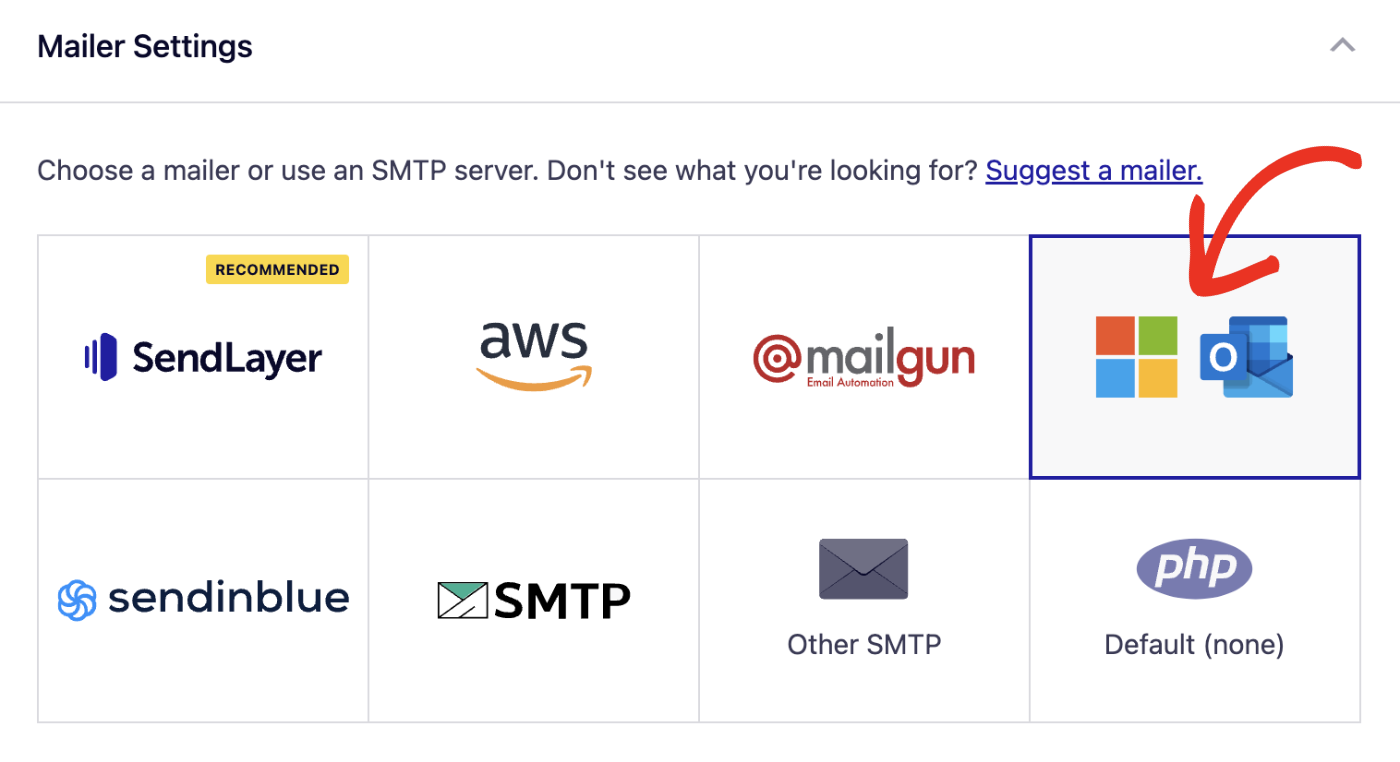
Select Outlook as the mailer to use for the Easy WP SMTP configuration.
After choosing the Outlook mailer, you’ll see a new section with additional settings.
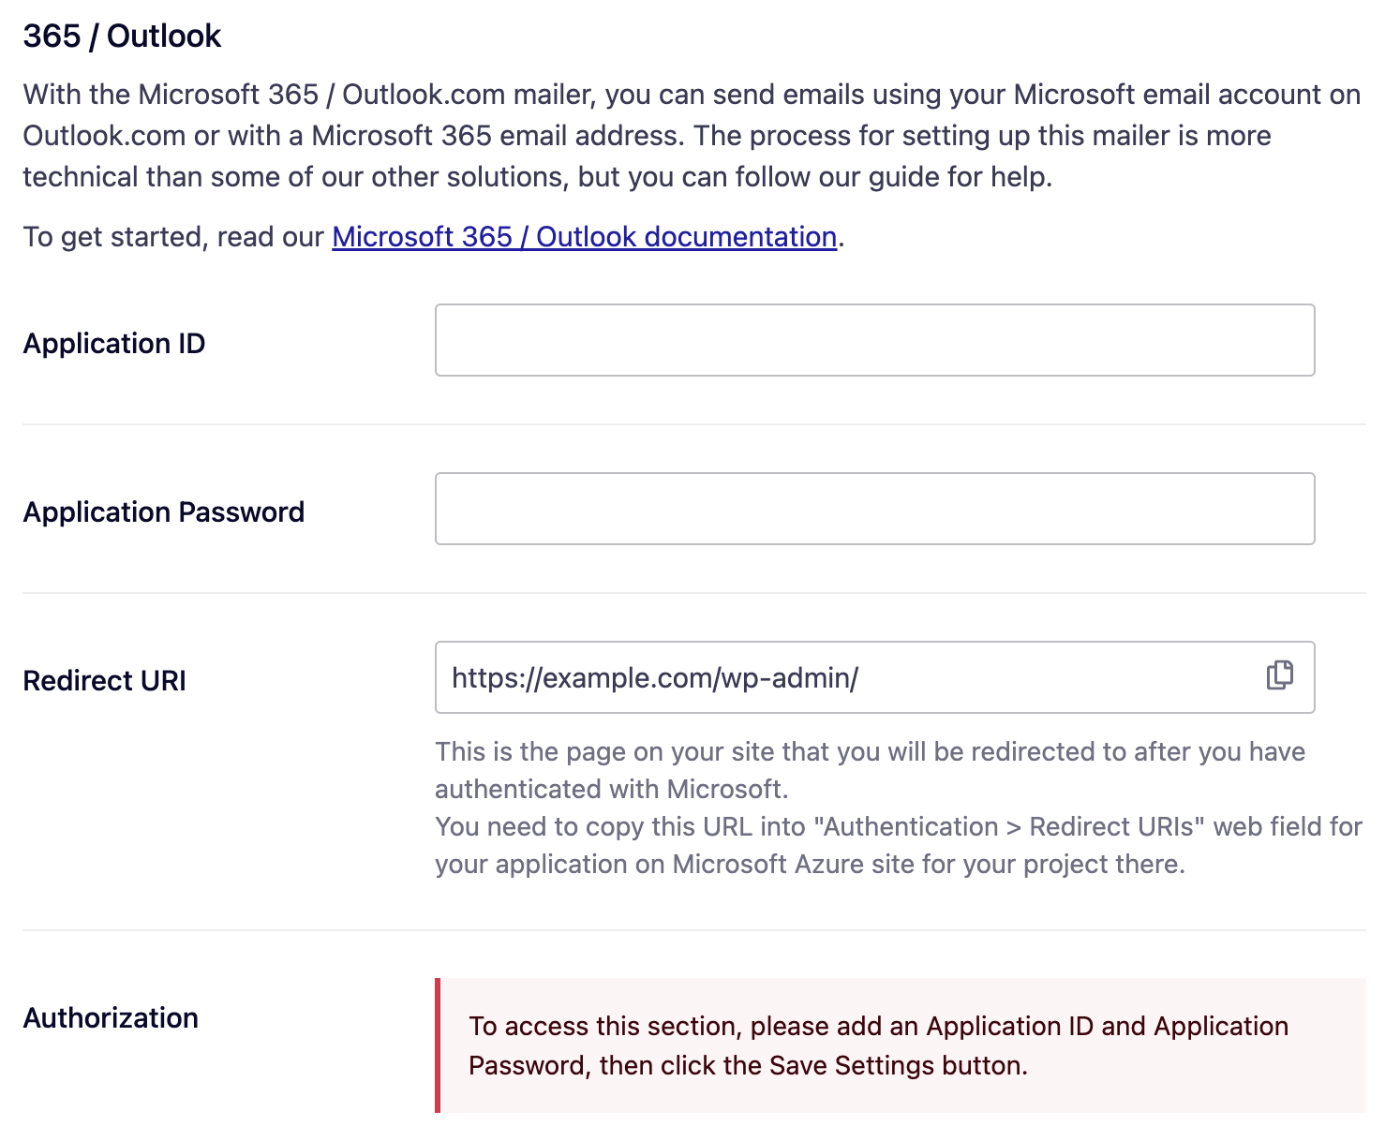
You’ll need to set up your Microsoft account to get the information needed to complete the configuration. Leave this browser tab open and proceed to the next step.
2. Setting Up a Microsoft Azure Account
To get started, you’ll need to sign up for a free Microsoft Azure account if you don’t have one already.
Note: Although creating an account is free, you’ll need to enter your credit card details when signing up for a Microsoft account. This helps to prevent spam registrations.
If you already have a Microsoft account (through Microsoft 365, Outlook, Live, etc.), simply log in to Microsoft Azure using your existing account details.
You should be automatically redirected to the Azure portal after logging in to your account.
Creating an Application ID
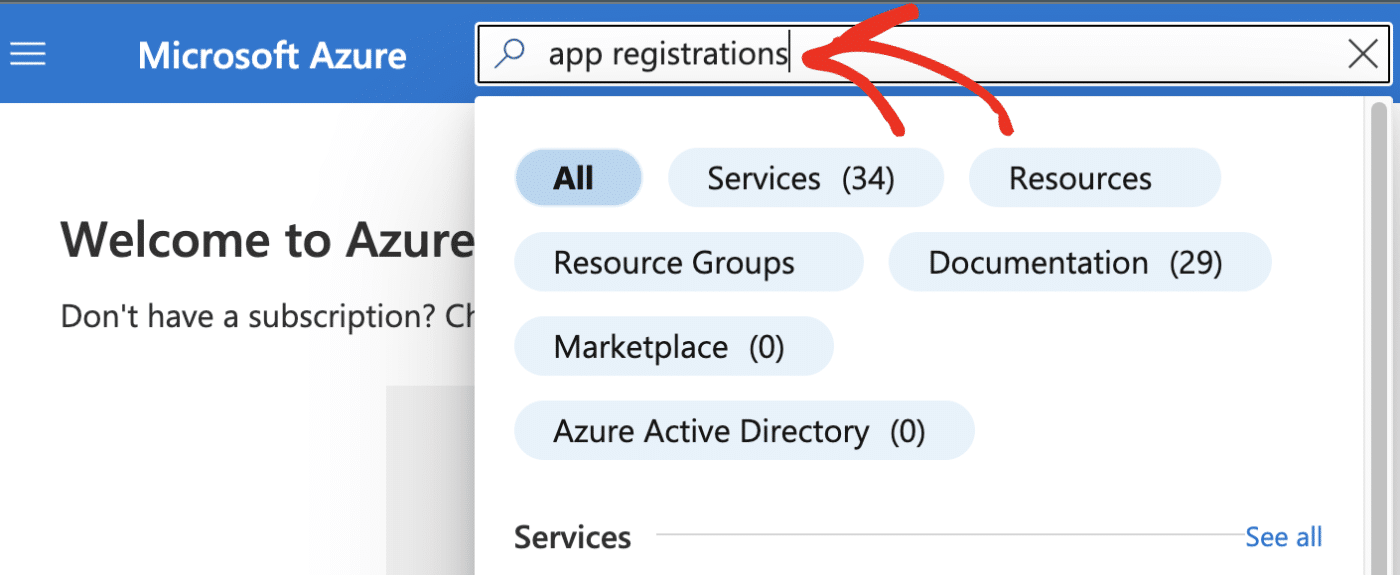
In the Azure portal, locate the search bar and type app registrations.
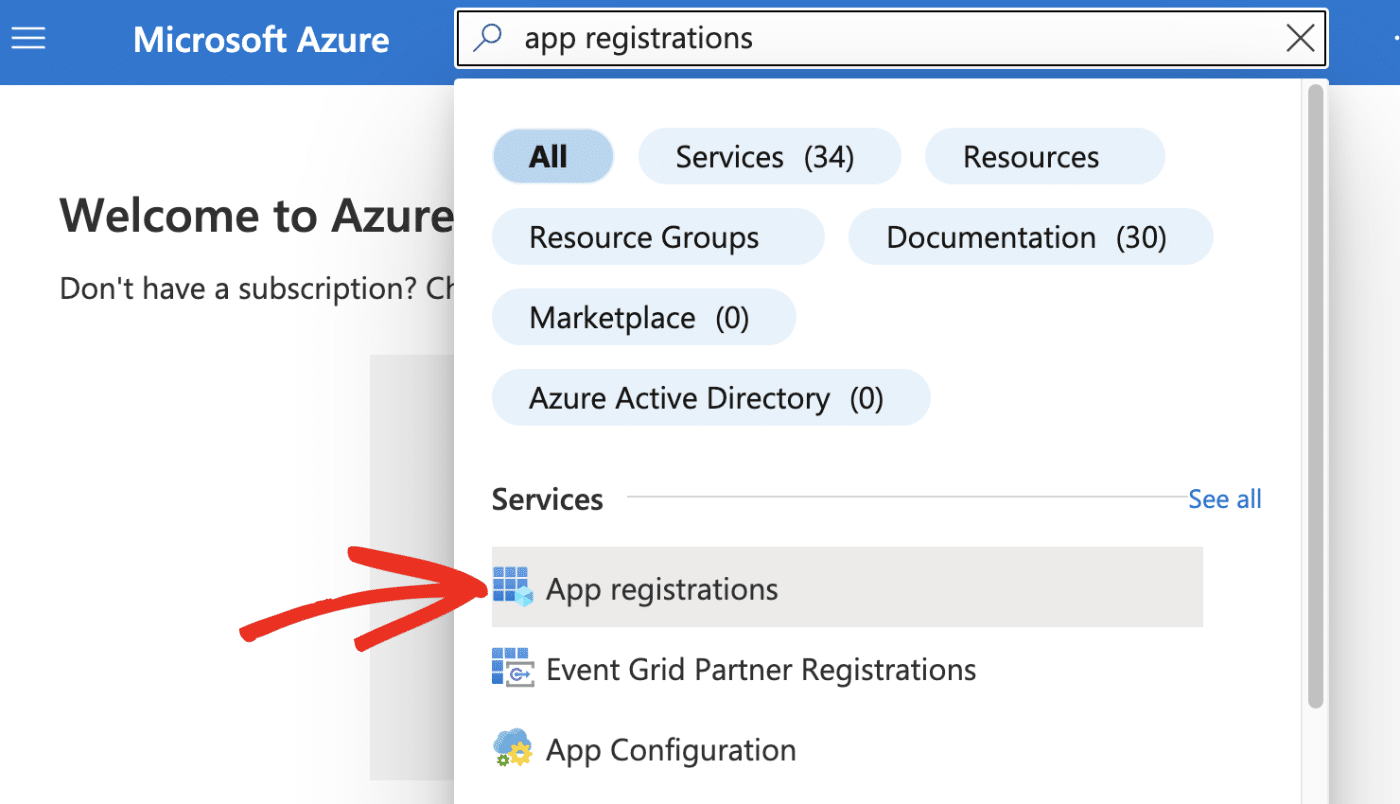
After that, select App registrations from the available options in the dropdown.
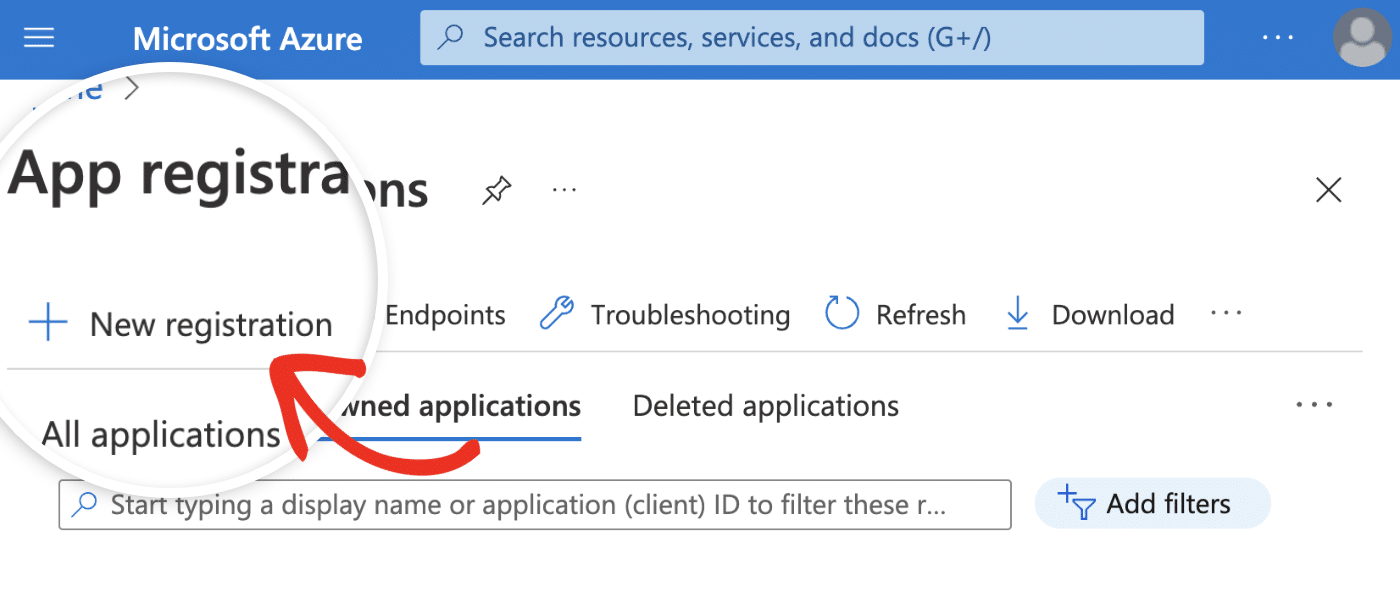
On the App registrations page, select the + New registration option.
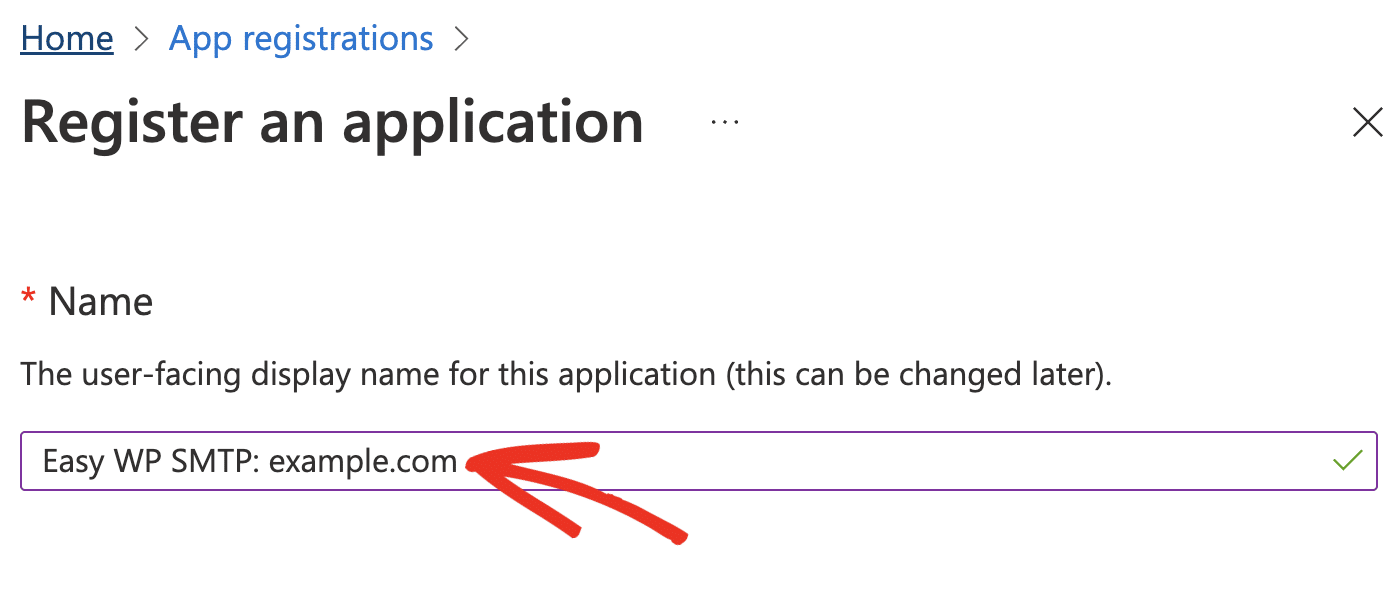
In the app registration form, you’ll need to enter a name for your application and choose the account types that can access your application.
Since the application is for internal use only, you can use any name. But we recommend using a descriptive name to help you differentiate your apps.
Under Supported account types, choose Accounts in any organizational directory (Any Azure AD directory – Multitenant) and personal Microsoft accounts (e.g. Skype, Xbox).
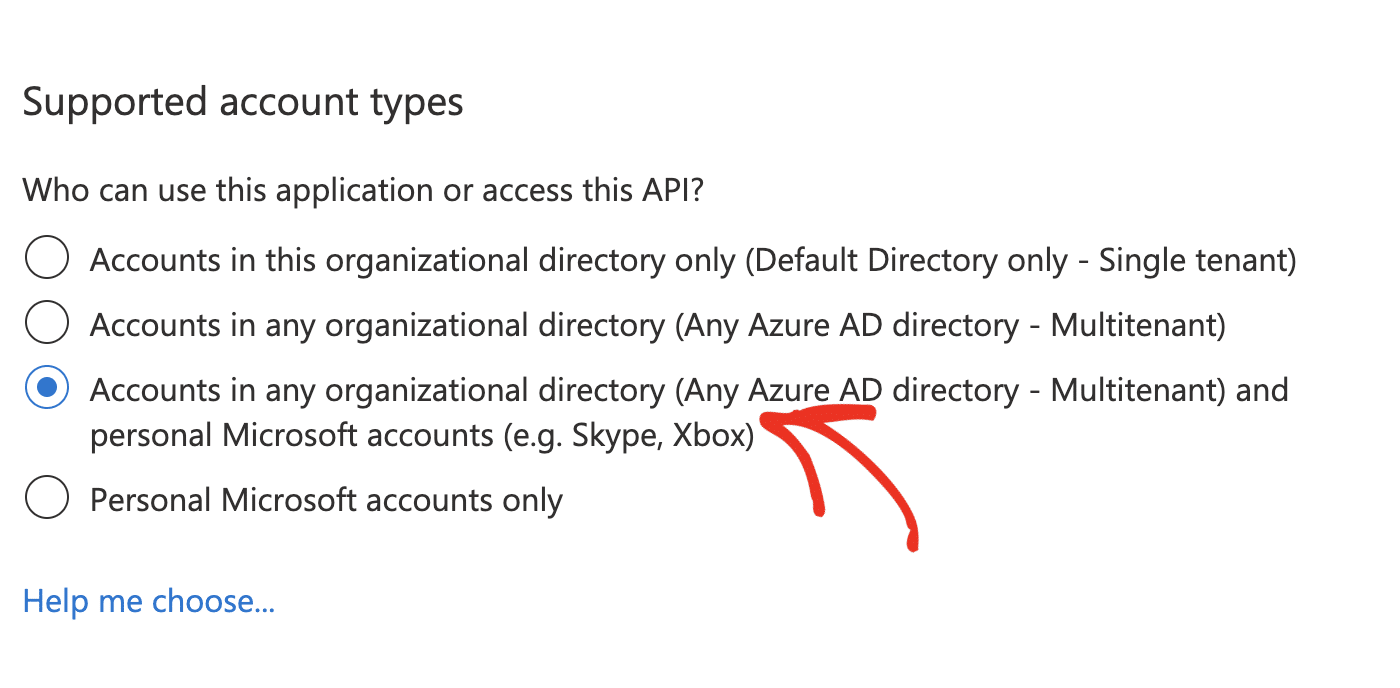
Note: For some Microsoft account types, you may only see the Accounts in any organizational directory and personal Microsoft accounts option. Choose this option if the Accounts in any organizational directory (Any Azure AD directory – Multitenant) option doesn’t appear for your account type.
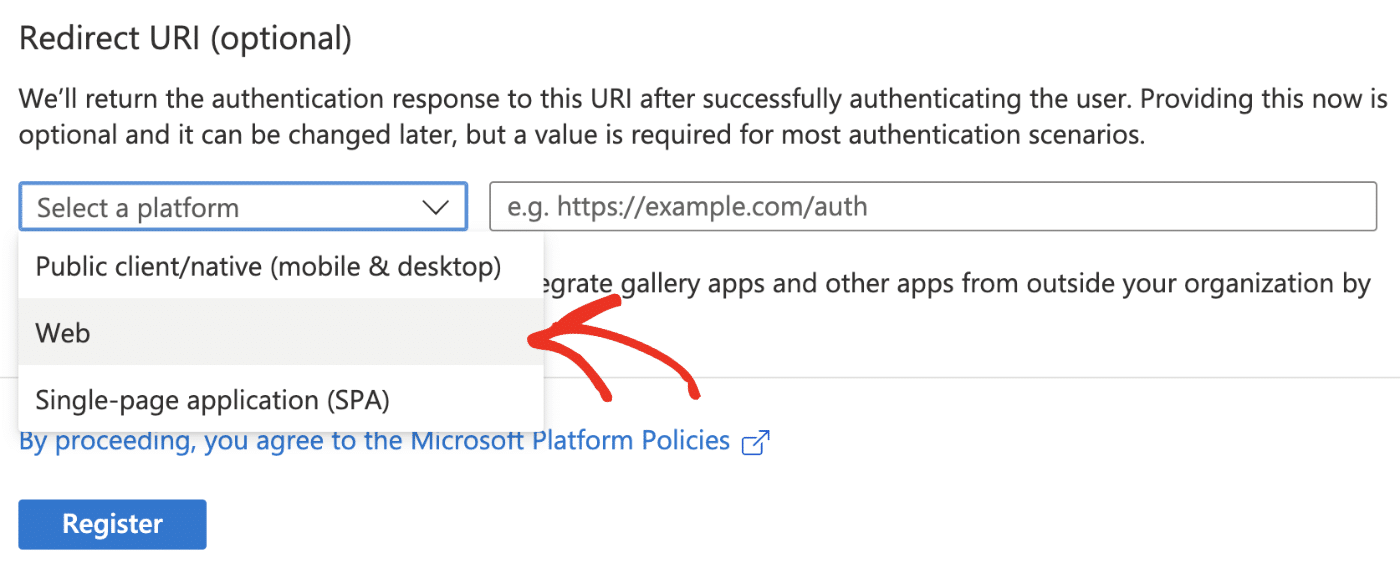
In the Redirect URI section, choose Web from the Select a platform dropdown.
You’ll need to copy the Redirect URI from your Easy WP SMTP settings page. To do this, return to the browser tab with your Easy WP SMTP settings open. Then click the copy icon next to the Redirect URI field to copy the value.

After that, paste the Redirect URI into the corresponding field of your Microsoft Azure app registration page.
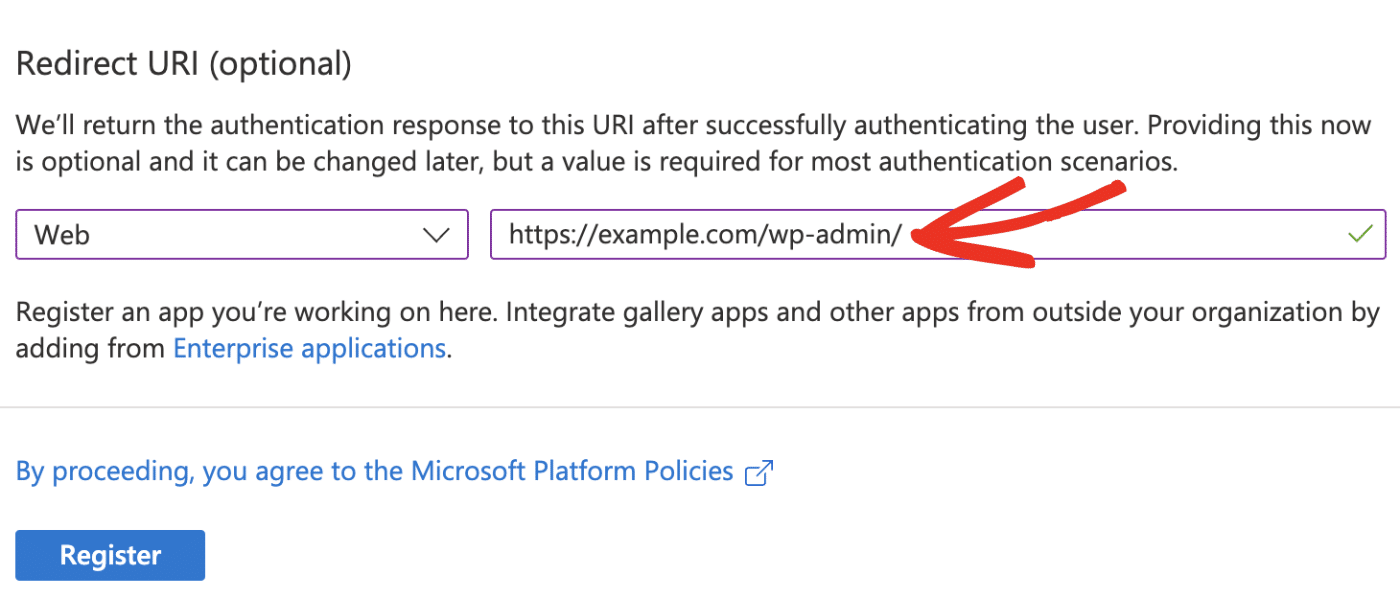
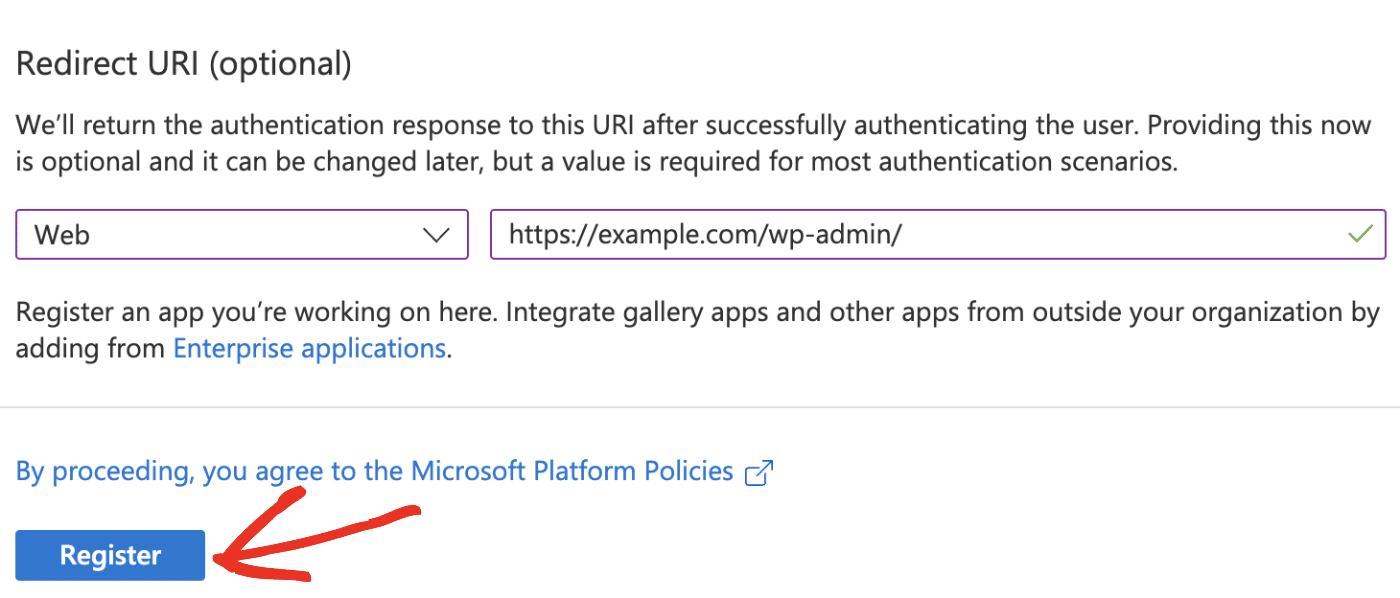
Once you’re done, go ahead and click Register to proceed.
You should be redirected to your account overview page. Here, you’ll see your Application (client) ID. Go ahead and click the copy icon to copy this value.
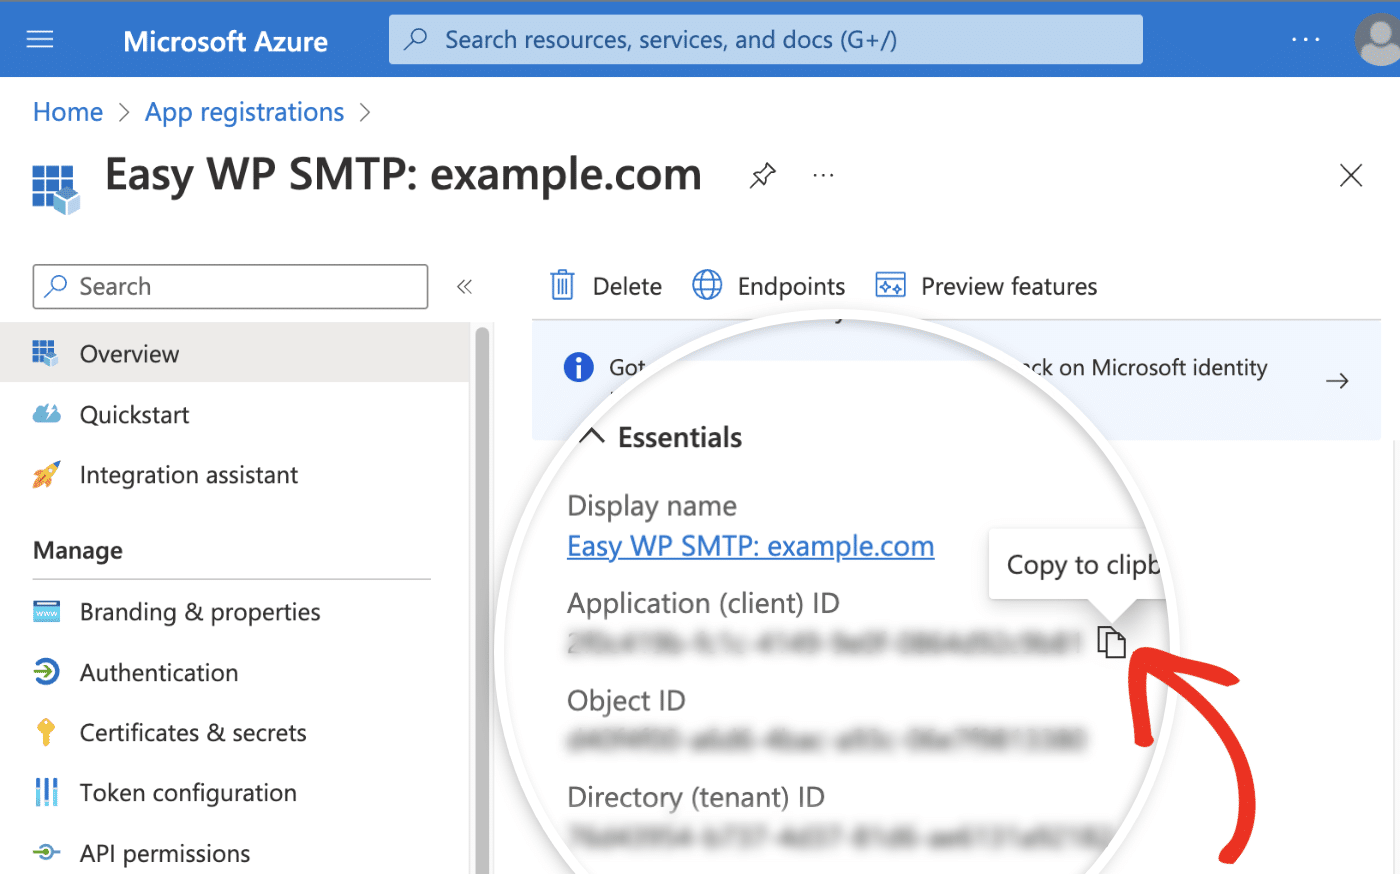
After copying the Application (client) ID, head back to the Easy WP SMTP browser tab and paste the value into the Application ID field.

Creating an Application Password
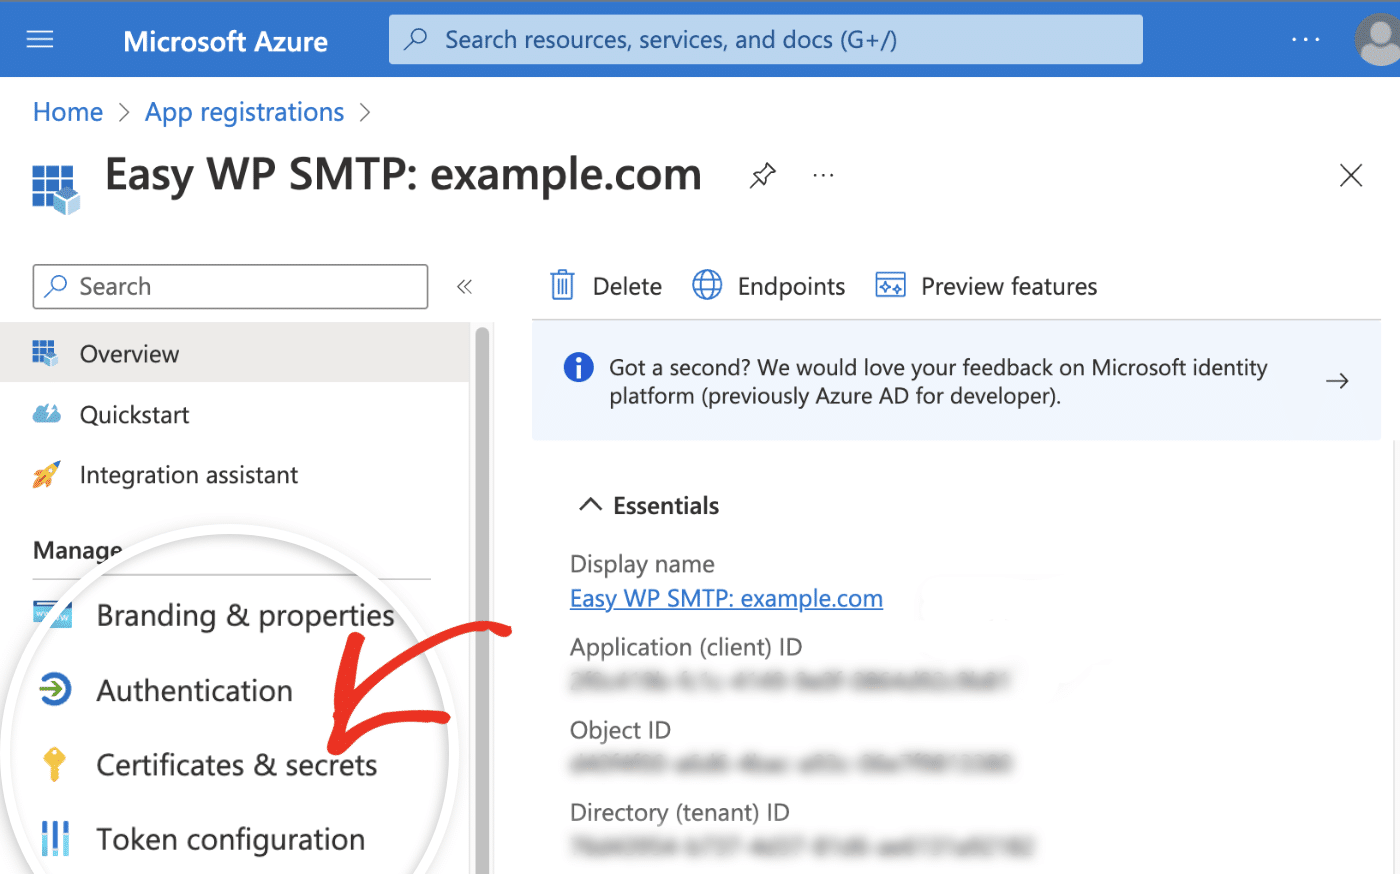
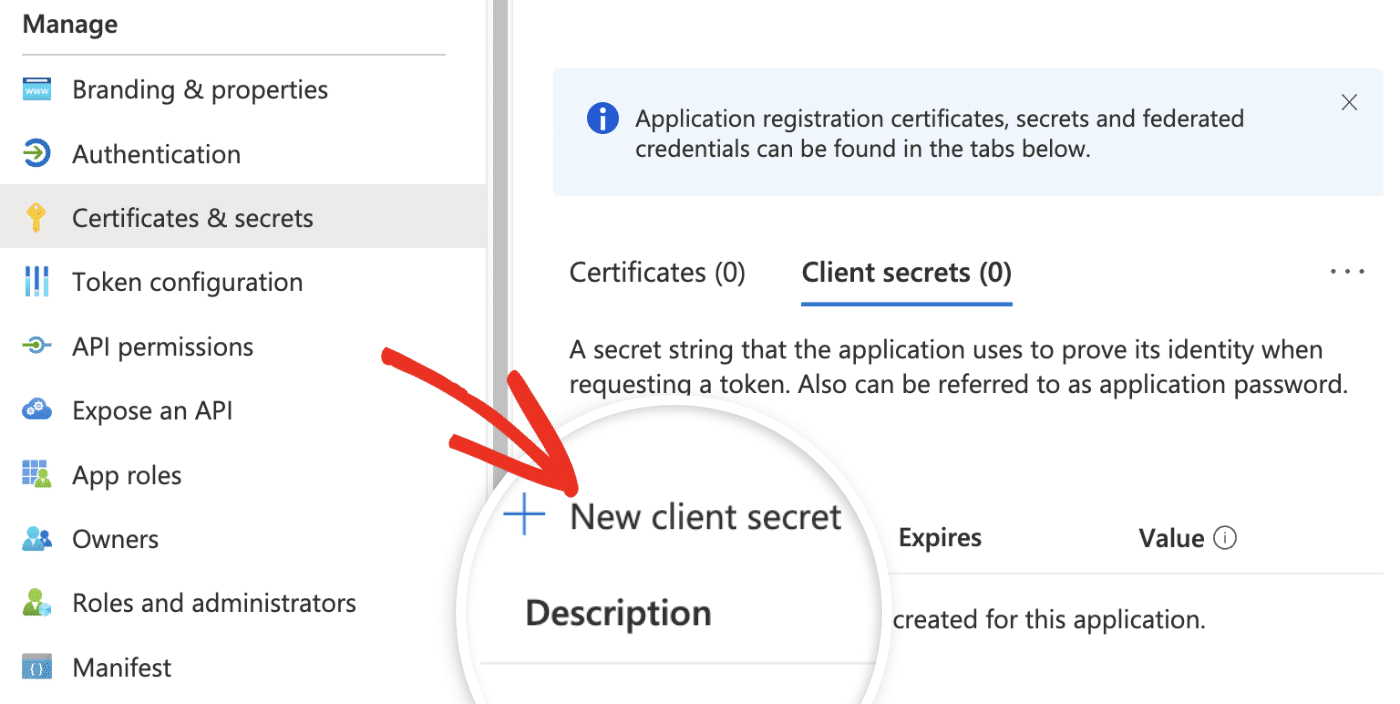
To generate a password for your application, return to the browser tab with the Azure portal open. Next, click on Certificate & secrets in the left sidebar.
Next, click the + New client secret button to create your application password.
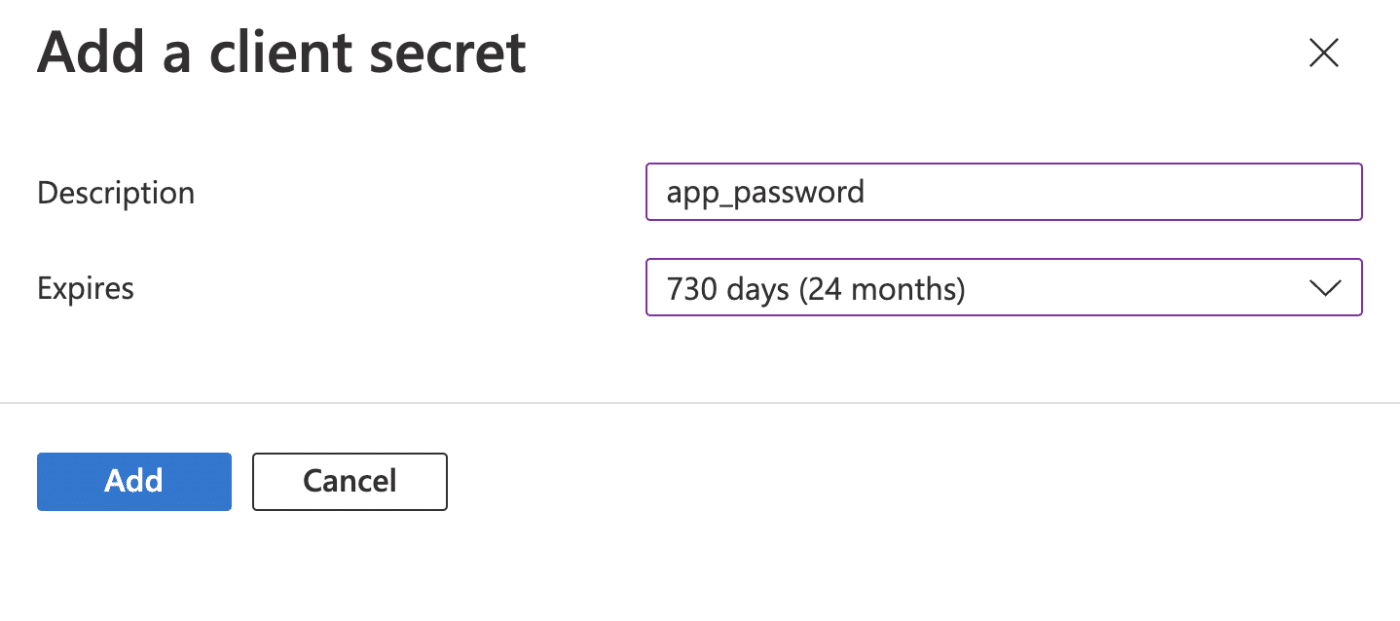
In the overlay that appears, enter a name in the Description field. We recommend using a simple and descriptive name. After that, choose 730 days (24 months) in the Expires dropdown.
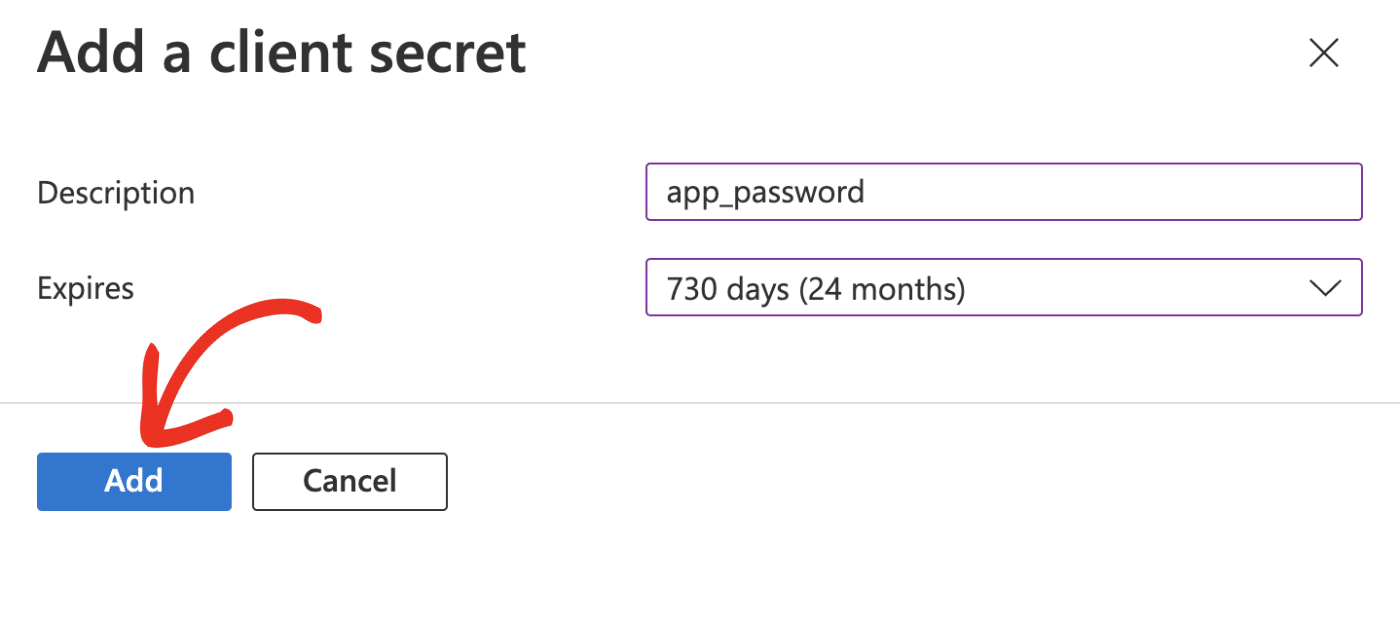
When you’re ready, click Add to generate your client secret.
Now, you’ll need to copy the password in the Value column and then return to the browser tab with Easy WP SMTP settings open.
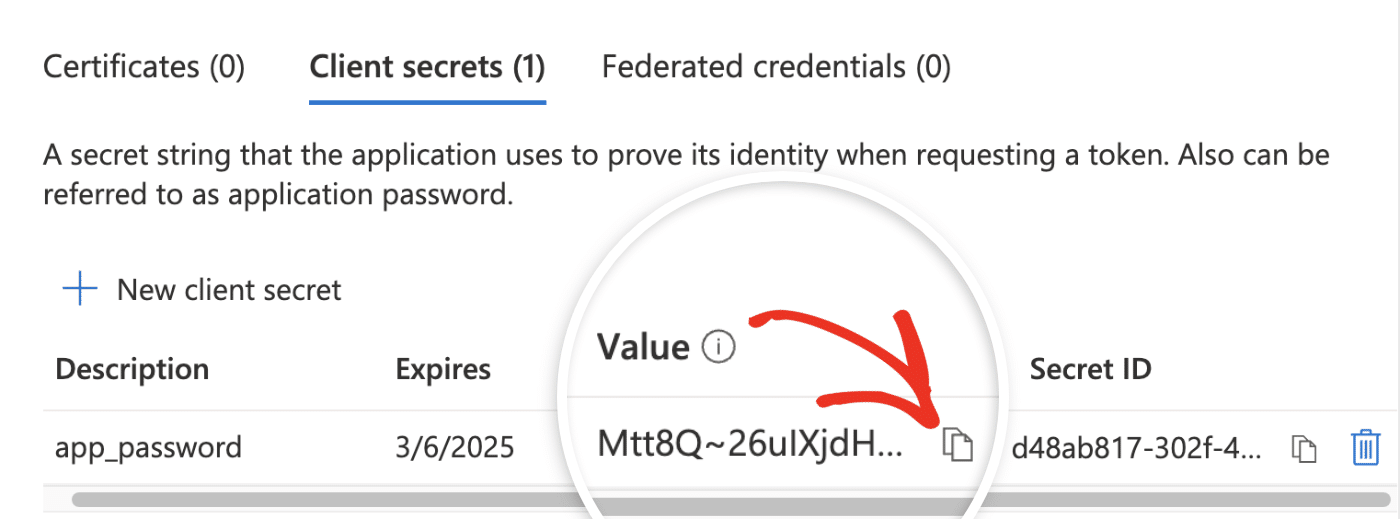
Note: You won’t be able to access the client secret once you exit this page. Be sure to store the password in a secure location in case you need to access it later.
In the Outlook mailer settings, paste the app password you copied into the Application Password field.

After adding the Application ID and Application Password, skip the General Settings for now and click on Save Settings to save your changes.

3. Authorizing Easy WP SMTP
After saving your settings, you should see a button labeled Allow plugin to send emails using your Microsoft account in the Authorization section. Click on this button to authorize your site.

You’ll be redirected to a Microsoft permissions page. Click Yes to grant your website access to your Microsoft account.
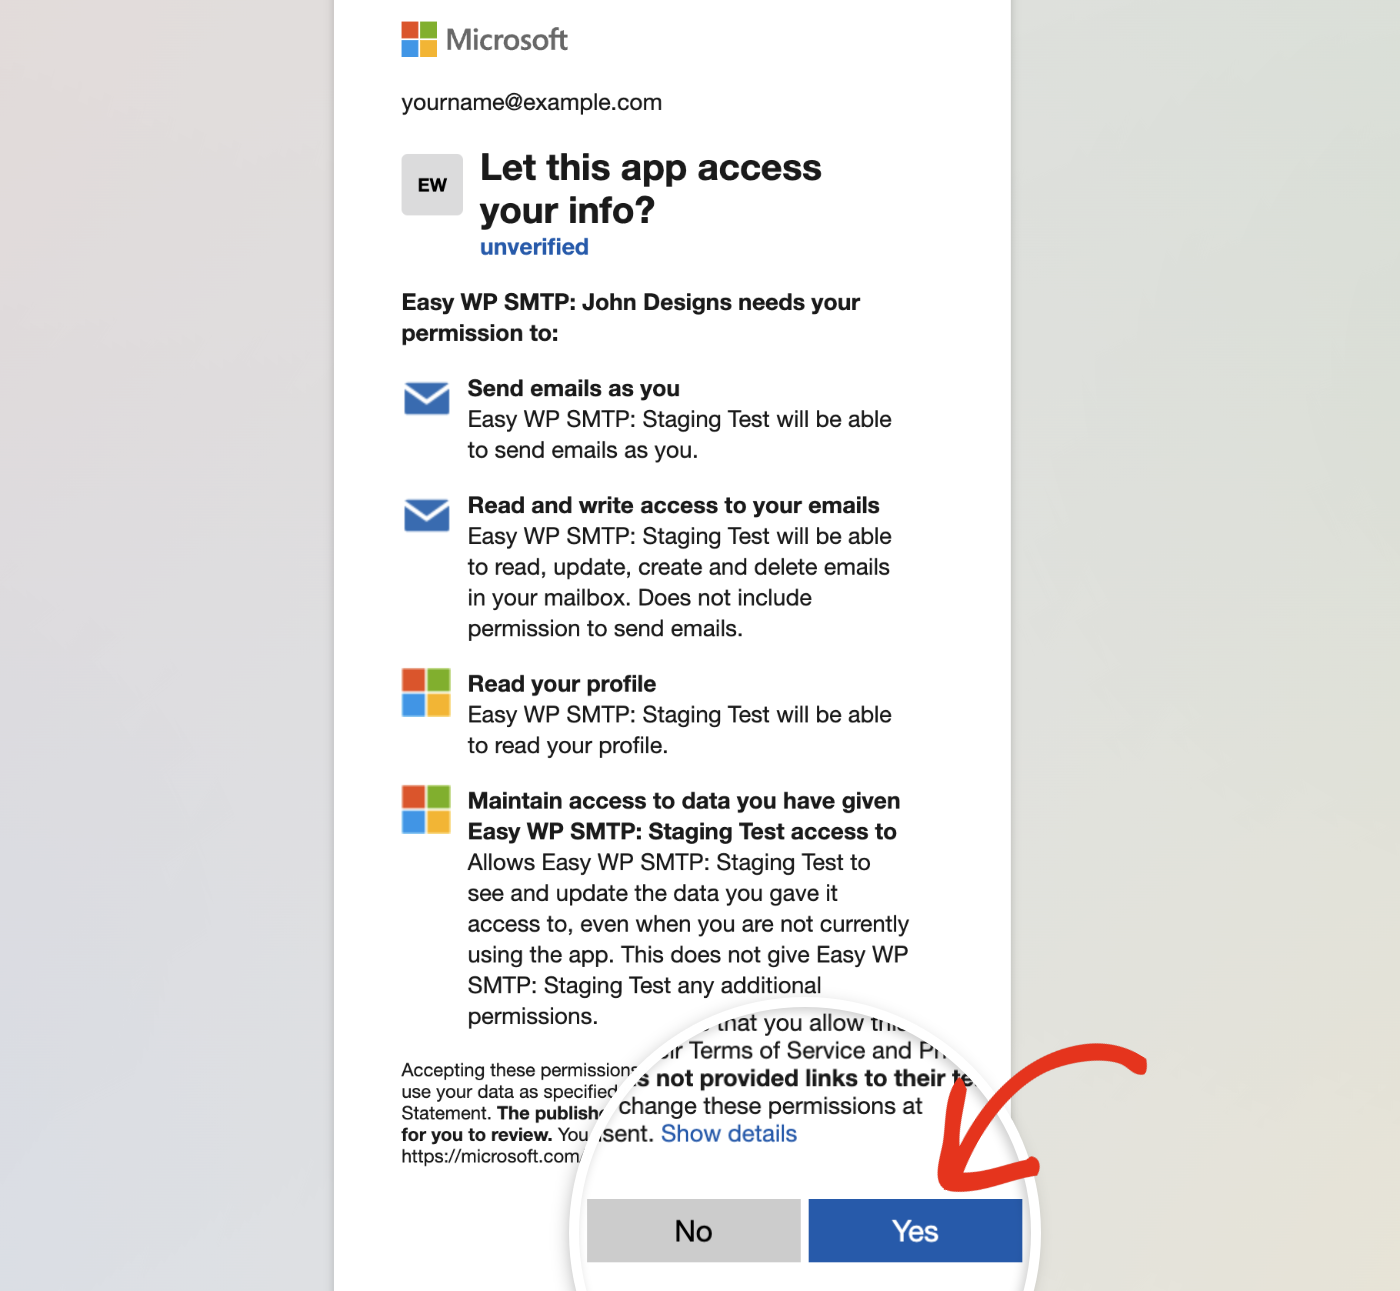
After granting the necessary permissions, you’ll be redirected back to your Easy WP SMTP settings page. You should see a notification that you’ve successfully linked your Microsoft account.

In the Authorization section, you’ll see the name and email address you used to authorize the connection.

4. Configuring Easy WP SMTP Settings
From Email
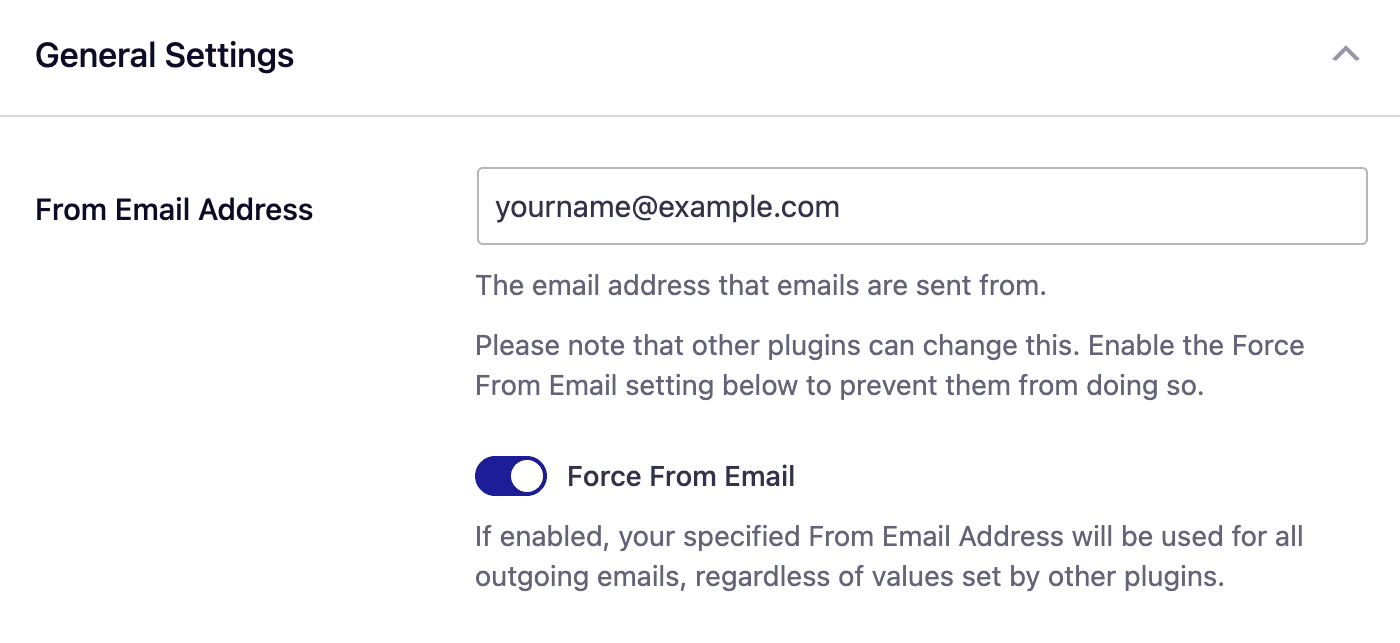
The From Email refers to the email address from which your WordPress site sends emails. It should be the same as the email address you used to authorize your connection, which can be found in the Authorization section of your settings.

We also recommend checking the Force From Email box. This ensures the From Email you set is used sitewide.
Note: If you’d like to send emails as a different user, group, or from a shared inbox, consider checking out our FAQ section to learn more.
From Name
The Outlook mailer doesn’t support changing or forcing the From Name. Your emails will be sent with the account name used to authorize the connection.
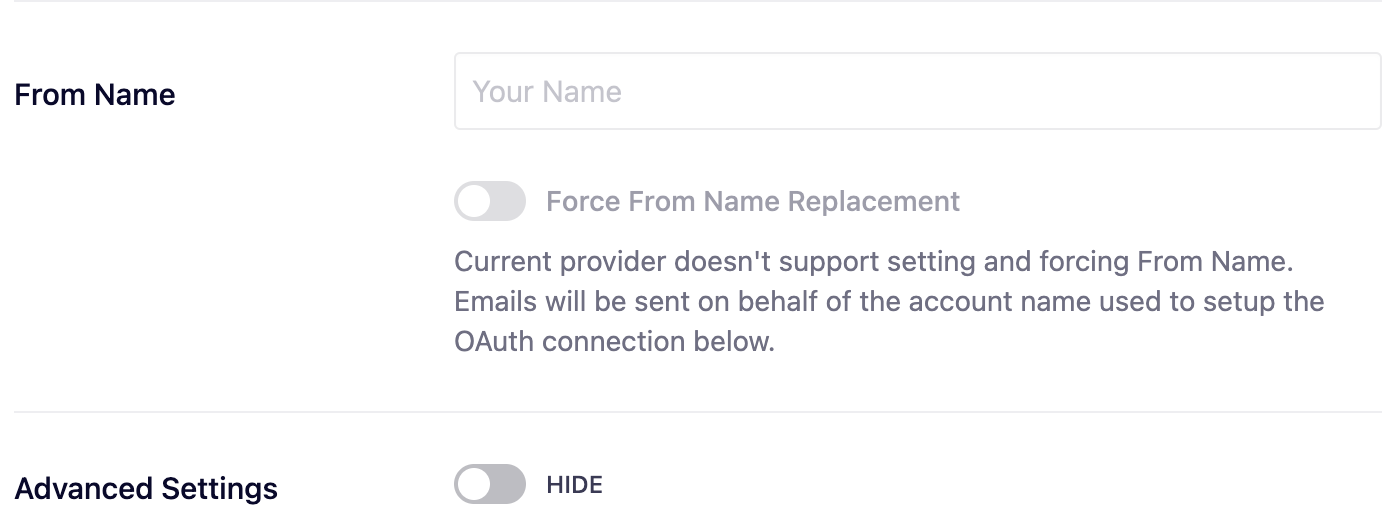
Be sure to save your settings after updating the general settings.
Frequently Asked Questions
These are answers to some of the top questions we receive about integrating Easy WP SMTP with the Outlook mailer.
Does the Outlook mailer support sending as a different user, group, or shared inbox?
Yes. With the Outlook mailer, you can send emails from different user accounts, shared inboxes, and groups. However, you’ll need to enable this option in the Microsoft account you used to authorize Easy WP SMTP.
The following Microsoft documentation explains how to configure these different sending options:
- Sending as or on behalf of another user
- Sending from a shared mailbox
- Sending as or on behalf of a group
After setting up the email aliases, you’ll be able to change the From Email to any of the email addresses you’ve added to your authorized Microsoft account.
Will I need to reconnect if I change my credentials?
Yes. Your account will be invalidated if you change your password. To fix this issue, you’ll need to re-authorize your Easy WP SMTP connection.
For this, go to your Easy WP SMTP settings page and scroll down to the Outlook mailer section. Next, disconnect your account by clicking the Remove OAuth Connection button in the Authorization section.

After removing the existing connection, you’ll need to reconnect your account by clicking the Allow plugin to send emails using your Microsoft account button.

Does enabling Two Factor Authentication / Multi Factor Authentication (2FA / MFA) on my Microsoft account work with the Outlook mailer?
It shouldn’t be an issue if you already have 2FA / MFA enabled before completing the steps in this tutorial.
However, if you enabled 2FA / MFA after setting up the Outlook mailer on your website, you’ll need to re-authorize your Microsoft account. Please see the authorization section of this guide to learn how.
That’s it! Now you know how to set up Easy WP SMTP with the Outlook mailer.